For all the NSX experts out there, I thought you might find this helpful, especially with all the request to leverage the VMware Identity Manager platform (recently rebranded Workspace One Access) as the source for authentication into various VMware products.
As I’ve been working through through the upgrade of my home lab, I recently used vRealize Suite Lifecycle Manager to deploy various VMware products to help manage my “private cloud” homelab environment. vRSLCM is a slick tool and I’ll probably write up something on that at a later date. One of the neat features is the ability to deploy VMware Identity Manager as part of the automated deployment method and it integrates all the VMware Solutions together with Identity Manager for authentication.
Now that I have a VMware Identity Manager platform to leverage, one of the things I noticed is that when deploying VMware NSX-T, the NSX manager has an option to leverage VMware Identity Manager as an authentication source.
**Versions of products in scope here include NSX-T Version 3.0.0.0.0.15946738
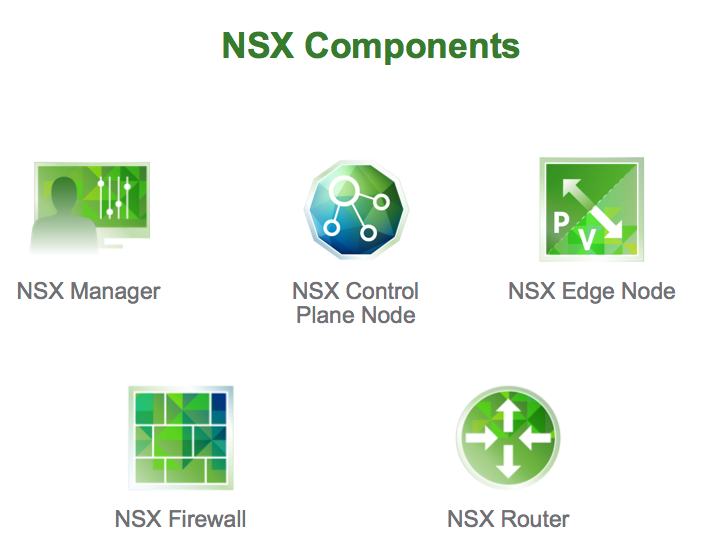
VMware Identity Manager 3.3.2.0 Build 15951611 (i.e Workspace One Access)

Assuming you’ve already installed both products listed above, here’s how you would go about configuration NSX Manager to use VMware Identity Manager for authentication.
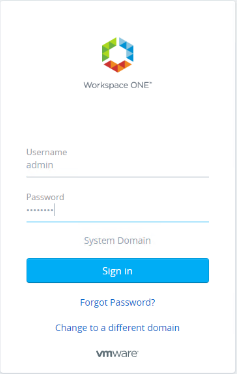
- The first step is logging into the Identity Manager appliance using the admin interface using the local system domain to get access to the appliance configuration settings for catalog items. I’m logging in as the local admin since I don’t have any identity sources setup yet other than what vRealize Lifecycle Manager had me configure to setup my active directory environment.
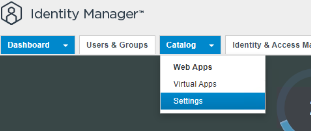
2. Once logged you’ll need to setup a new Remote Access App in order to allow NSX Manager to pair to the IDM for authentication. Going to the Catalog Tab and choosing settings, you’ll create a new remote access client app.

3. You will need to create something that obviously identifies this as the app paired with NSX Manager, in my case I just called it nsxmanager.
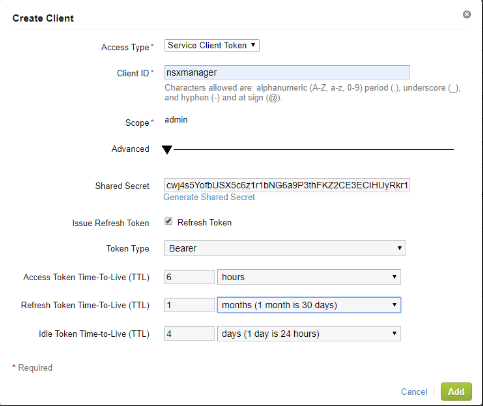
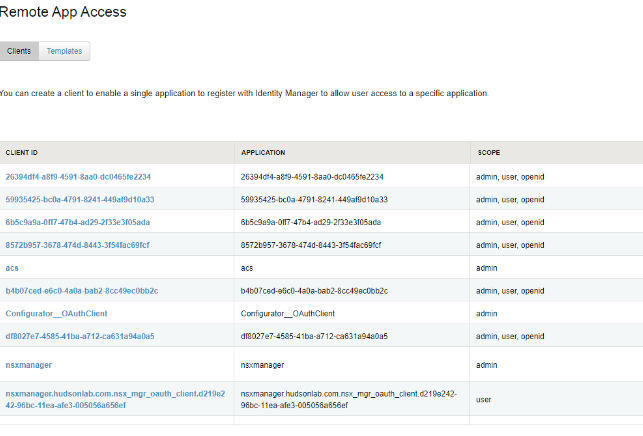
4. You’ll need to change the Access Type to [Service Client Token], provide the Client ID name [nsxmanager], generate a shared secret key, and then choose the TTL settings for the token, in my case I used 6 hours for Access, 1 month for refresh, and idle for 4 days.
Once you are done you’ll have the new service client token details available for reference later.
5. Now we need to get the certificate thumprint from a vIDM host (see official VMware documentation here). In my case I logged directly into the vIDM host using SSH and ran the following command and then copied the thumbprint string for use in NSX Manager later.

6. The other item we’ll need before switching over to NSX Manager is the OAuth shared secret we created in step 3 above. You can get this by clicking on the nsxmanager item in step 4 which will list all the details on what you created previously including the shared secret key.

7. Now we’ll log into NSX Manager to configure the identity manager linking.
8. Once logged in, go to the System tab and under Settings, select Users and Roles
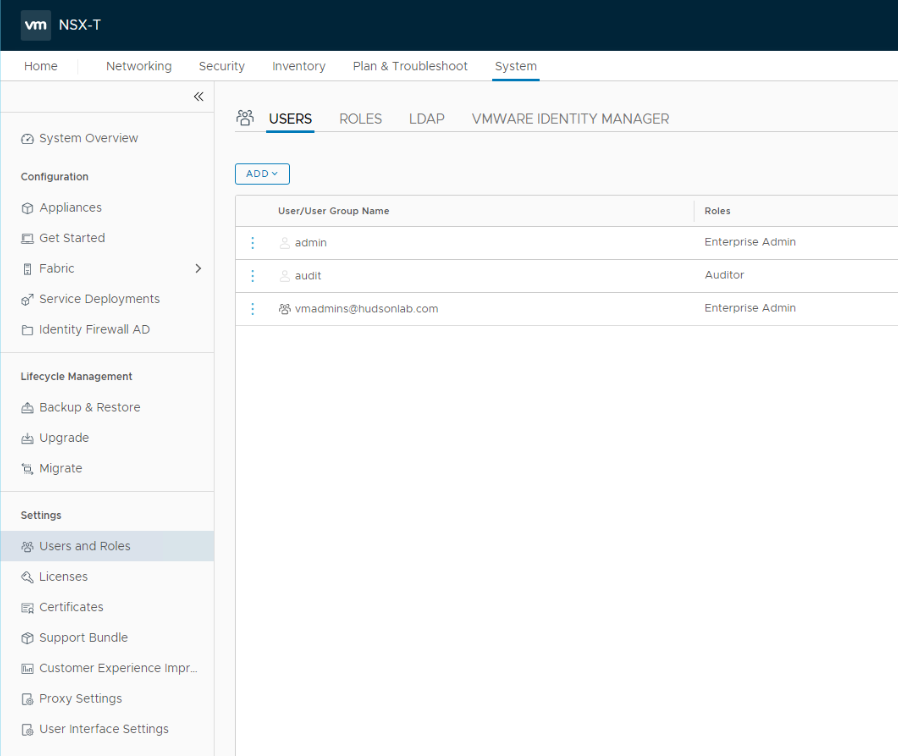
9. Click on the VMware Identity Manager Option and you’ll have the option to enable VMware Identity Manager. In my case, I’m not using a load balancer so I’m connecting directly to the NSX Manager.
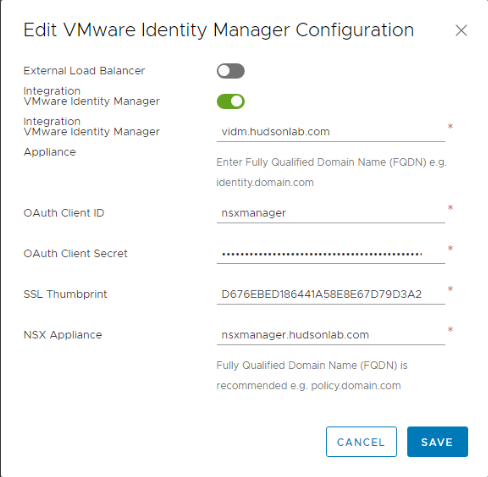
10. Here’s where you’ll use the Oauth Client ID and OAuth Client Secret (step 6) and SSL Thumbprint (step 5) from above and the other configuration options are pretty simple using your FQDN for your vIDM appliance and NSX Manager. Once done, you’ll have NSX Manager configured to use vIDM as an identity source using your Active Directory configured already on the vIDM appliance.

11. Now all you have to do is configure your AD Groups (assuming you already have AD Groups defined) and assign roles in NSX Manager. In my case I have an AD Group I’m using called vmadmins for access to all my VMware solutions but you could configure whatever you want leveraging your AD groups already defined and assign to the different NSX Manager roles for access.
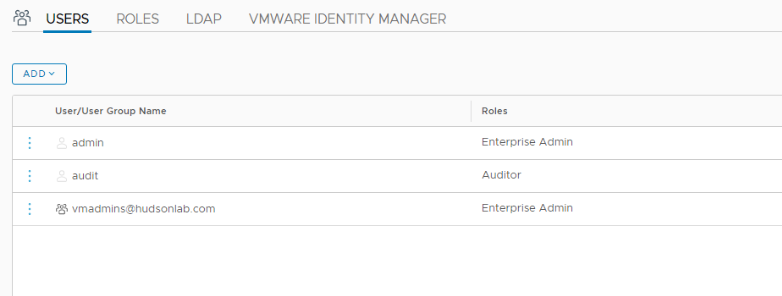
****Bonus Content******
I figured since I have an Identity Manager Platform to work with now, I might as well configure NSX Manager as one of the options to connect to in the user portal seeing that vRealize Suite Lifecycle Manager already provided this for the other VMware Solutions I deployed already so I decided to add a weblink to NSX Manager and also to my vCenter (although I still have to use normal SSO login credential on vSphere 7) to simply my access to VMware solutions I’m using in my home lab.
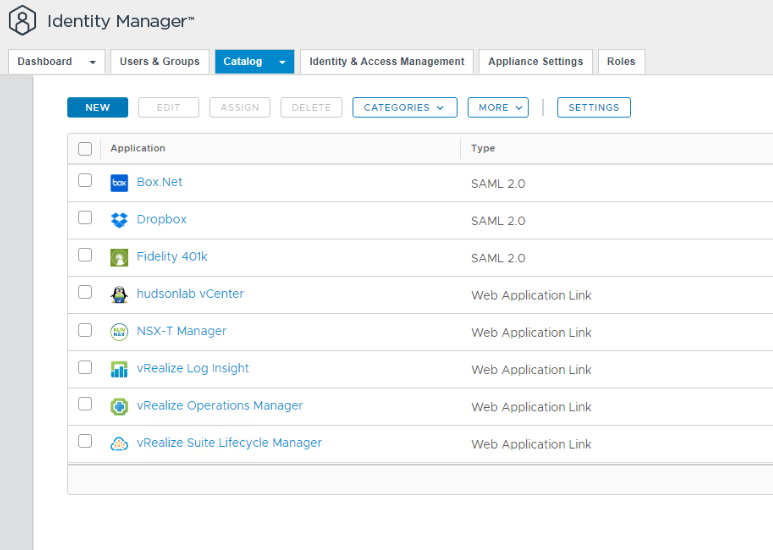
I created a little custom branding for my particular NSX-T Web App, but the process is pretty simple, going back to vIDM in step 2 above and choosing Web Apps, I get the option to configure apps that will show up in my user portal. Here’s how I configured NSX-T Manager.
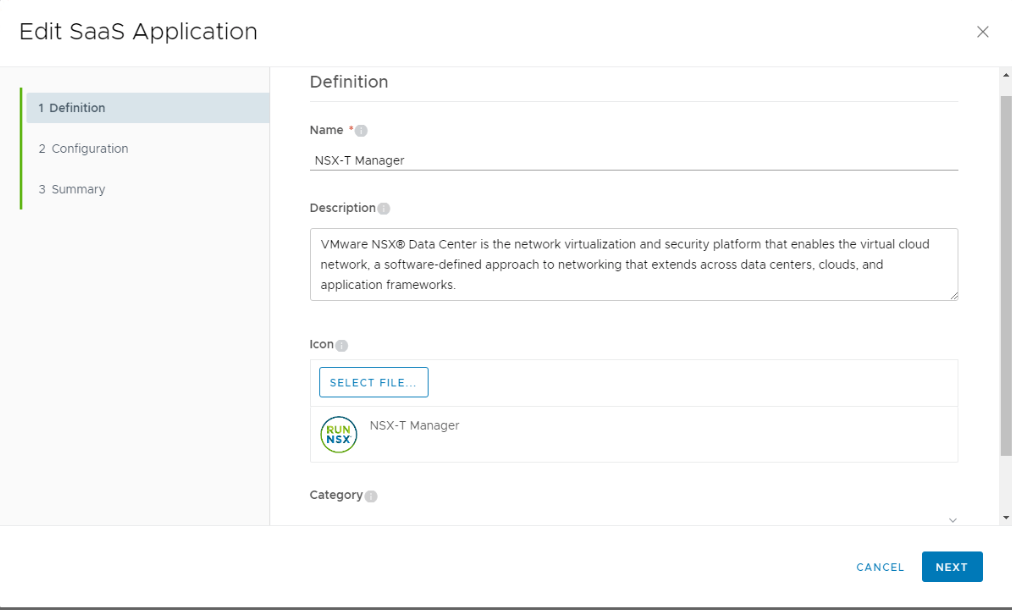
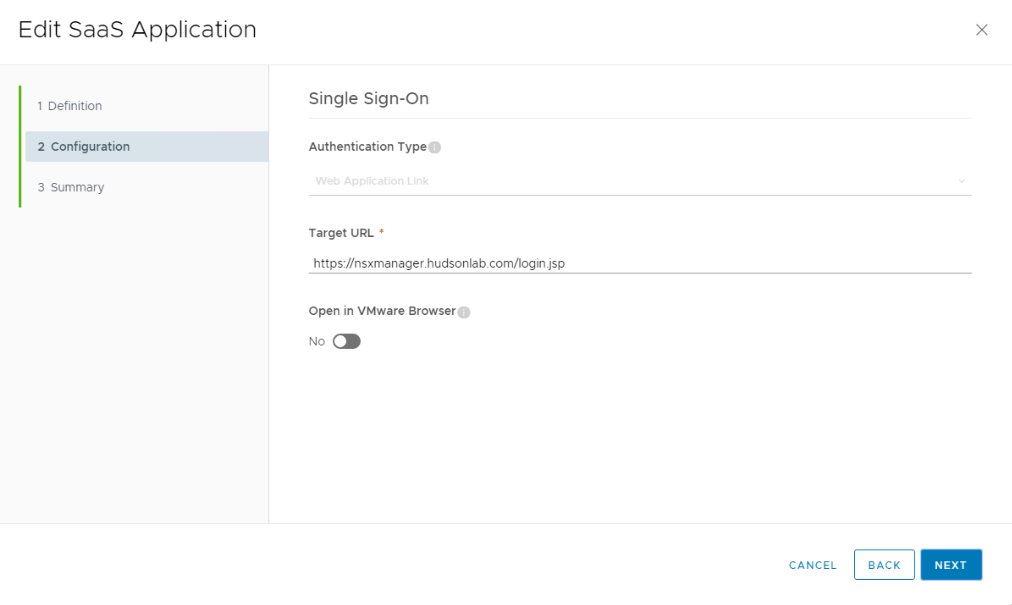
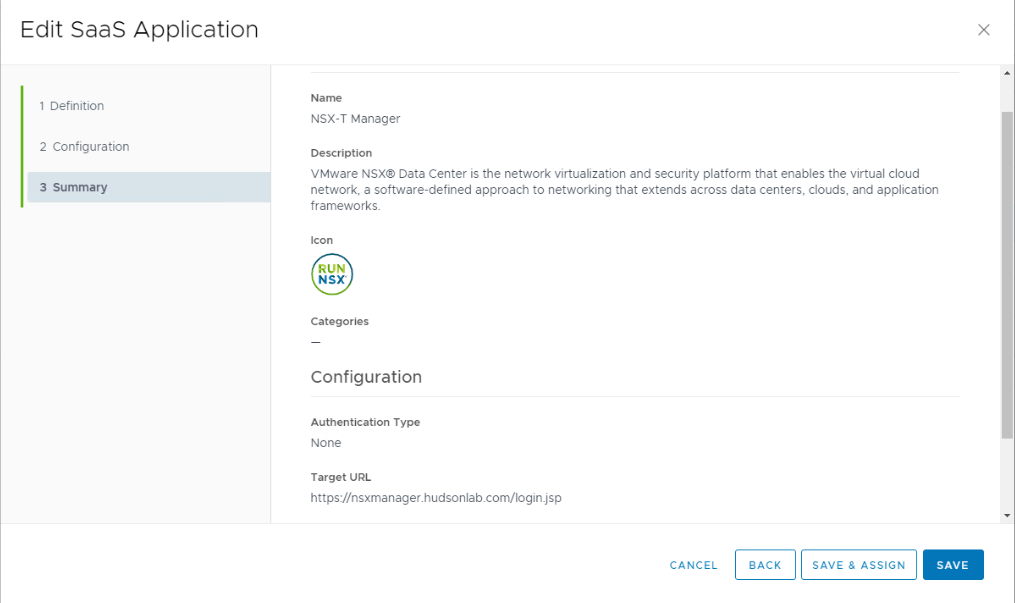
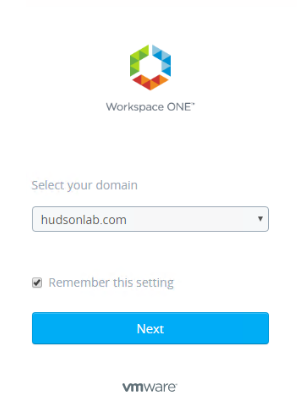
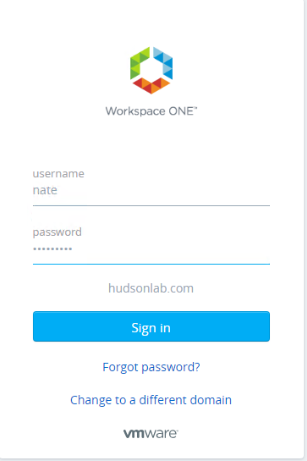
Now that I have this configured, if I log back into vIDM using my active directory as the login source instead of the system domain, voila, I’ve got all my VMware apps in one place and now NSX Manager authentication is passed through to NSX Manager and I’m able to login to any of the apps with SSO (with the exception of vCenter 🙁 but I’m hoping that’s coming soon)

That’s it folks. Hopefully you found this valuable and can work on setting this up yourself.


1 Response
[…] This is a follow-up from a previous blog on this topic where I configured a single NSX Manager integrated with Workspace One Identity to provide SSO capabilities. That can be found here. […]