With the release of the new VMware Fling, you can now run ESXi on a Raspberry Pi 4b. I used 2 of the Canakit Raspberry Pi 4B 8GB kits for my testing.
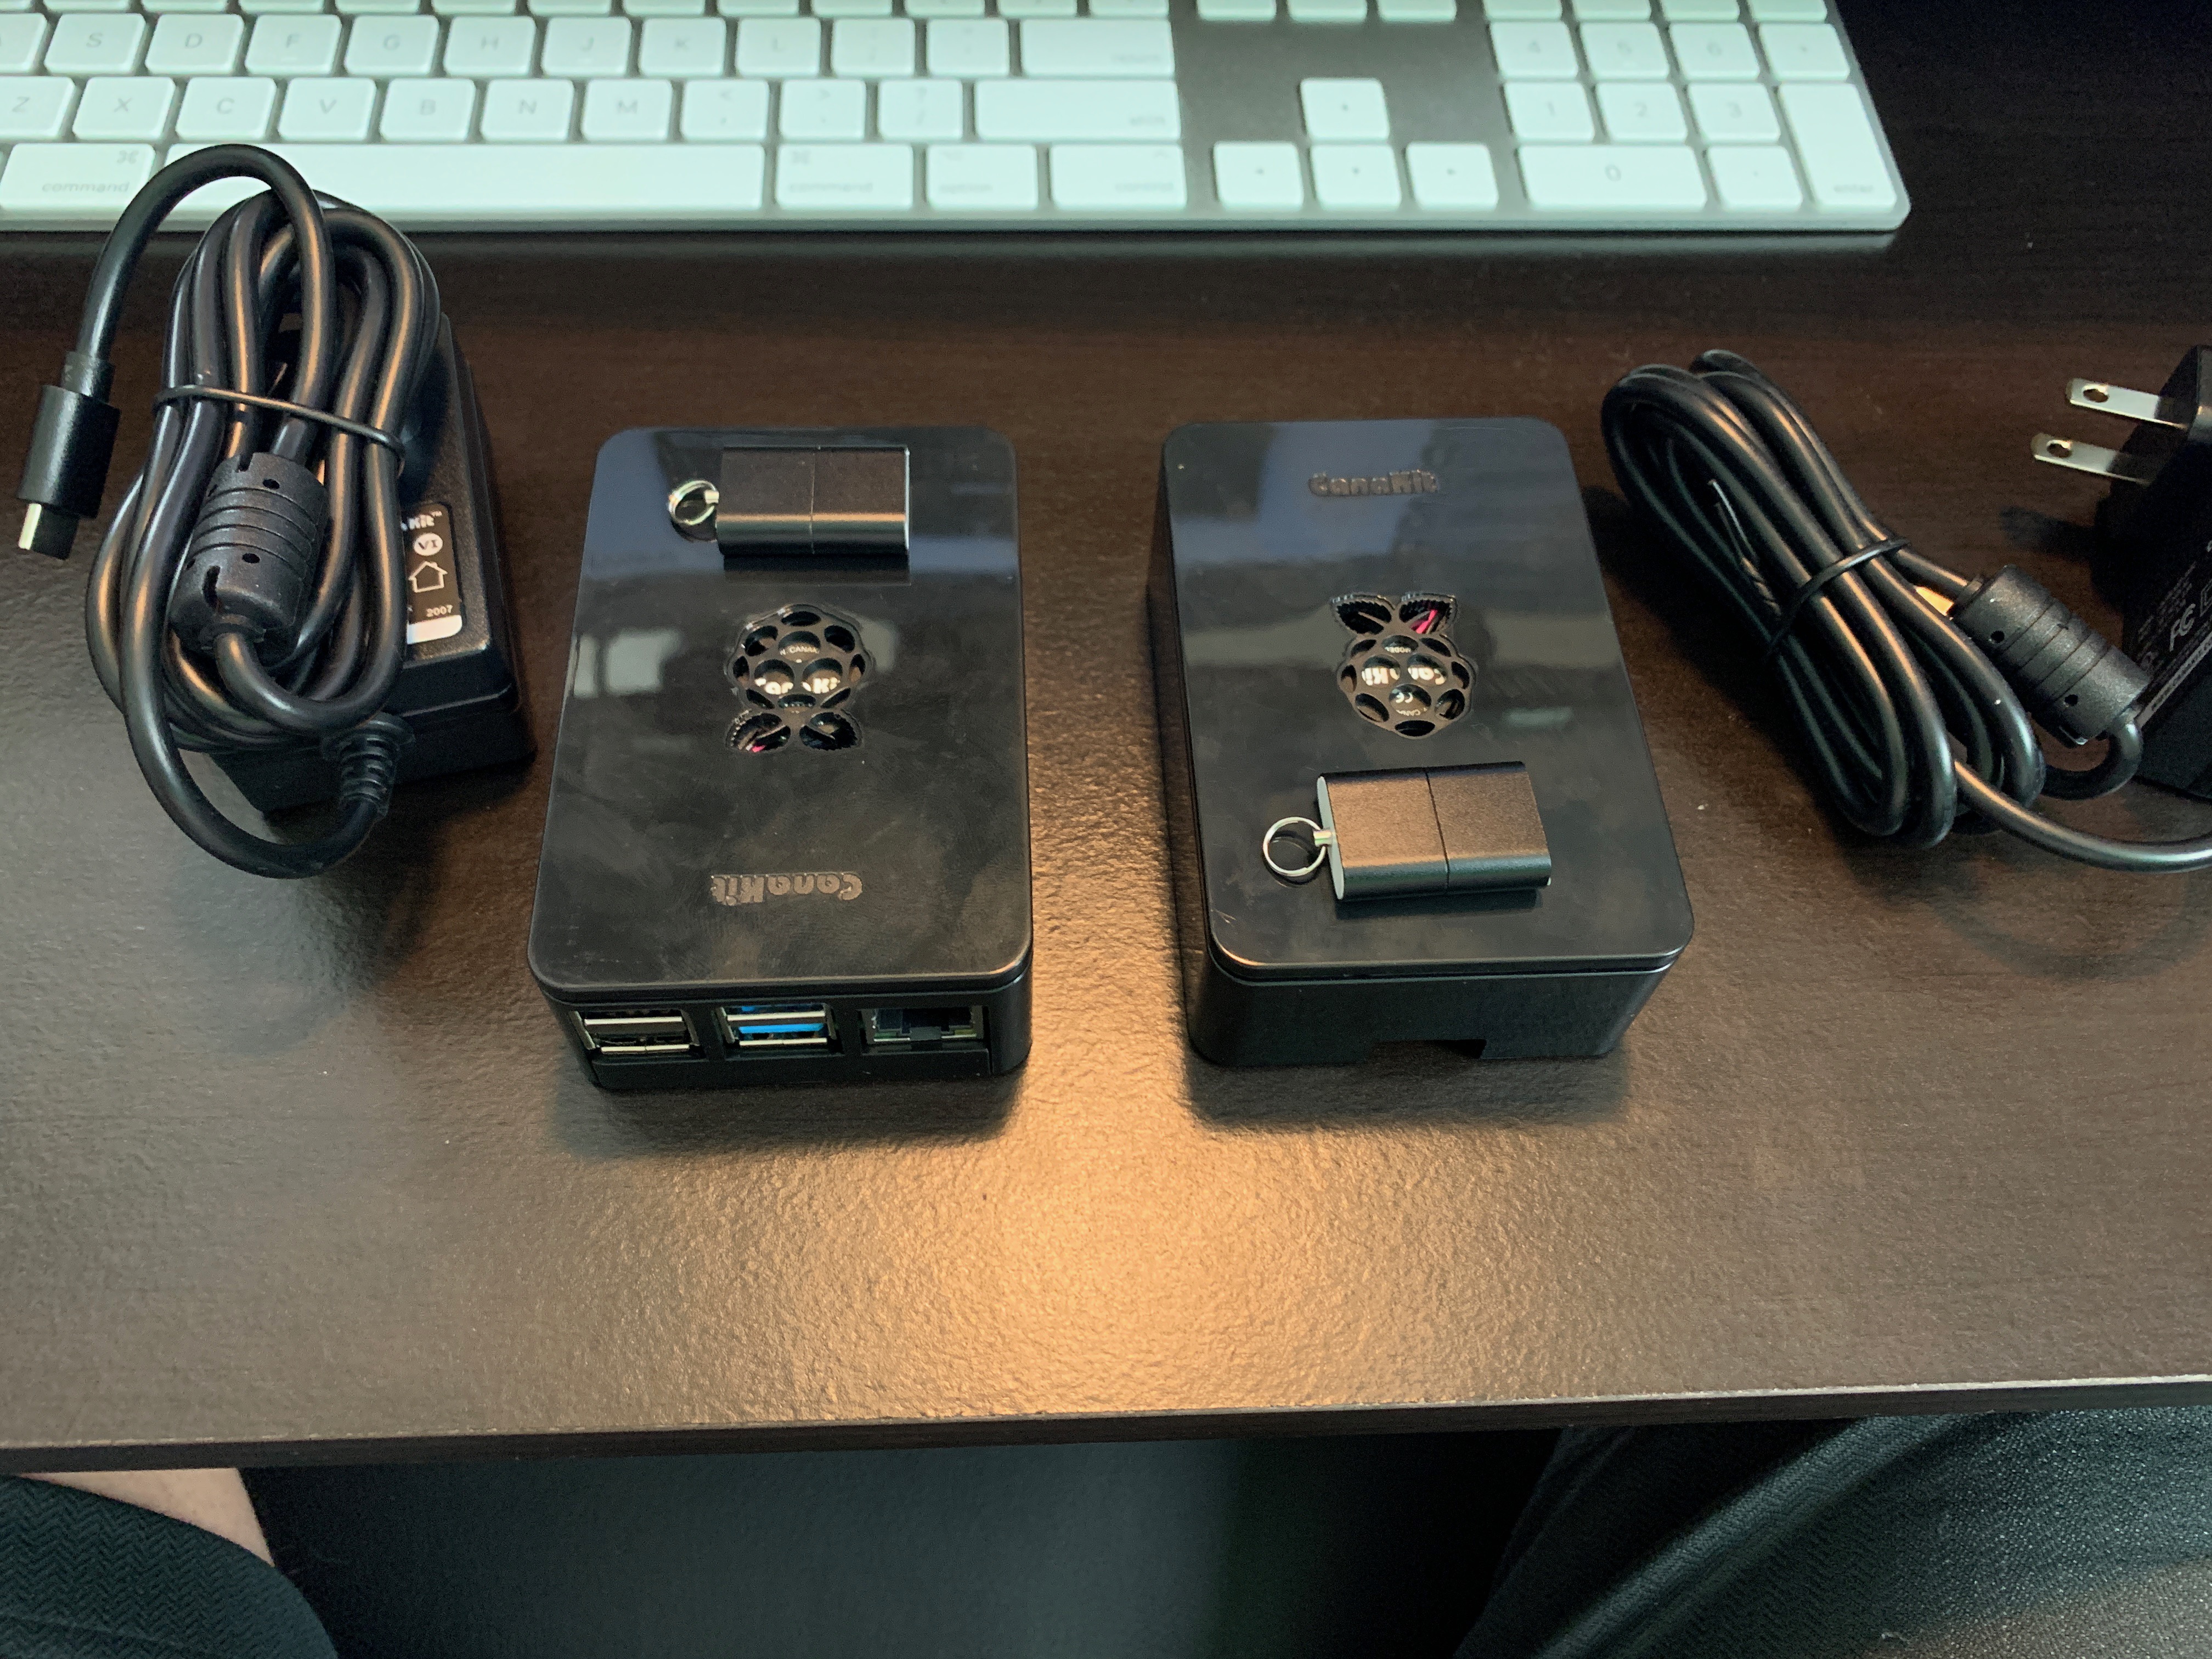
Two kits allows me to play around with a couple different options and I decided to work through 3 use cases for my testing.
- Create a 2-node vSAN cluster using the RP4s and a remote witness (blog post here)
- Use a RP4 as a remote witness for a 2 or more node vSAN cluster (blog here)
- Frankenstein project running a VeloCloud edge with an LTE uplink (blog coming)
First things first, I needed to load vSphere on the SD card inserted into RP4 units using the provided instructions on the VMware Fling Link above.
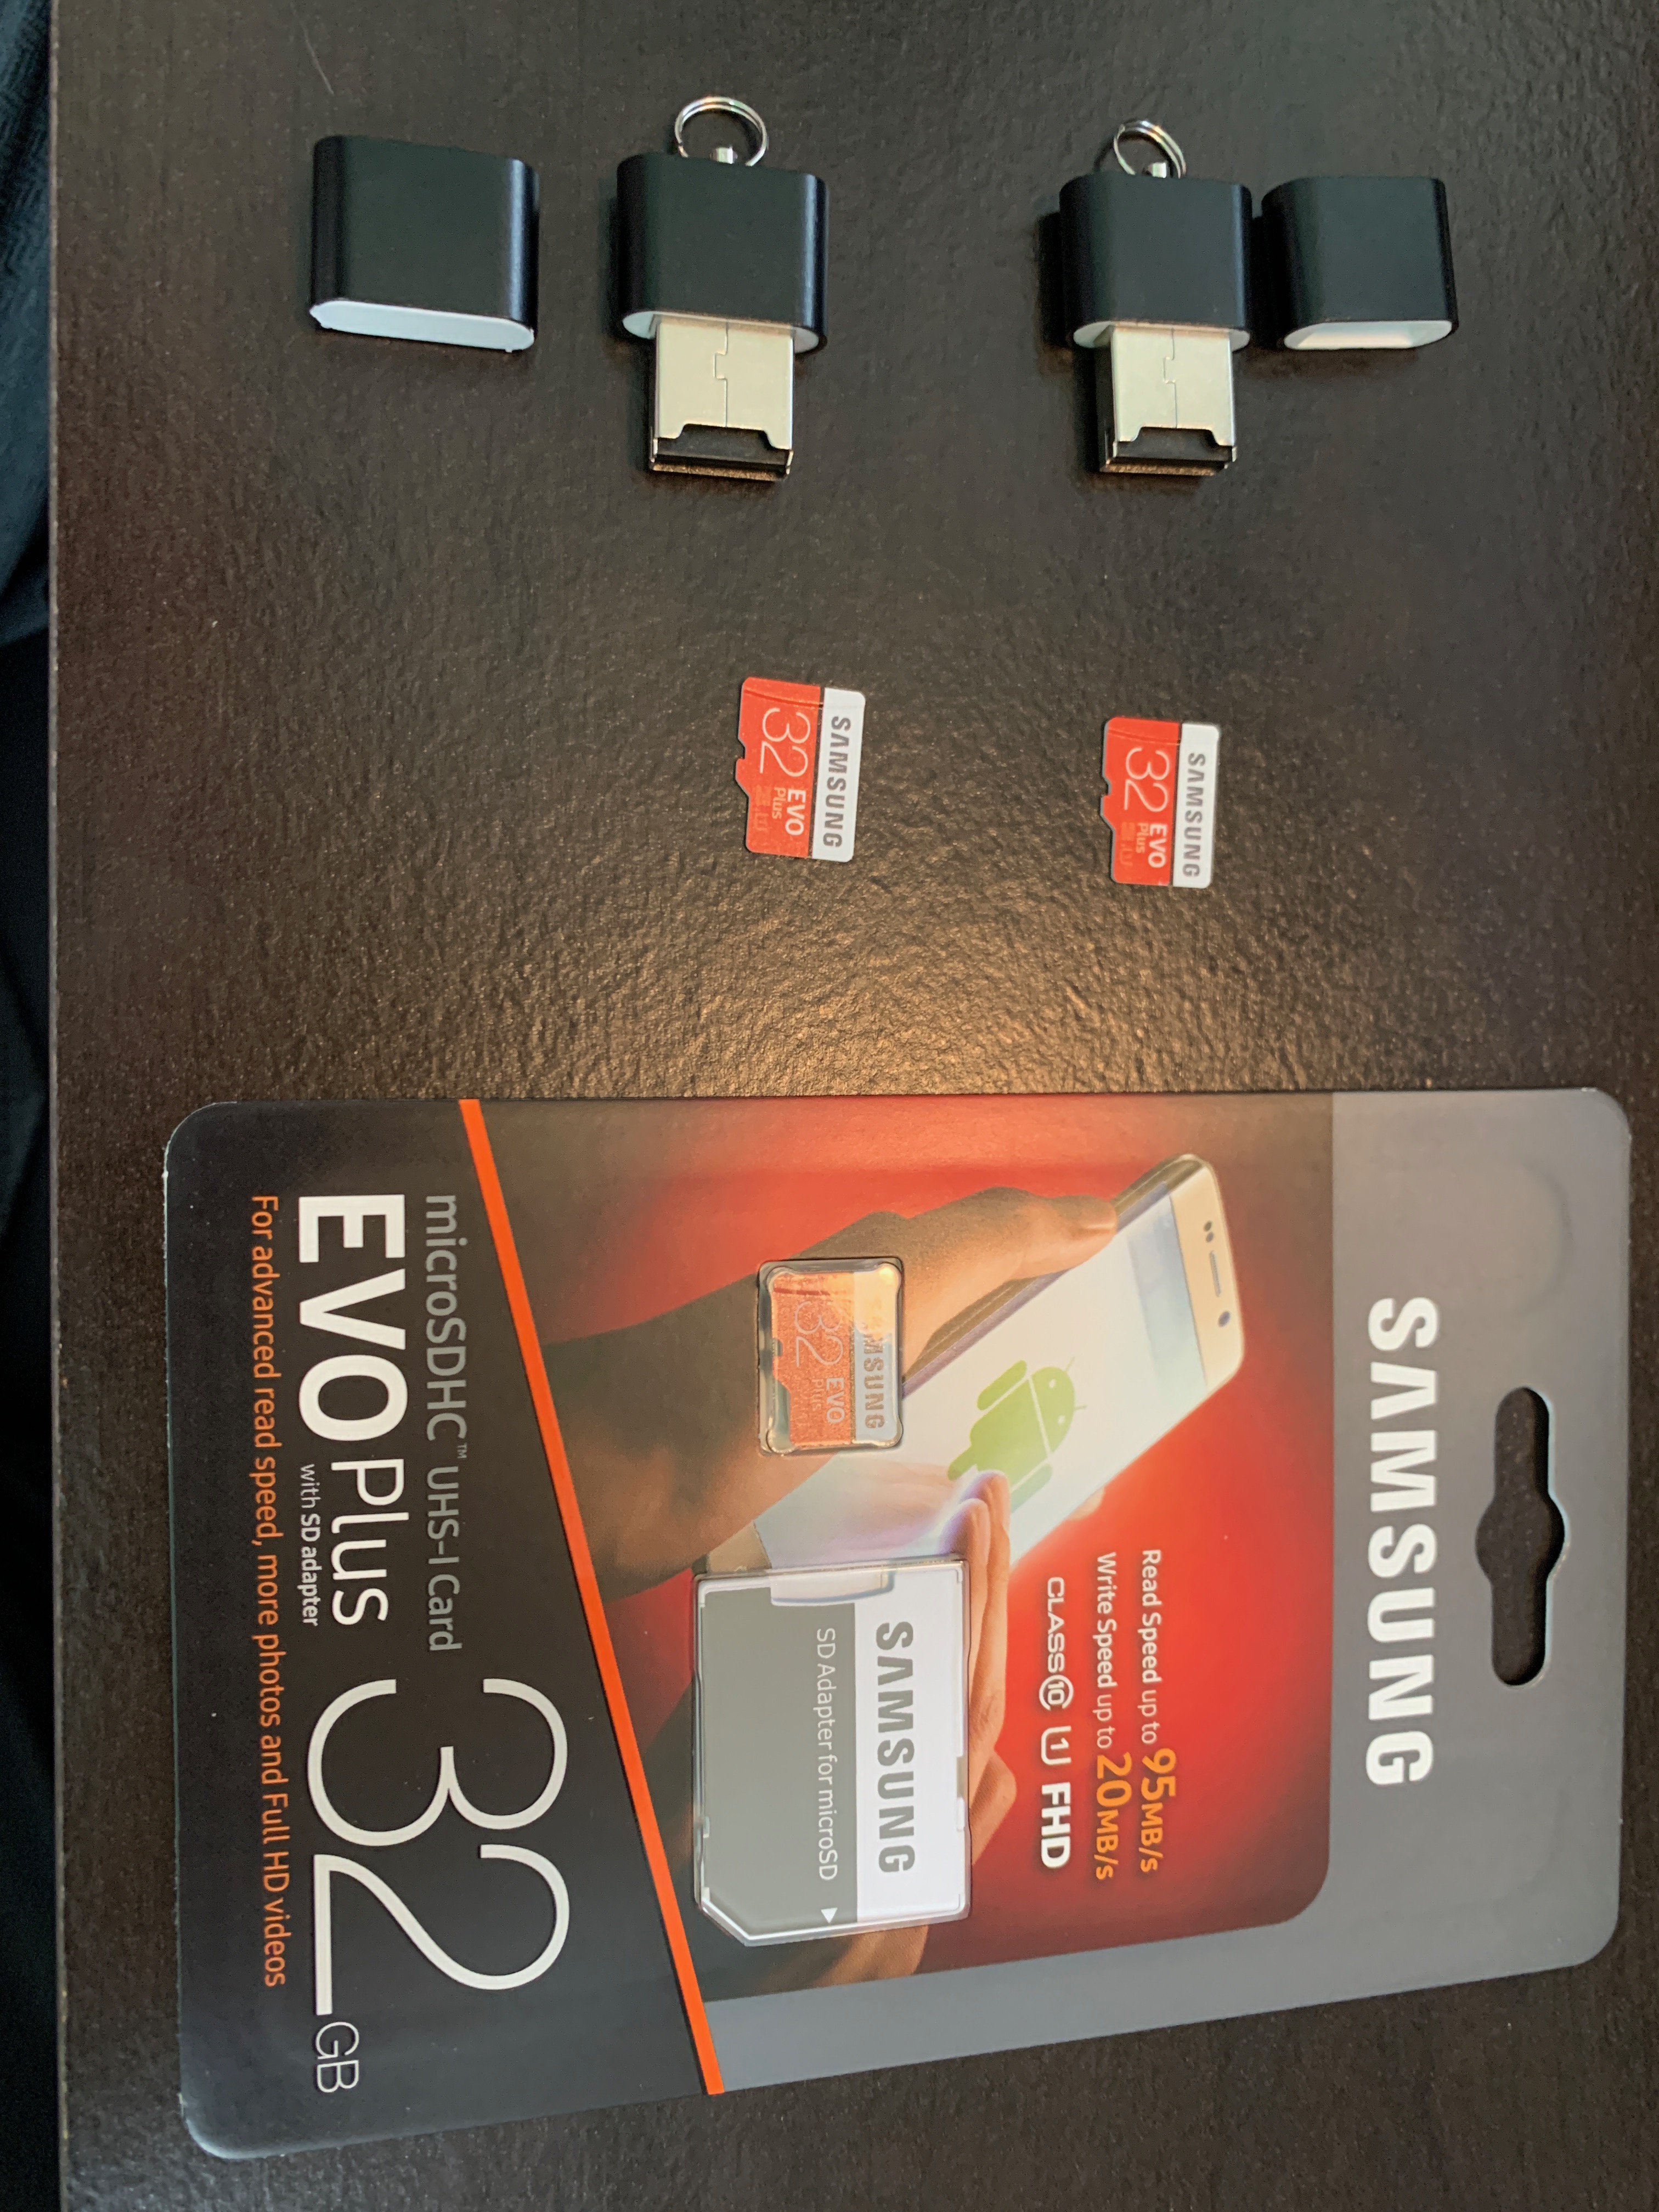
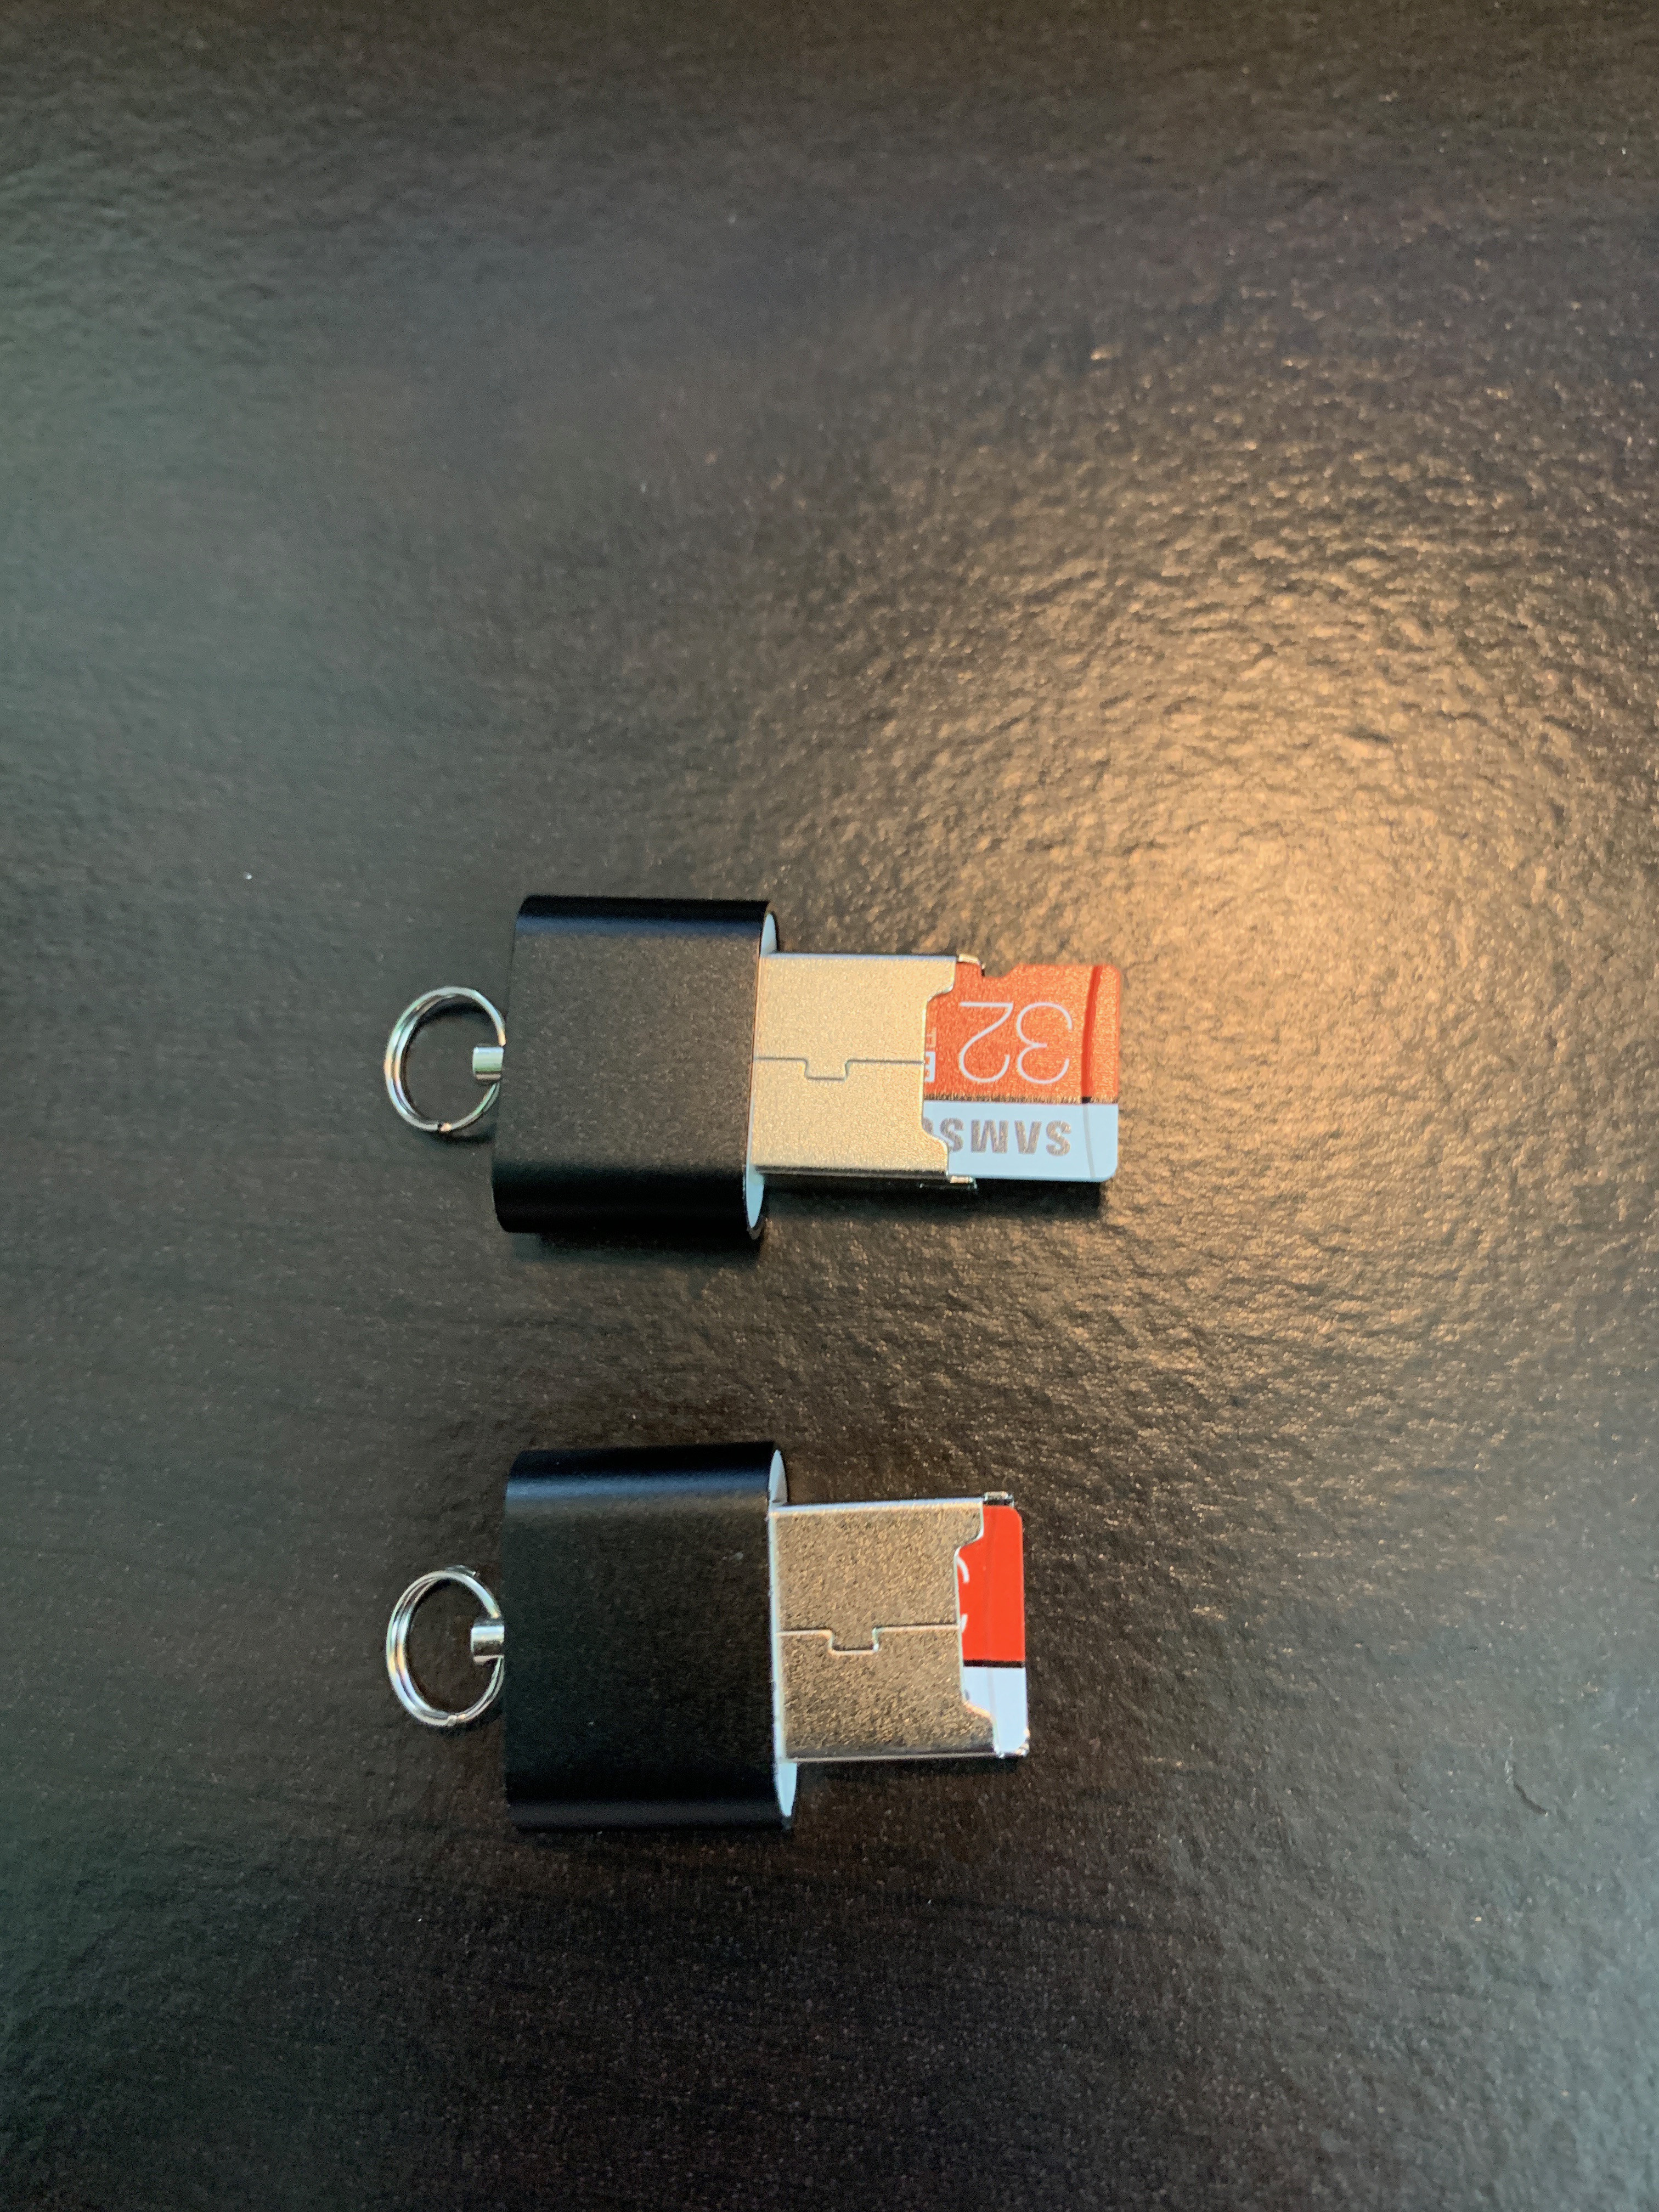
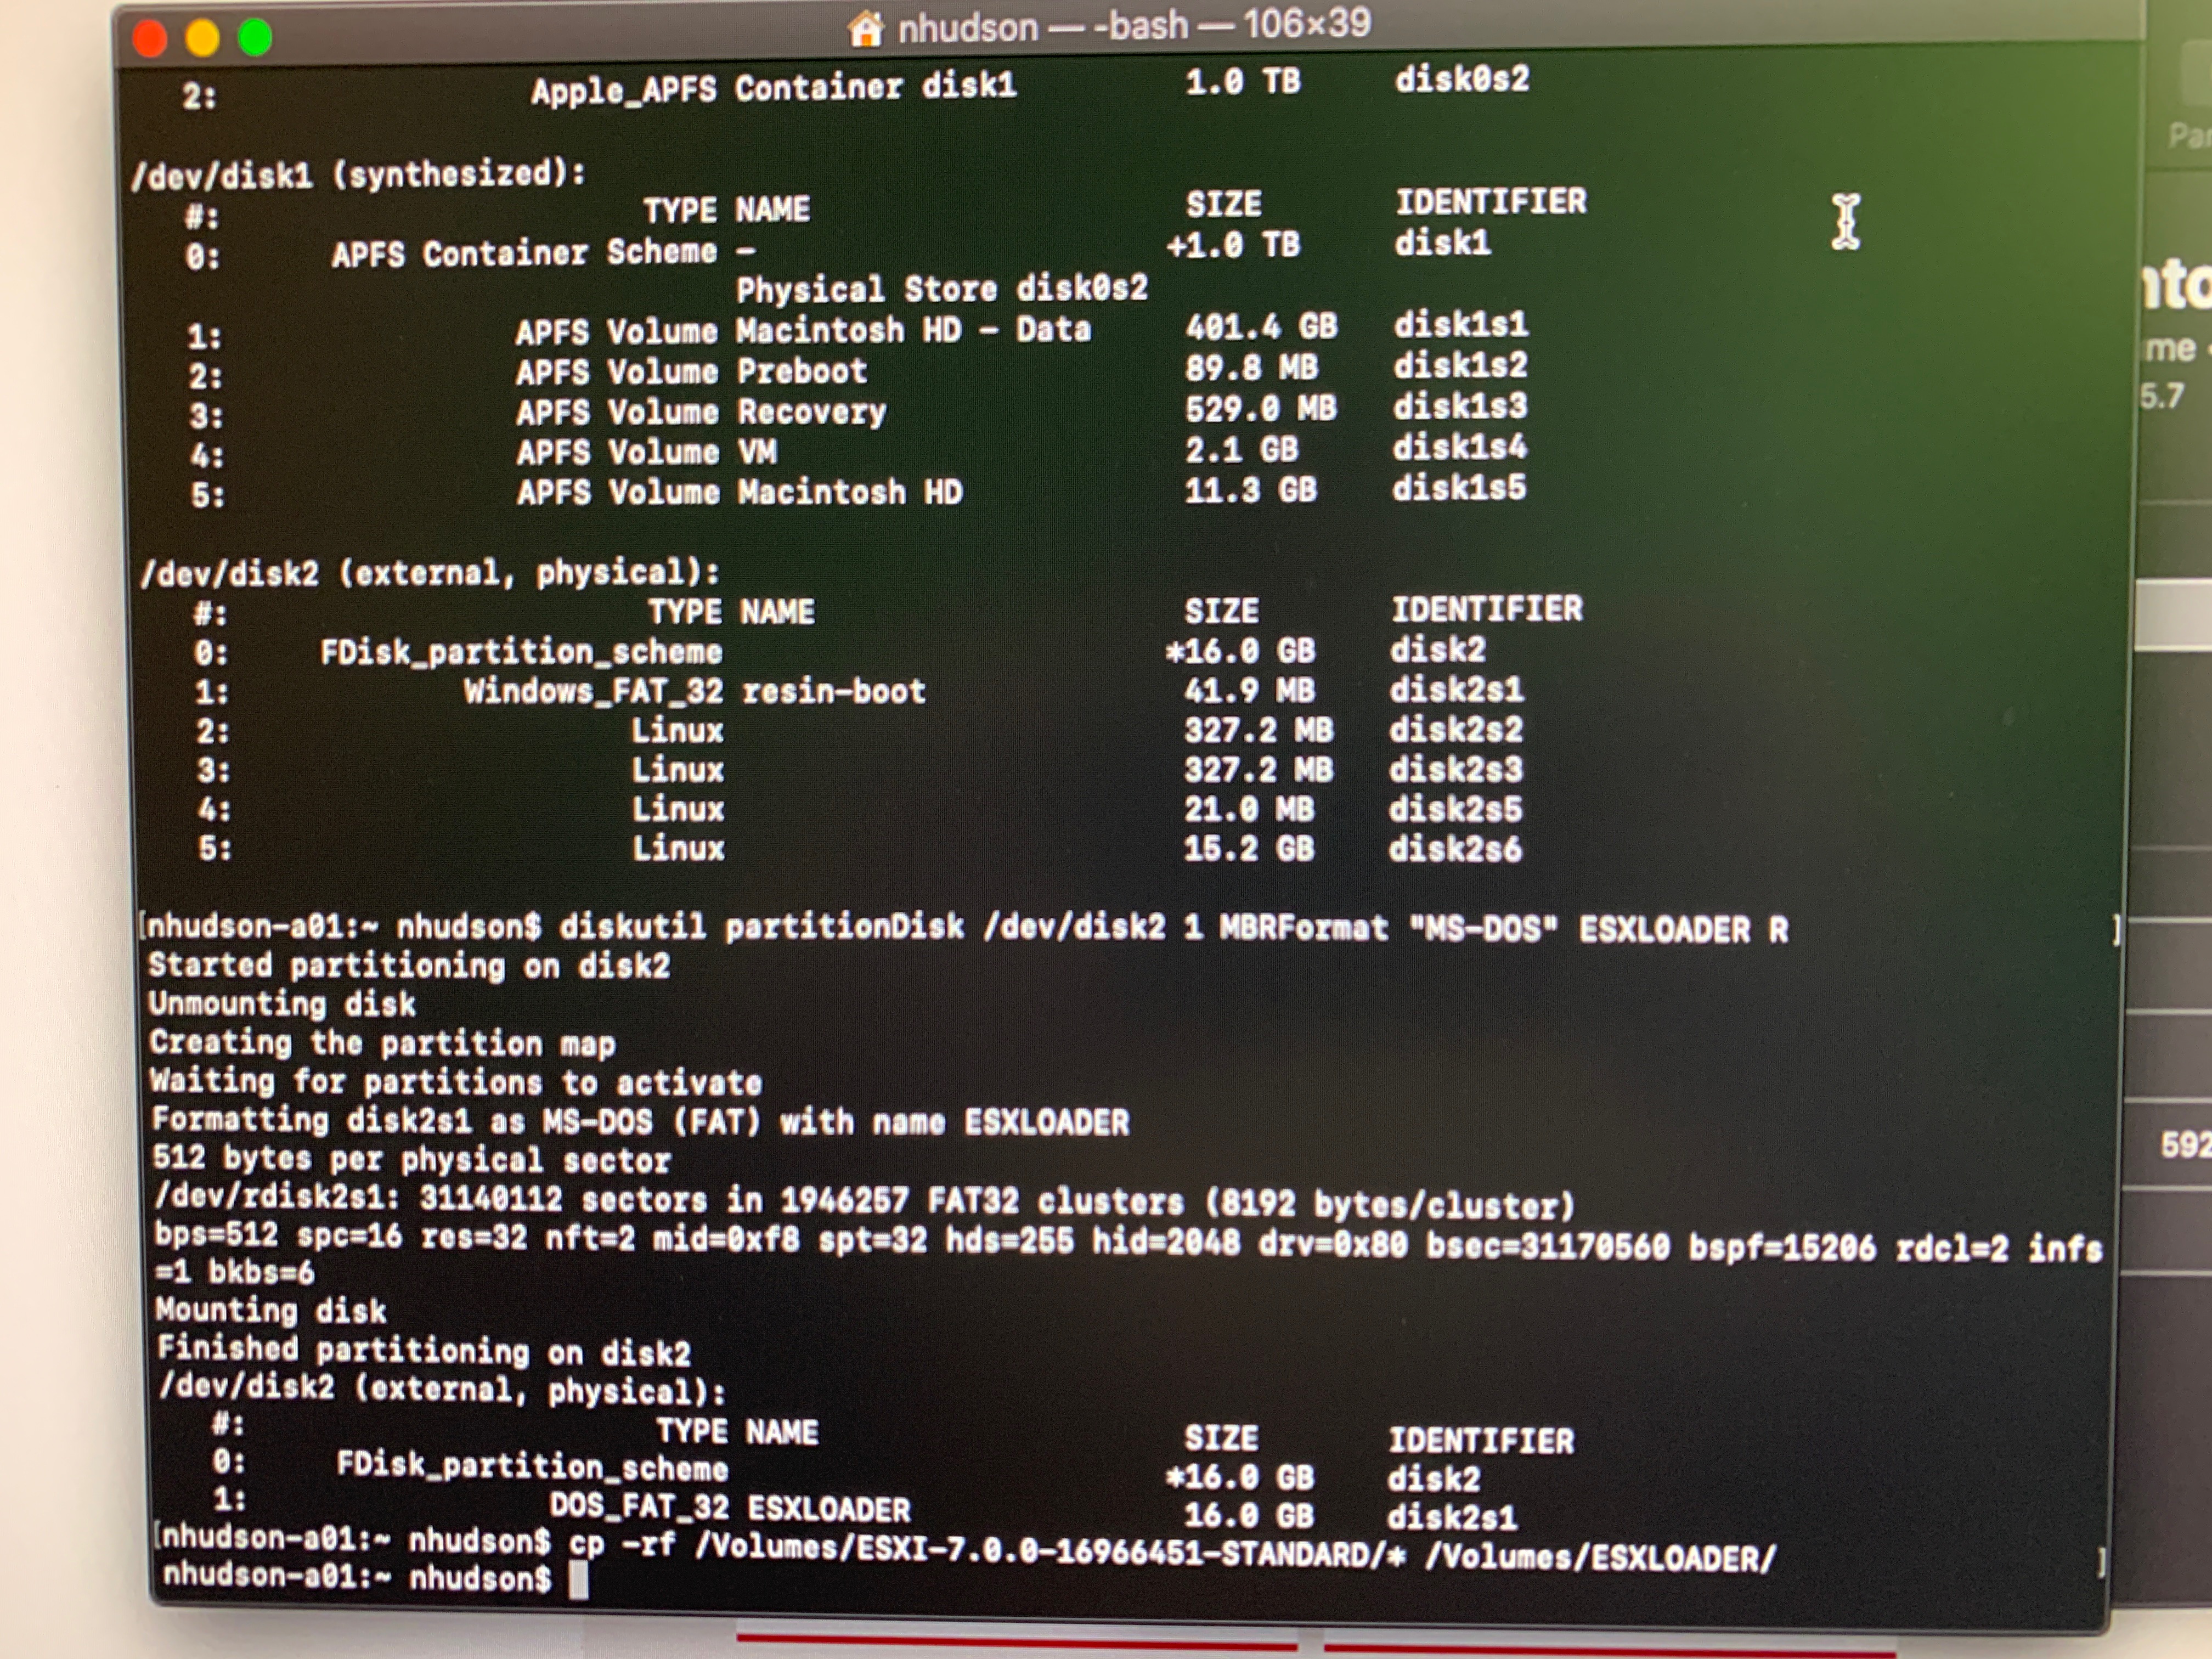
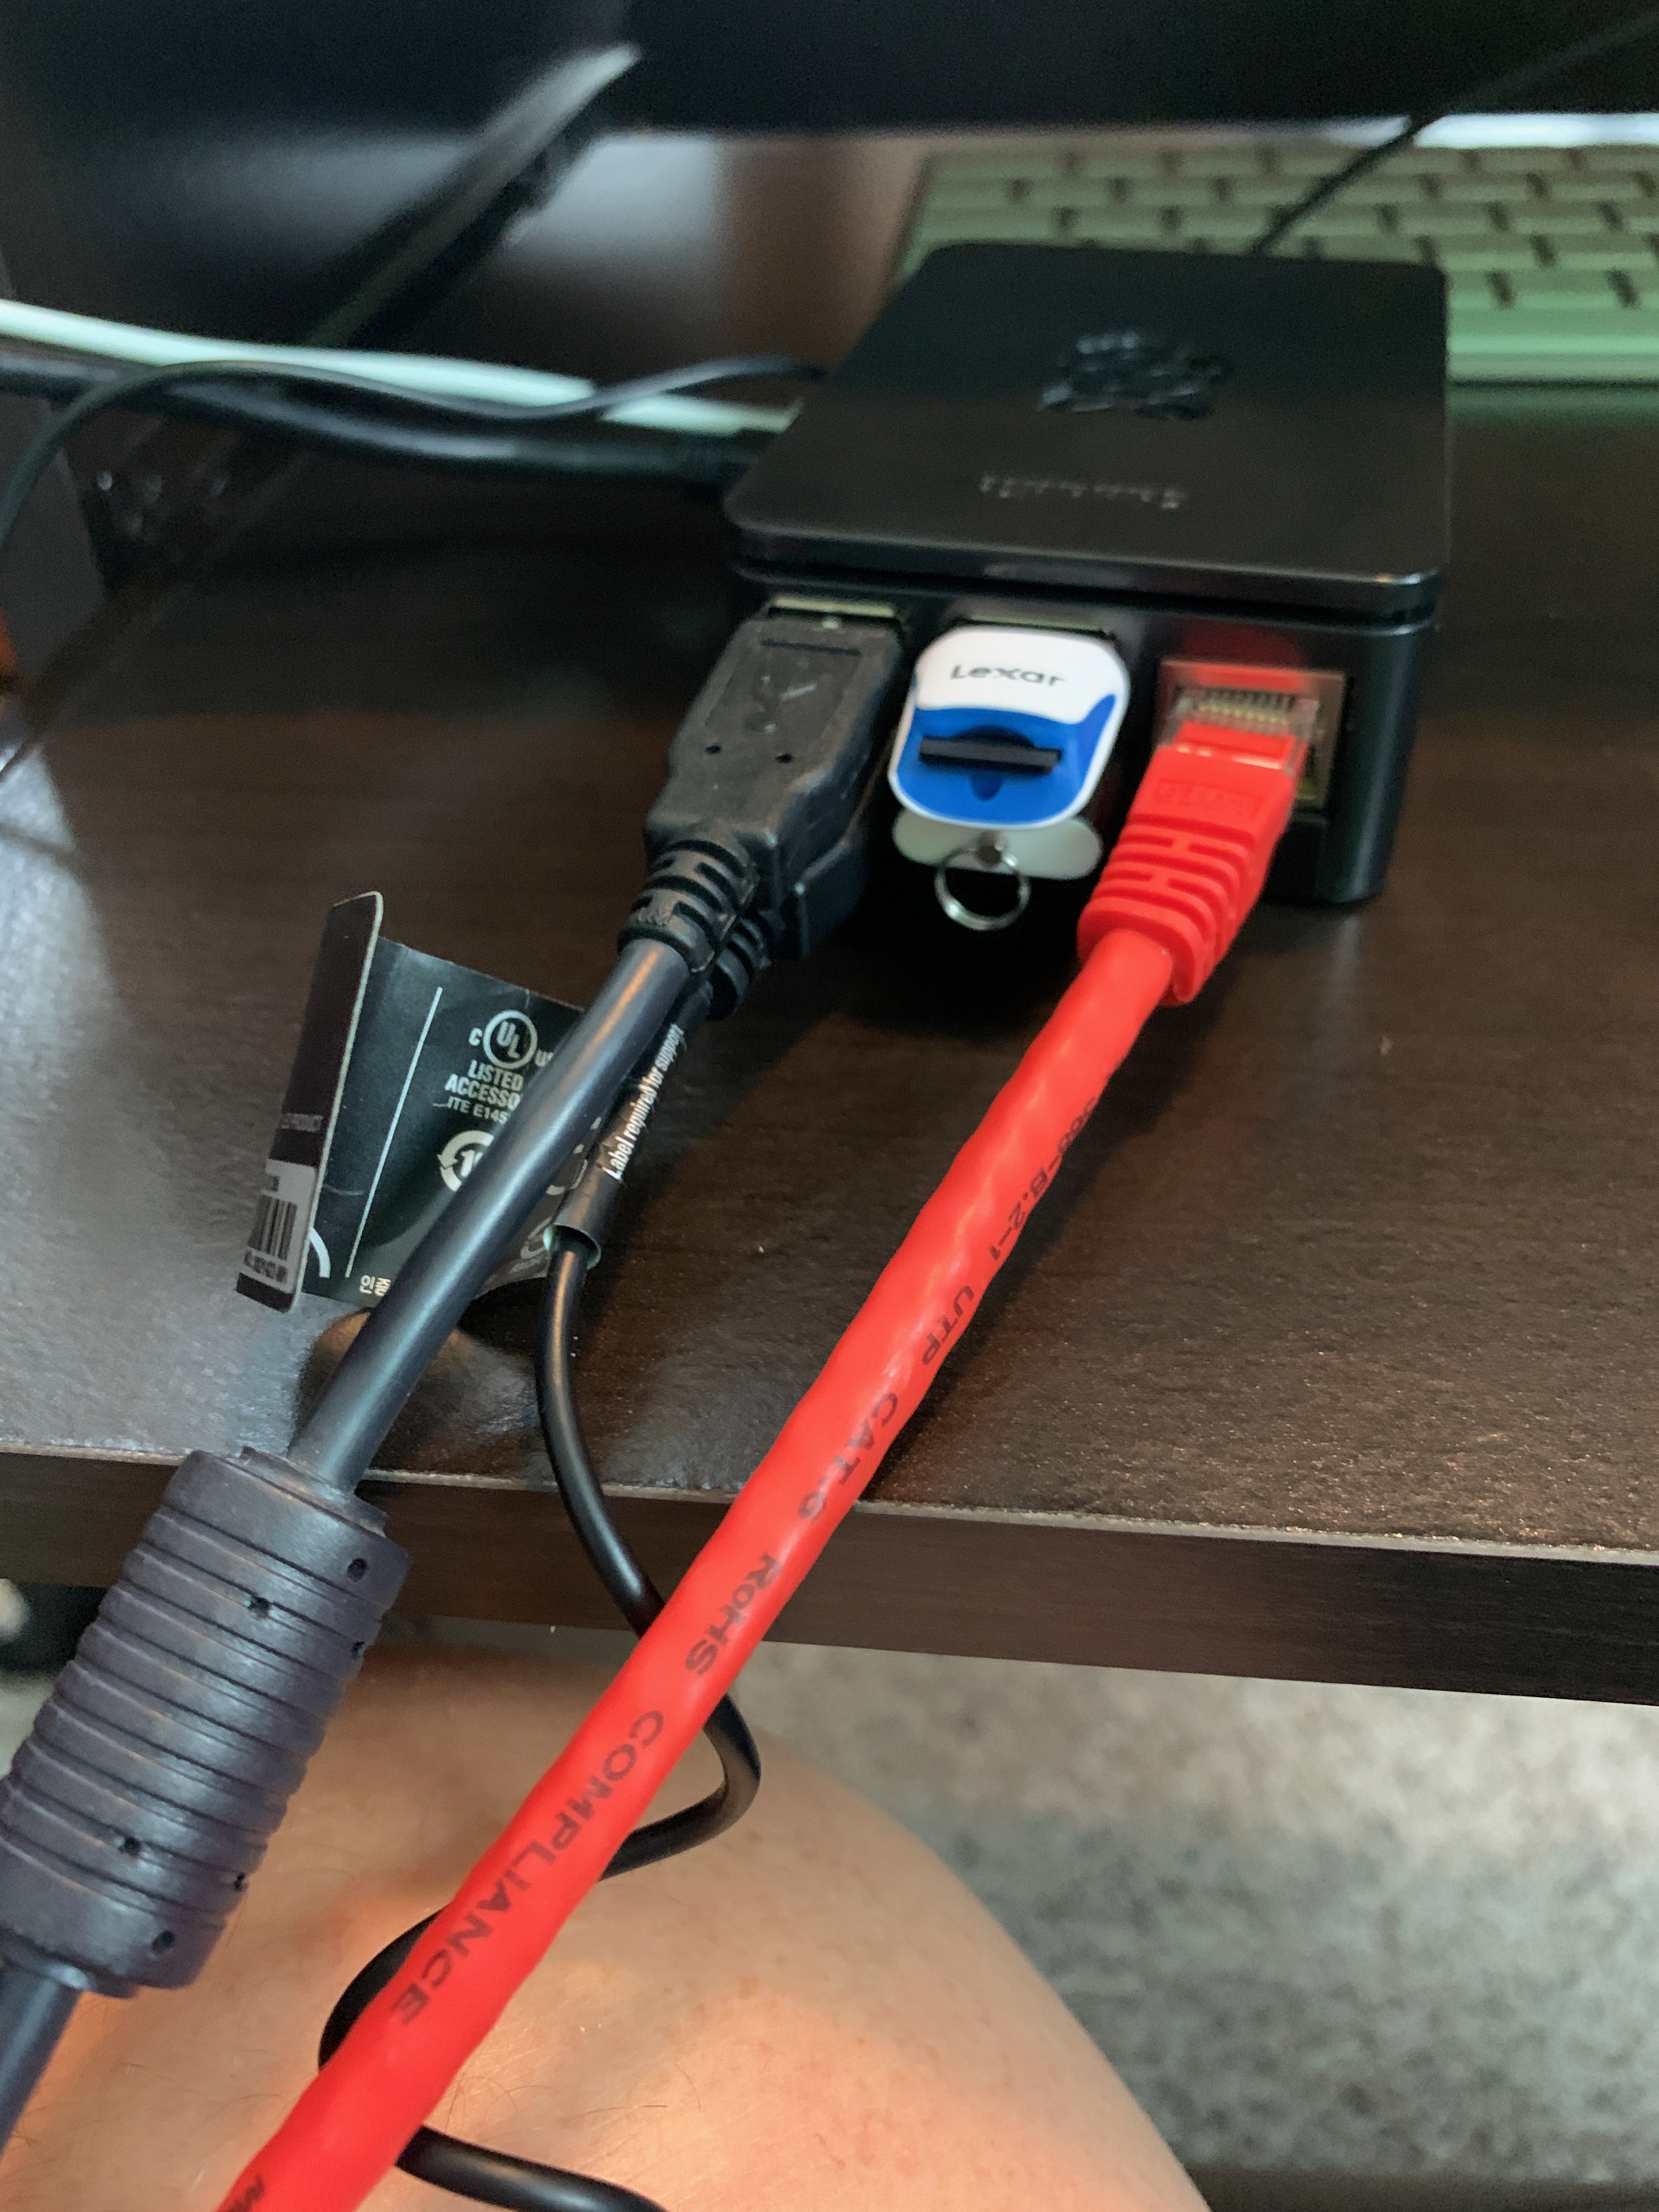
I’m using Samsung EVO Plus 32GB SD cards, one in the RP4 for the UEFI firmware, one to load the ESXi installer, and one to install ESXi onto. Following the instructions on how to configure the UEFI firmware using the Fling documentation was pretty simple. I used somewhat of the same instructions to format one of the SD cards on my mac and copy to contents of the ESXi7 ISO file mounted to my mac onto one of the SD cards that is shown in the blue Lexar SD card reader. In the shot above, I have the installer files in the Lexar and just below that (included in the kit I purchased) is the USB SD Card reader with a blank SD card installed to install ESXi onto.
The tricky part I ran into was toggling between my primary monitor HDMI connection and the USB C connection on my laptop so I could see what was happening on the RP4 as each time it rebooted it defaulted back to my Mac.
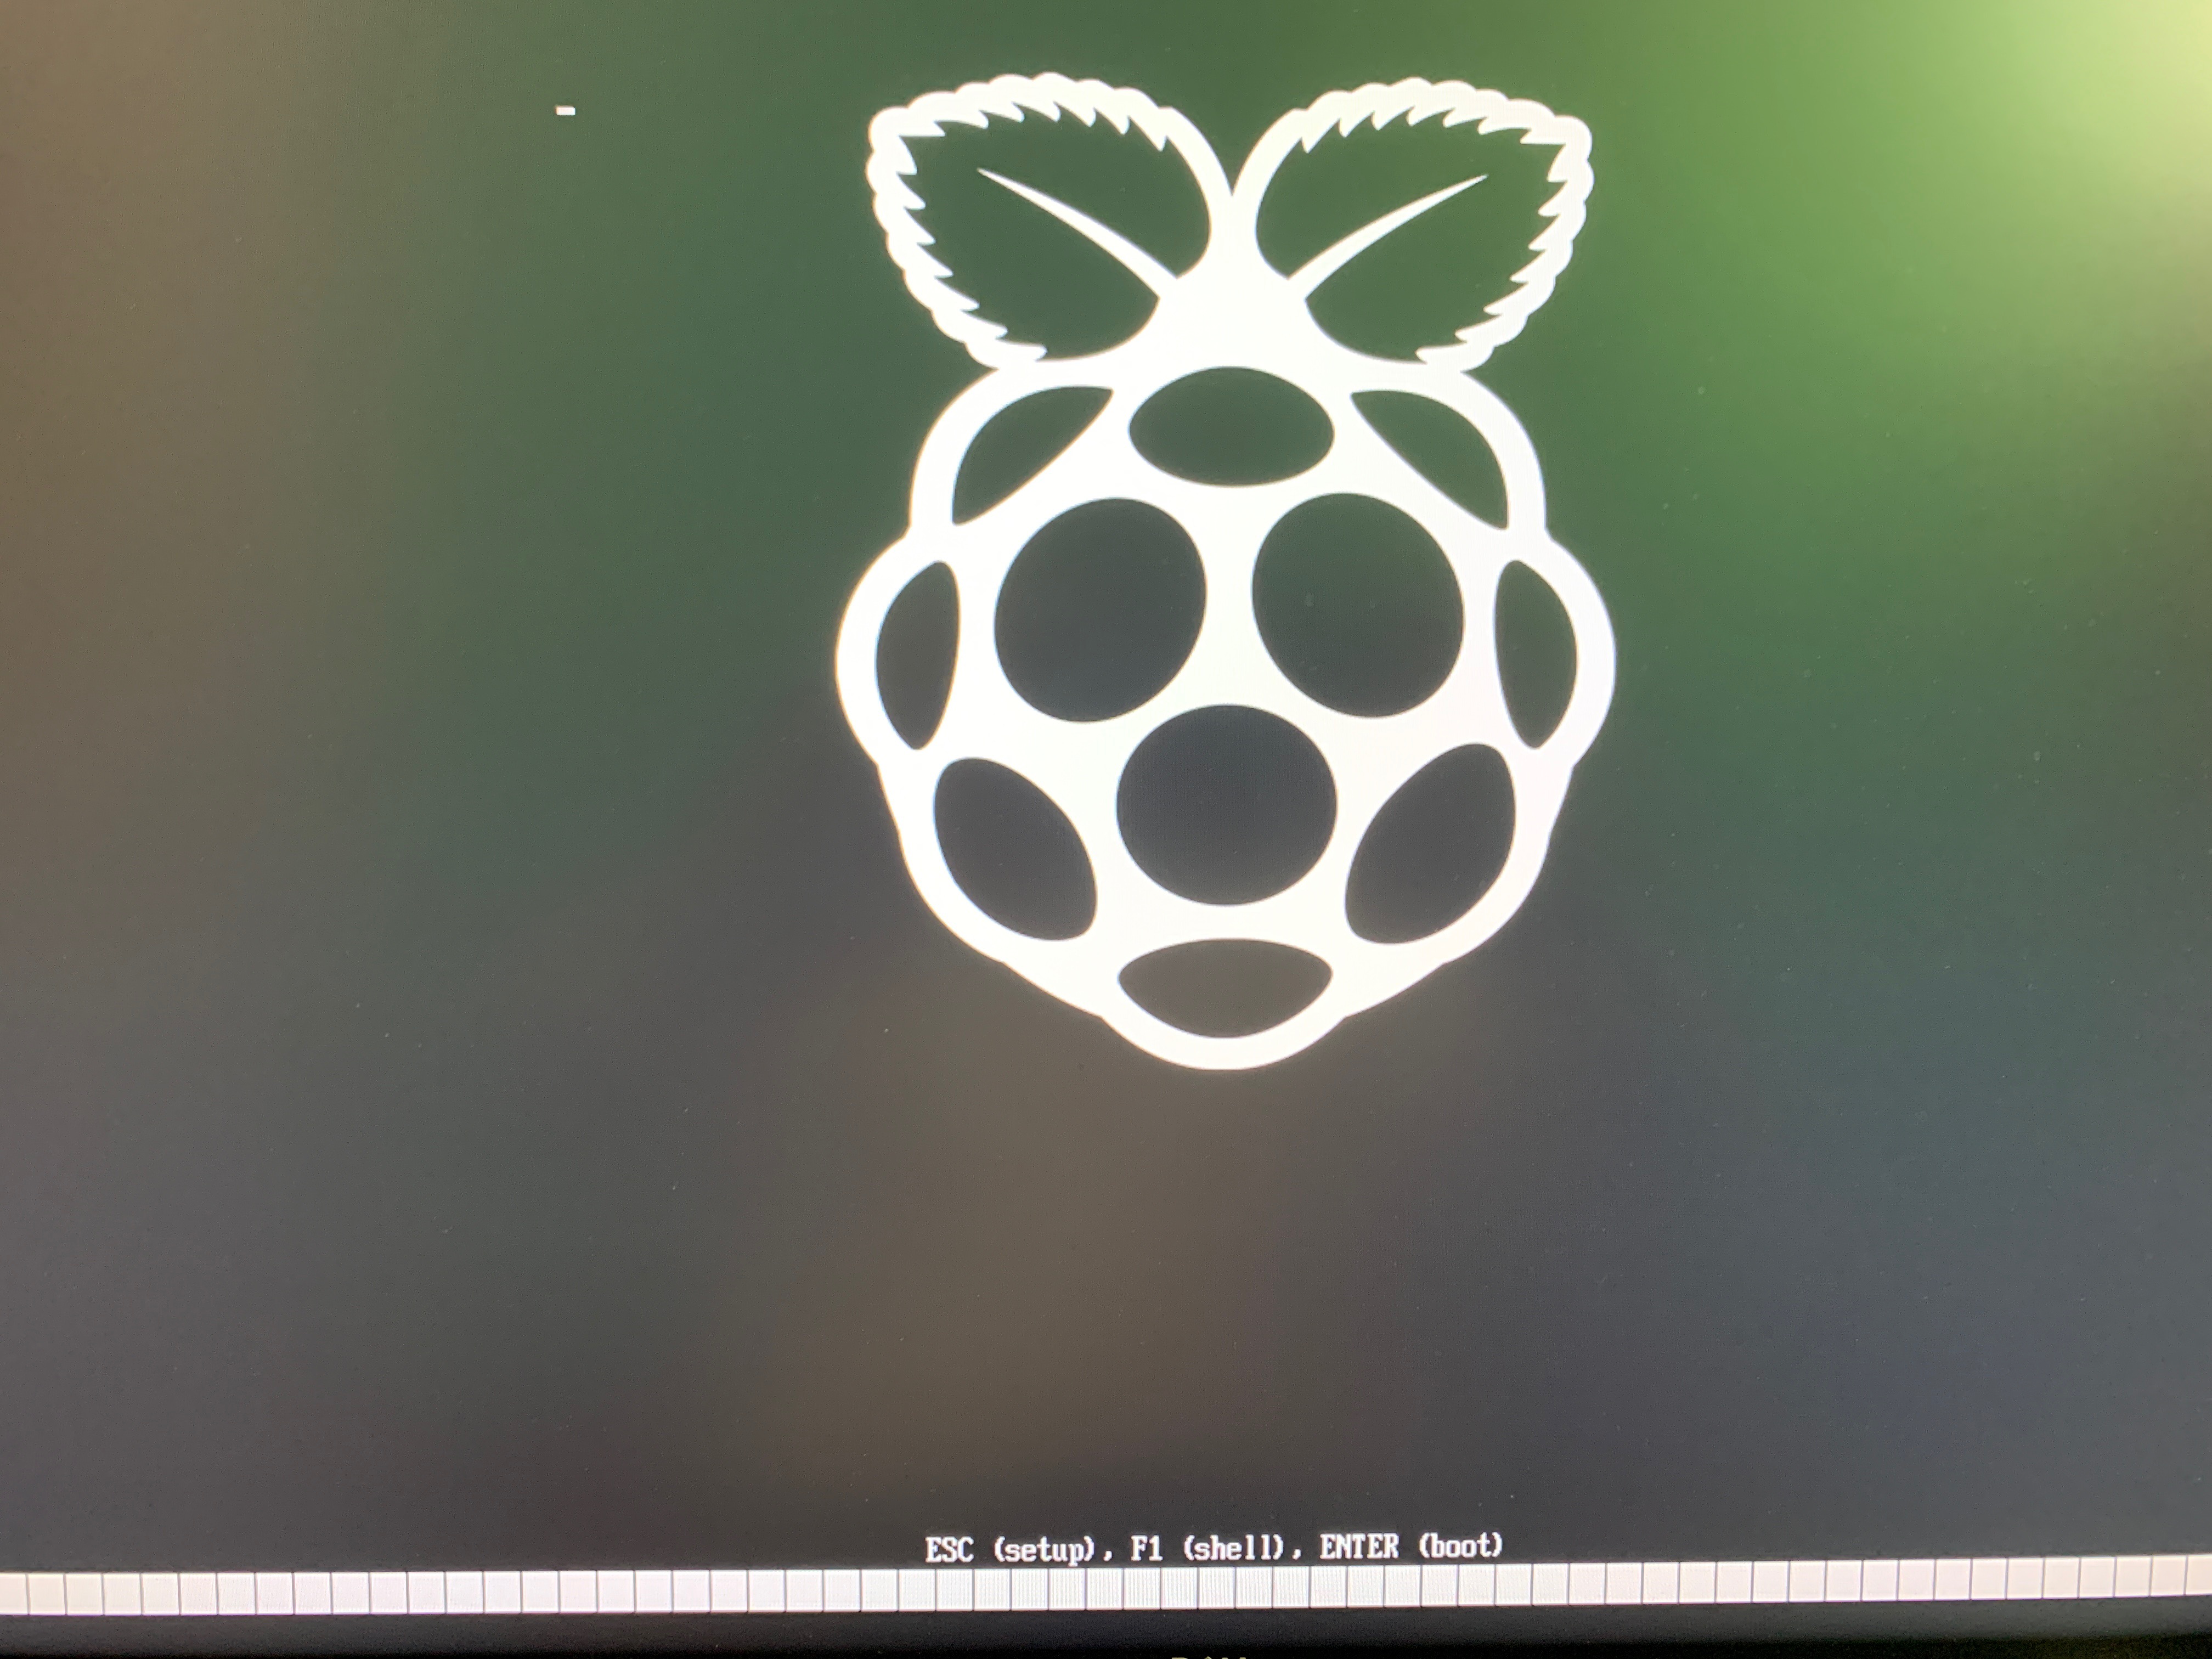

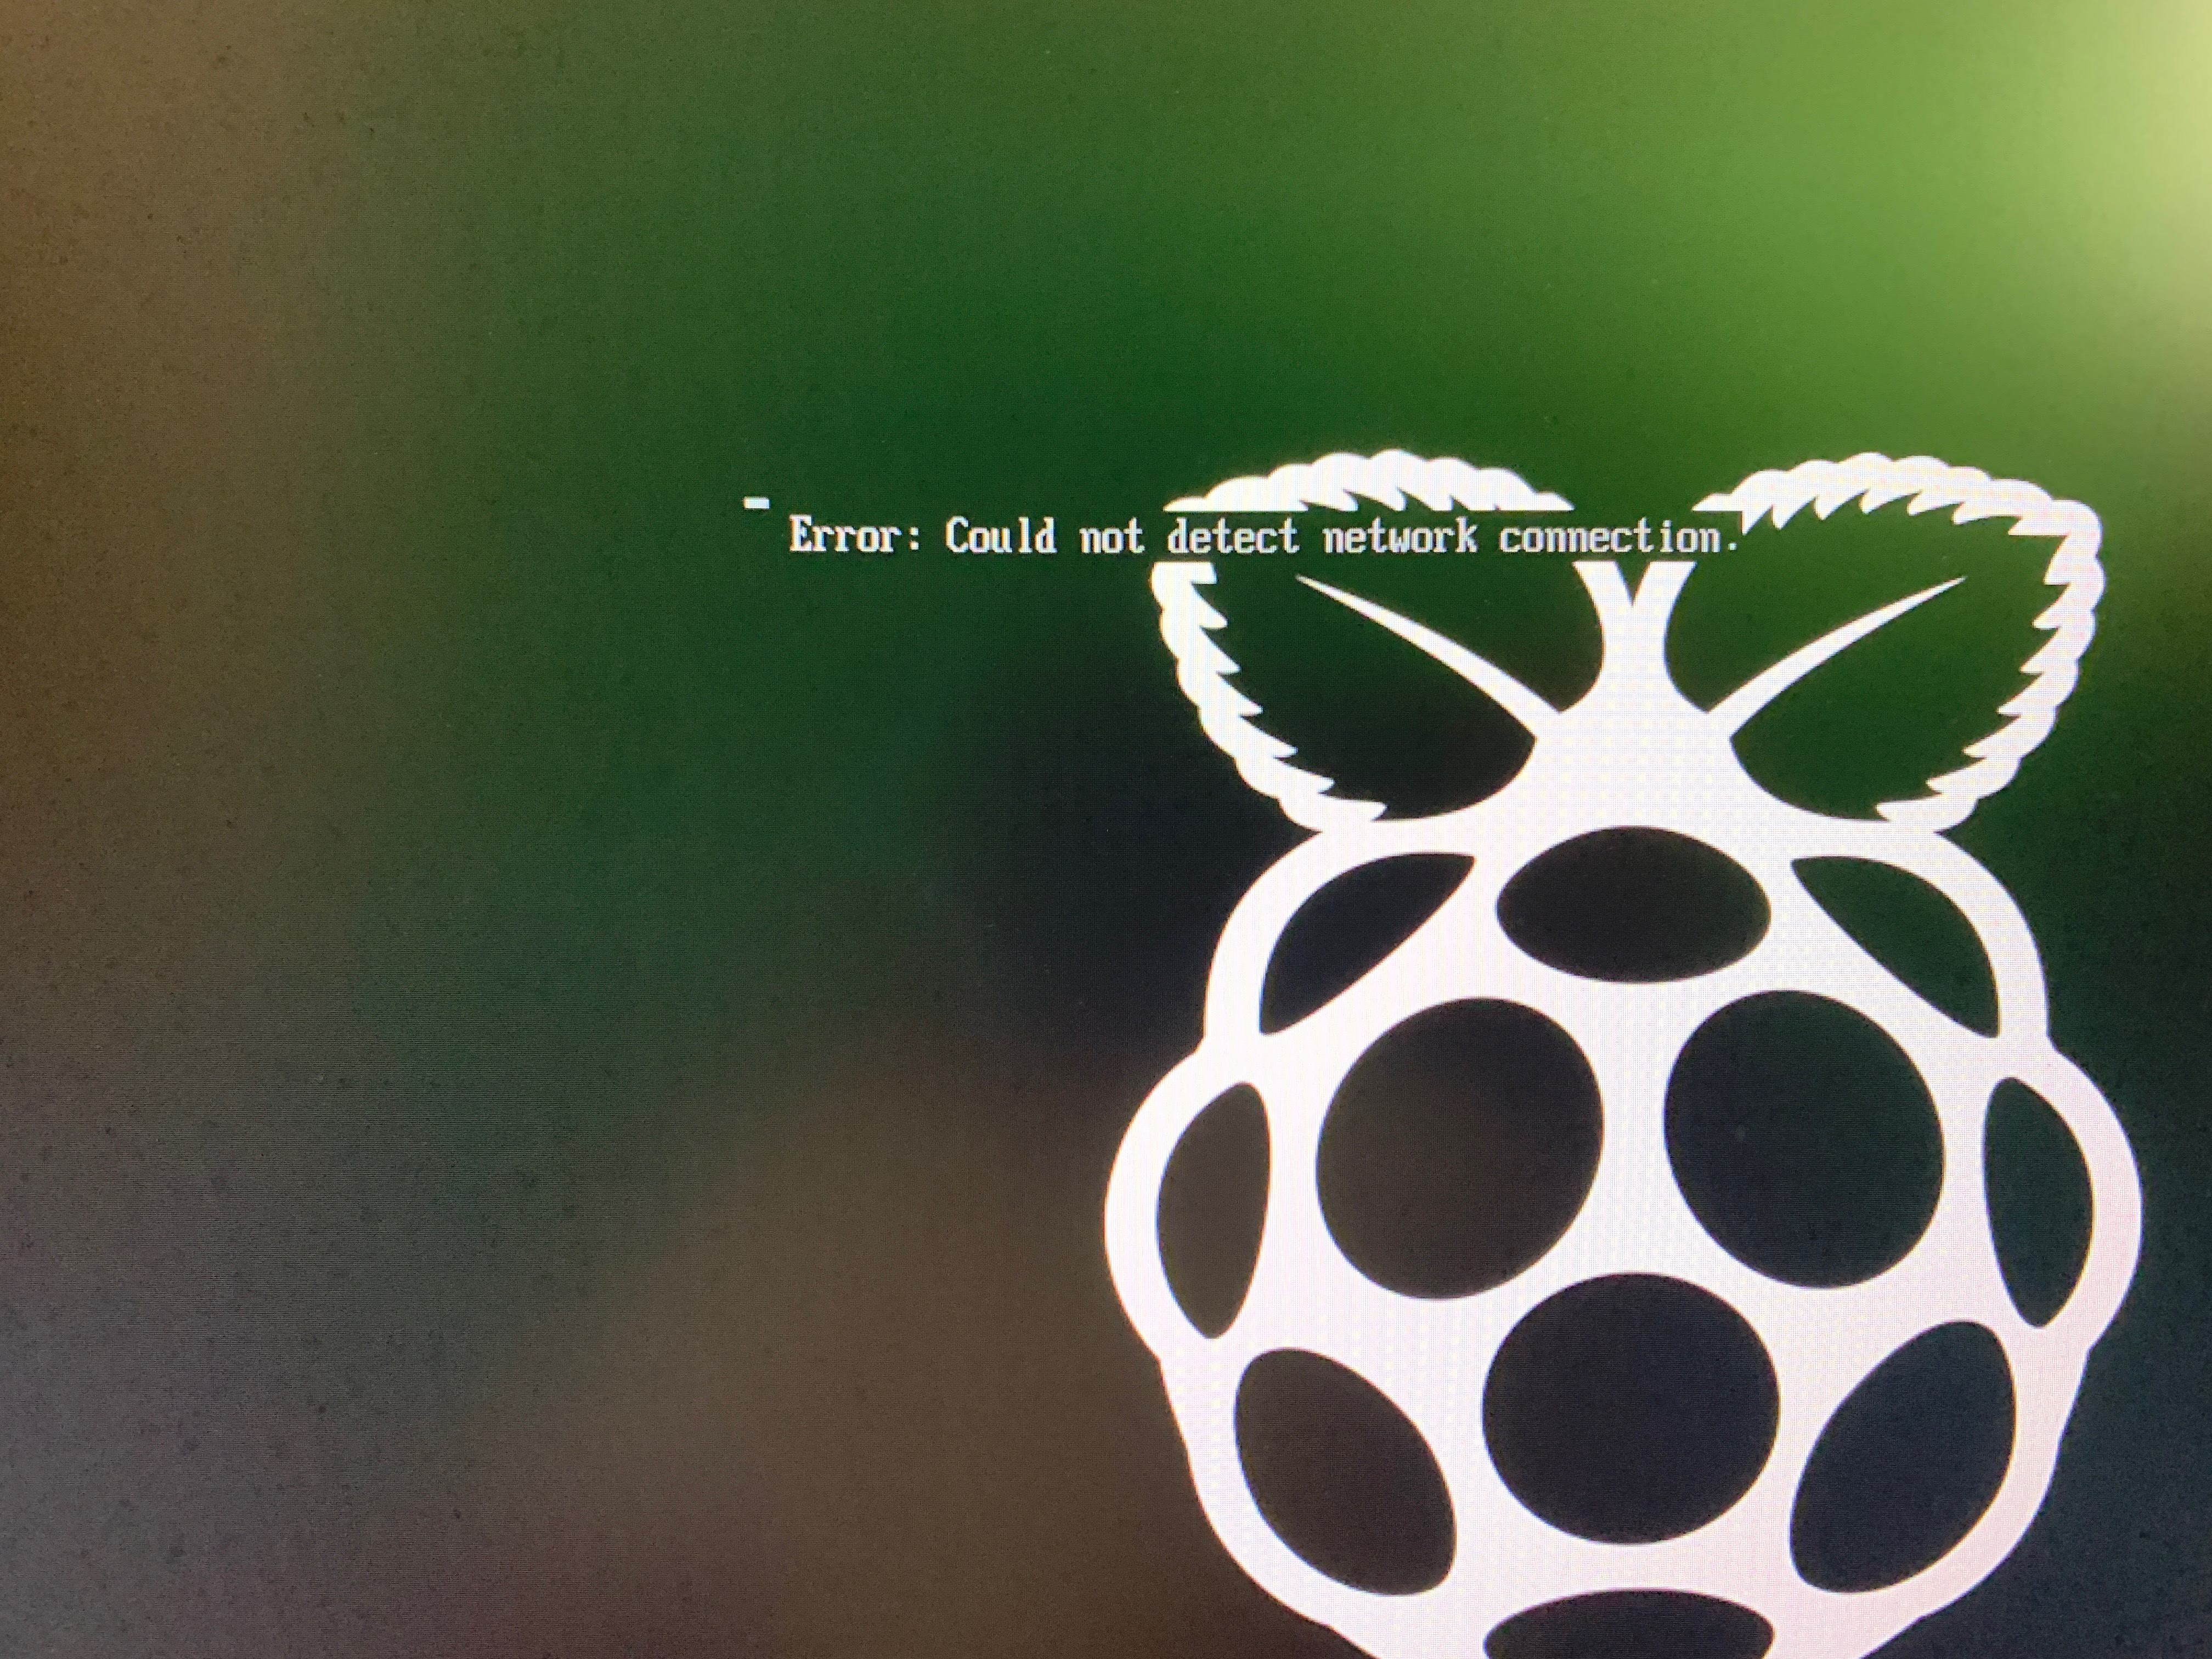
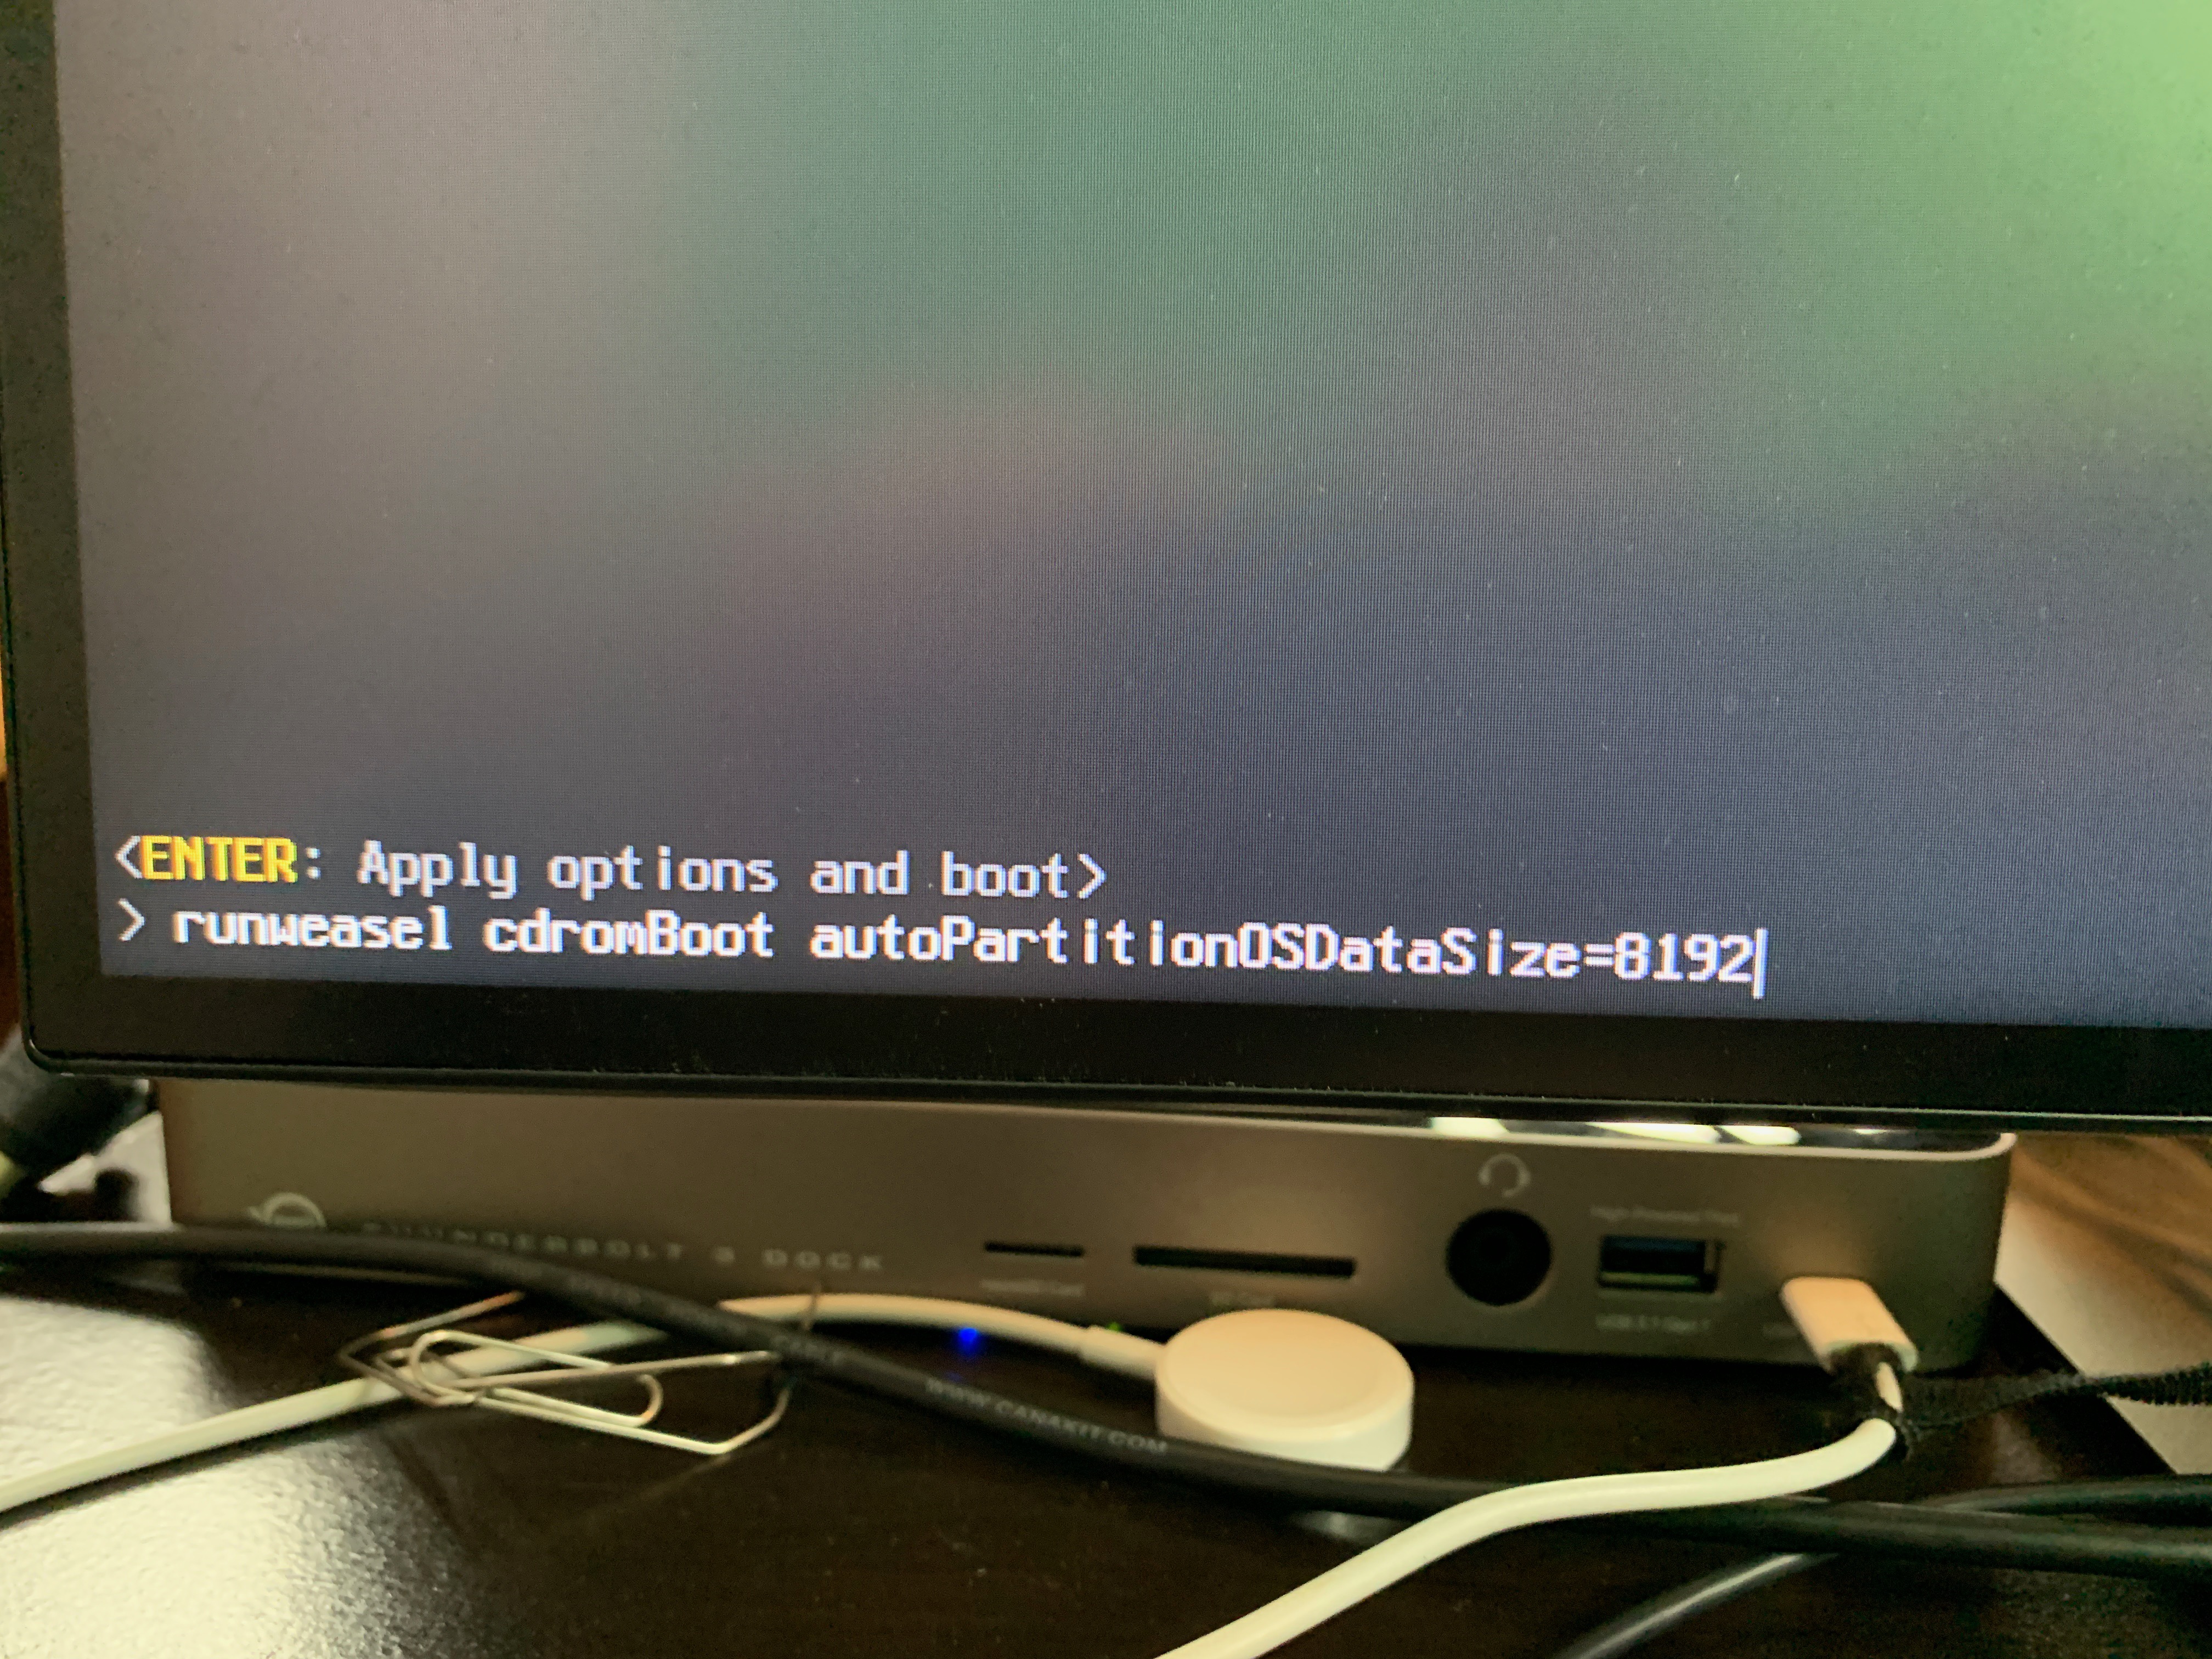
The key here is to be patient as the RP4 is booting up, it takes a bit before the ESXi installer kicks in, and then quickly hitting the Control+O option to add the advanced installer option to change the ESXi partition size.
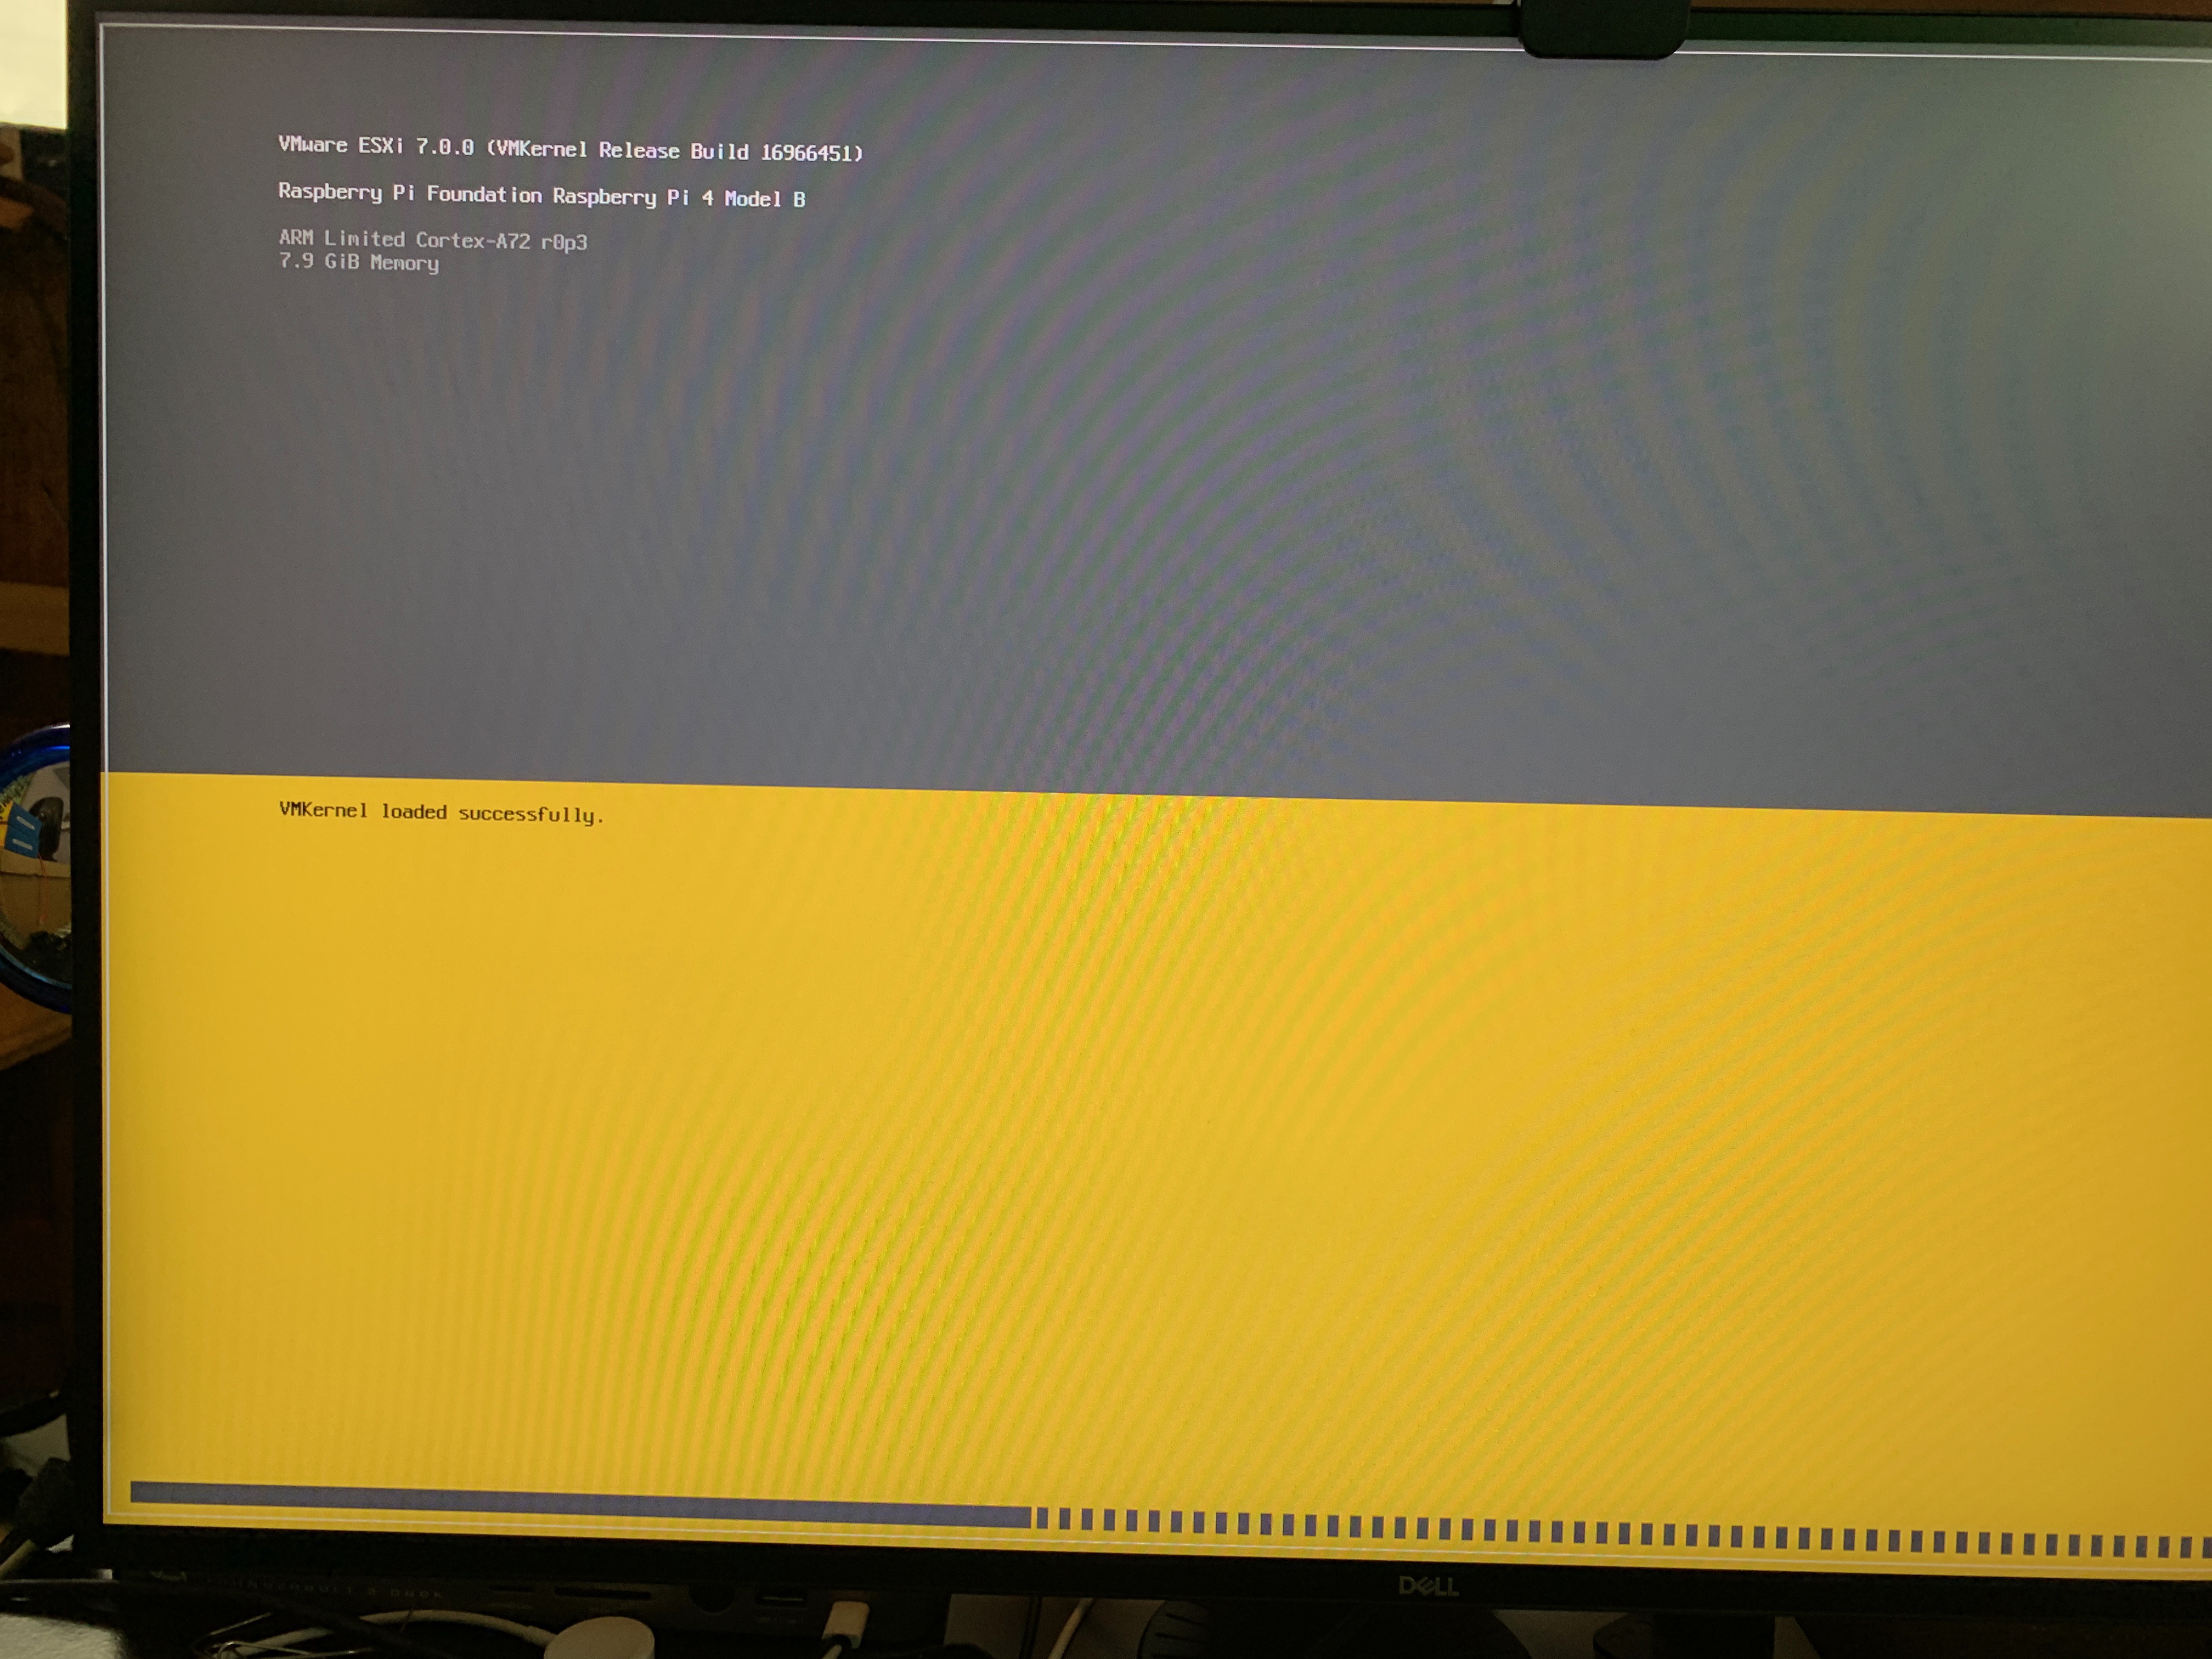
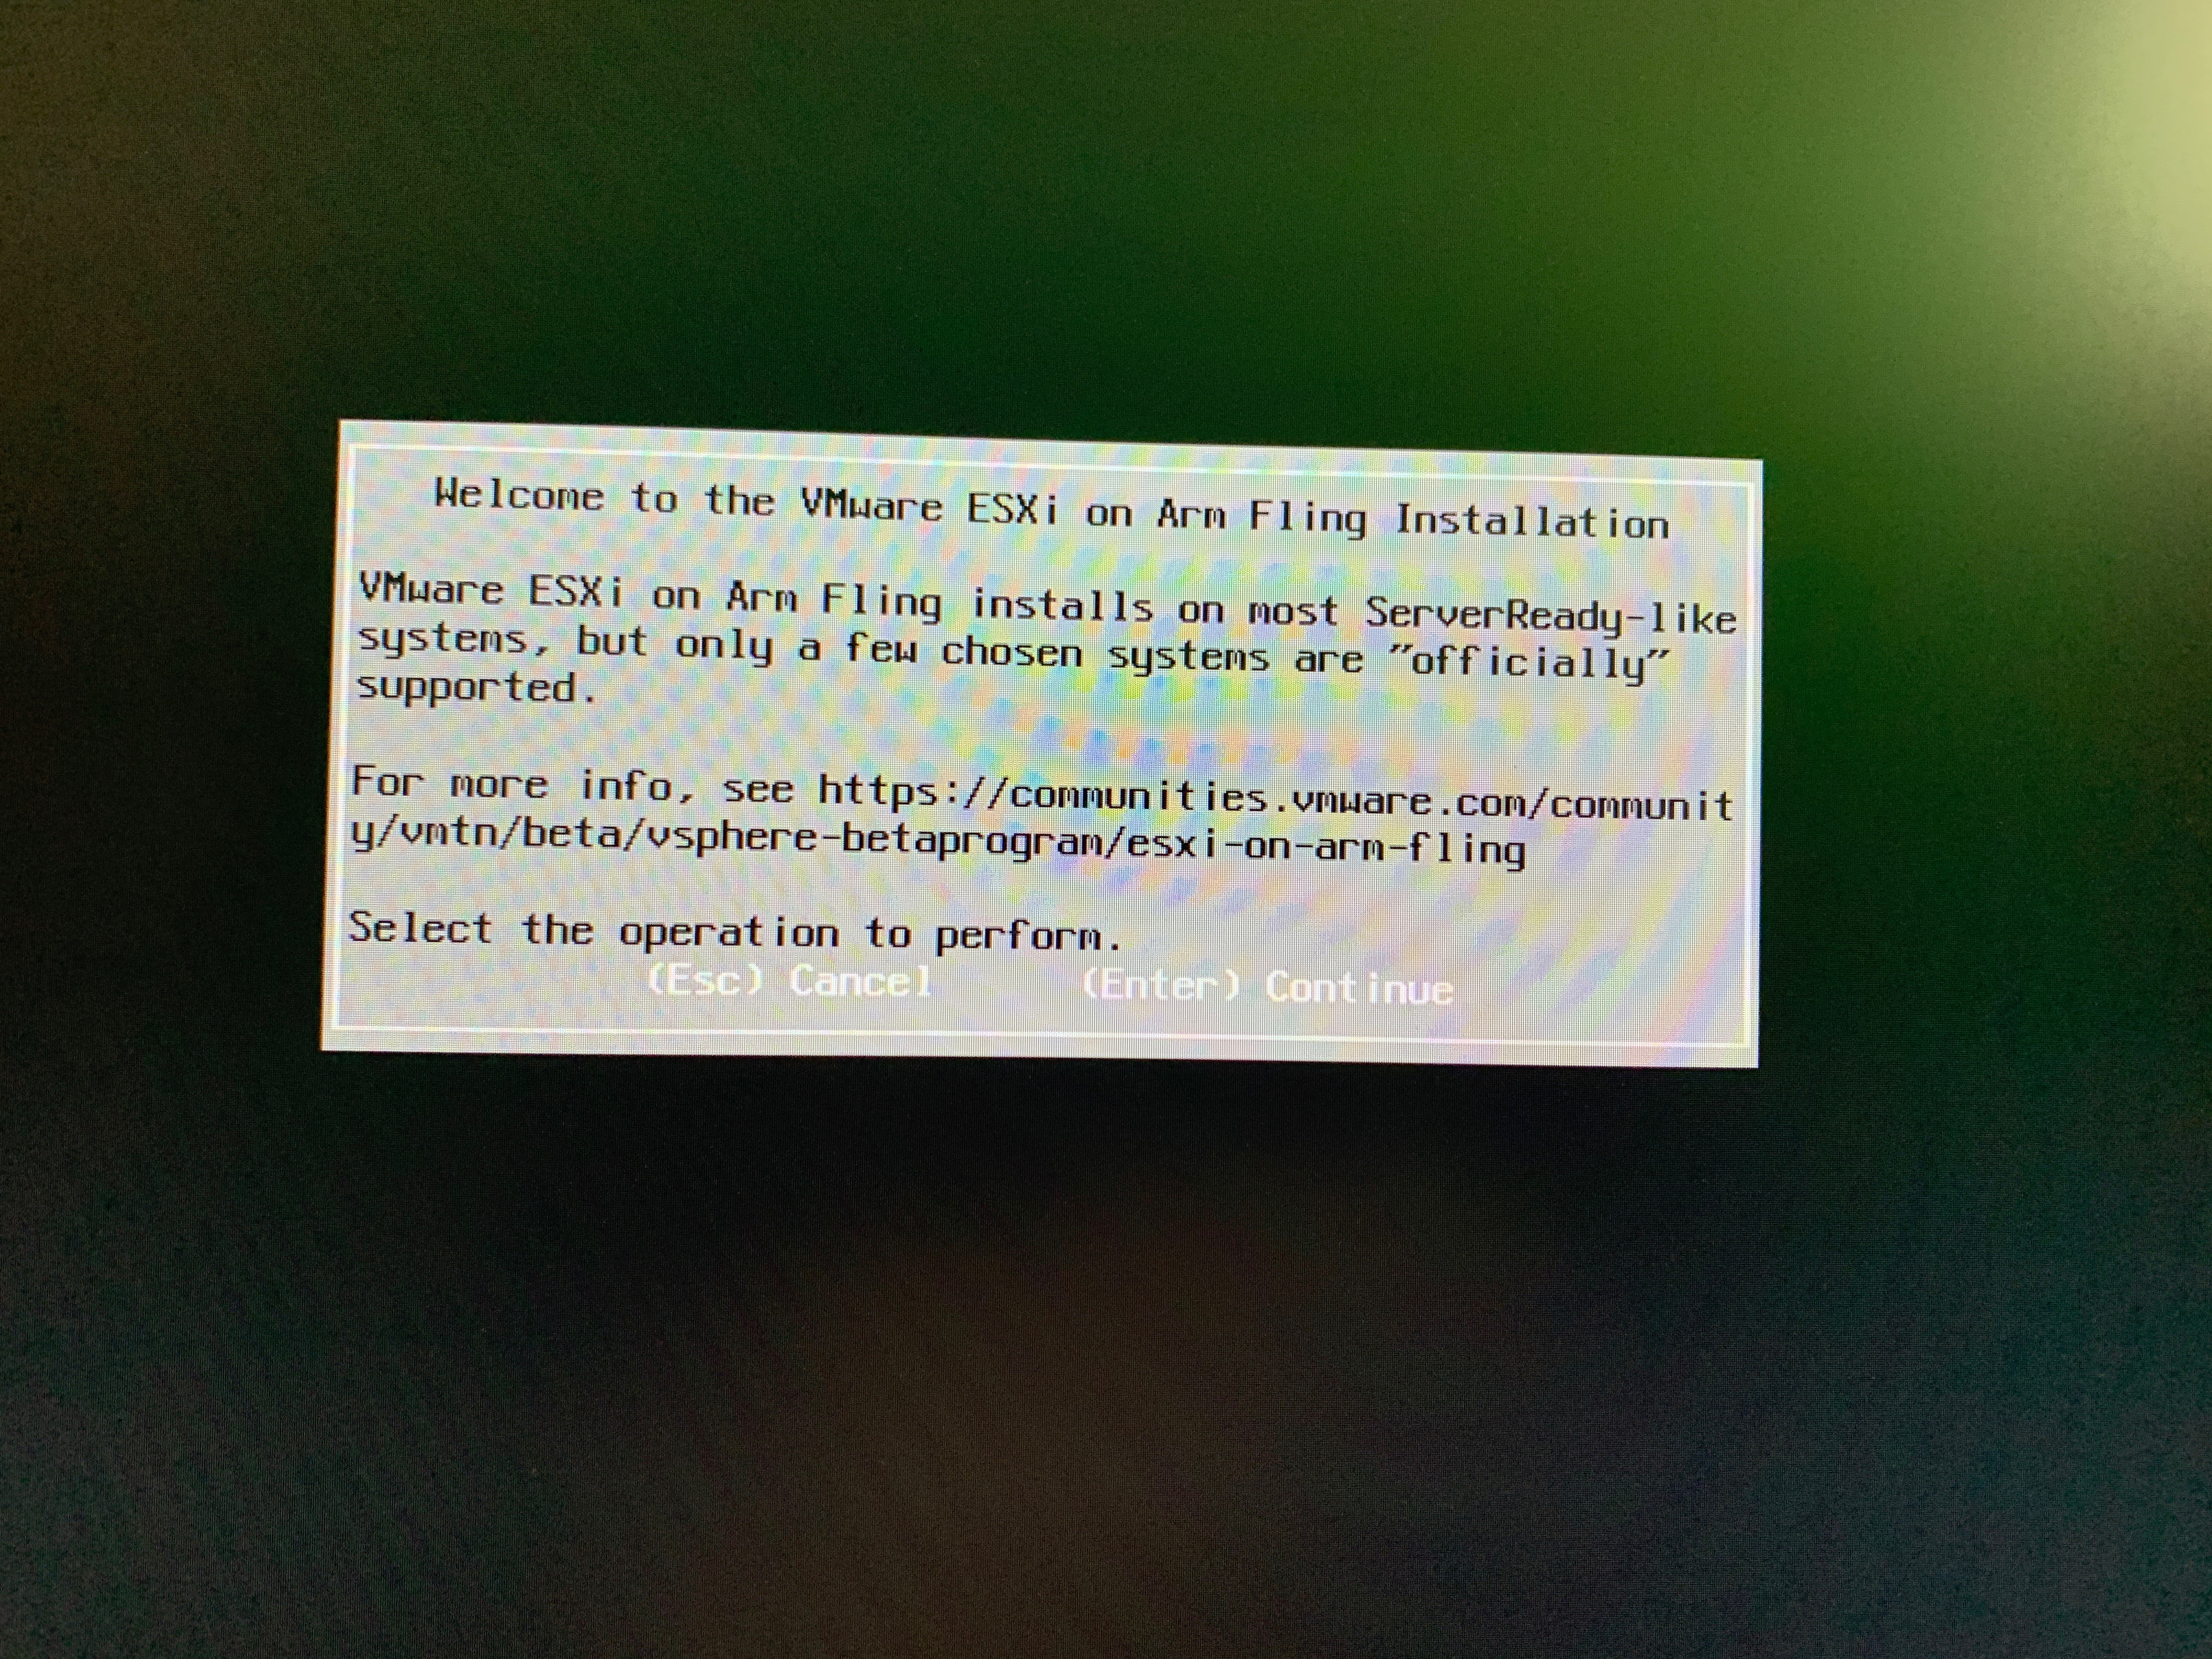
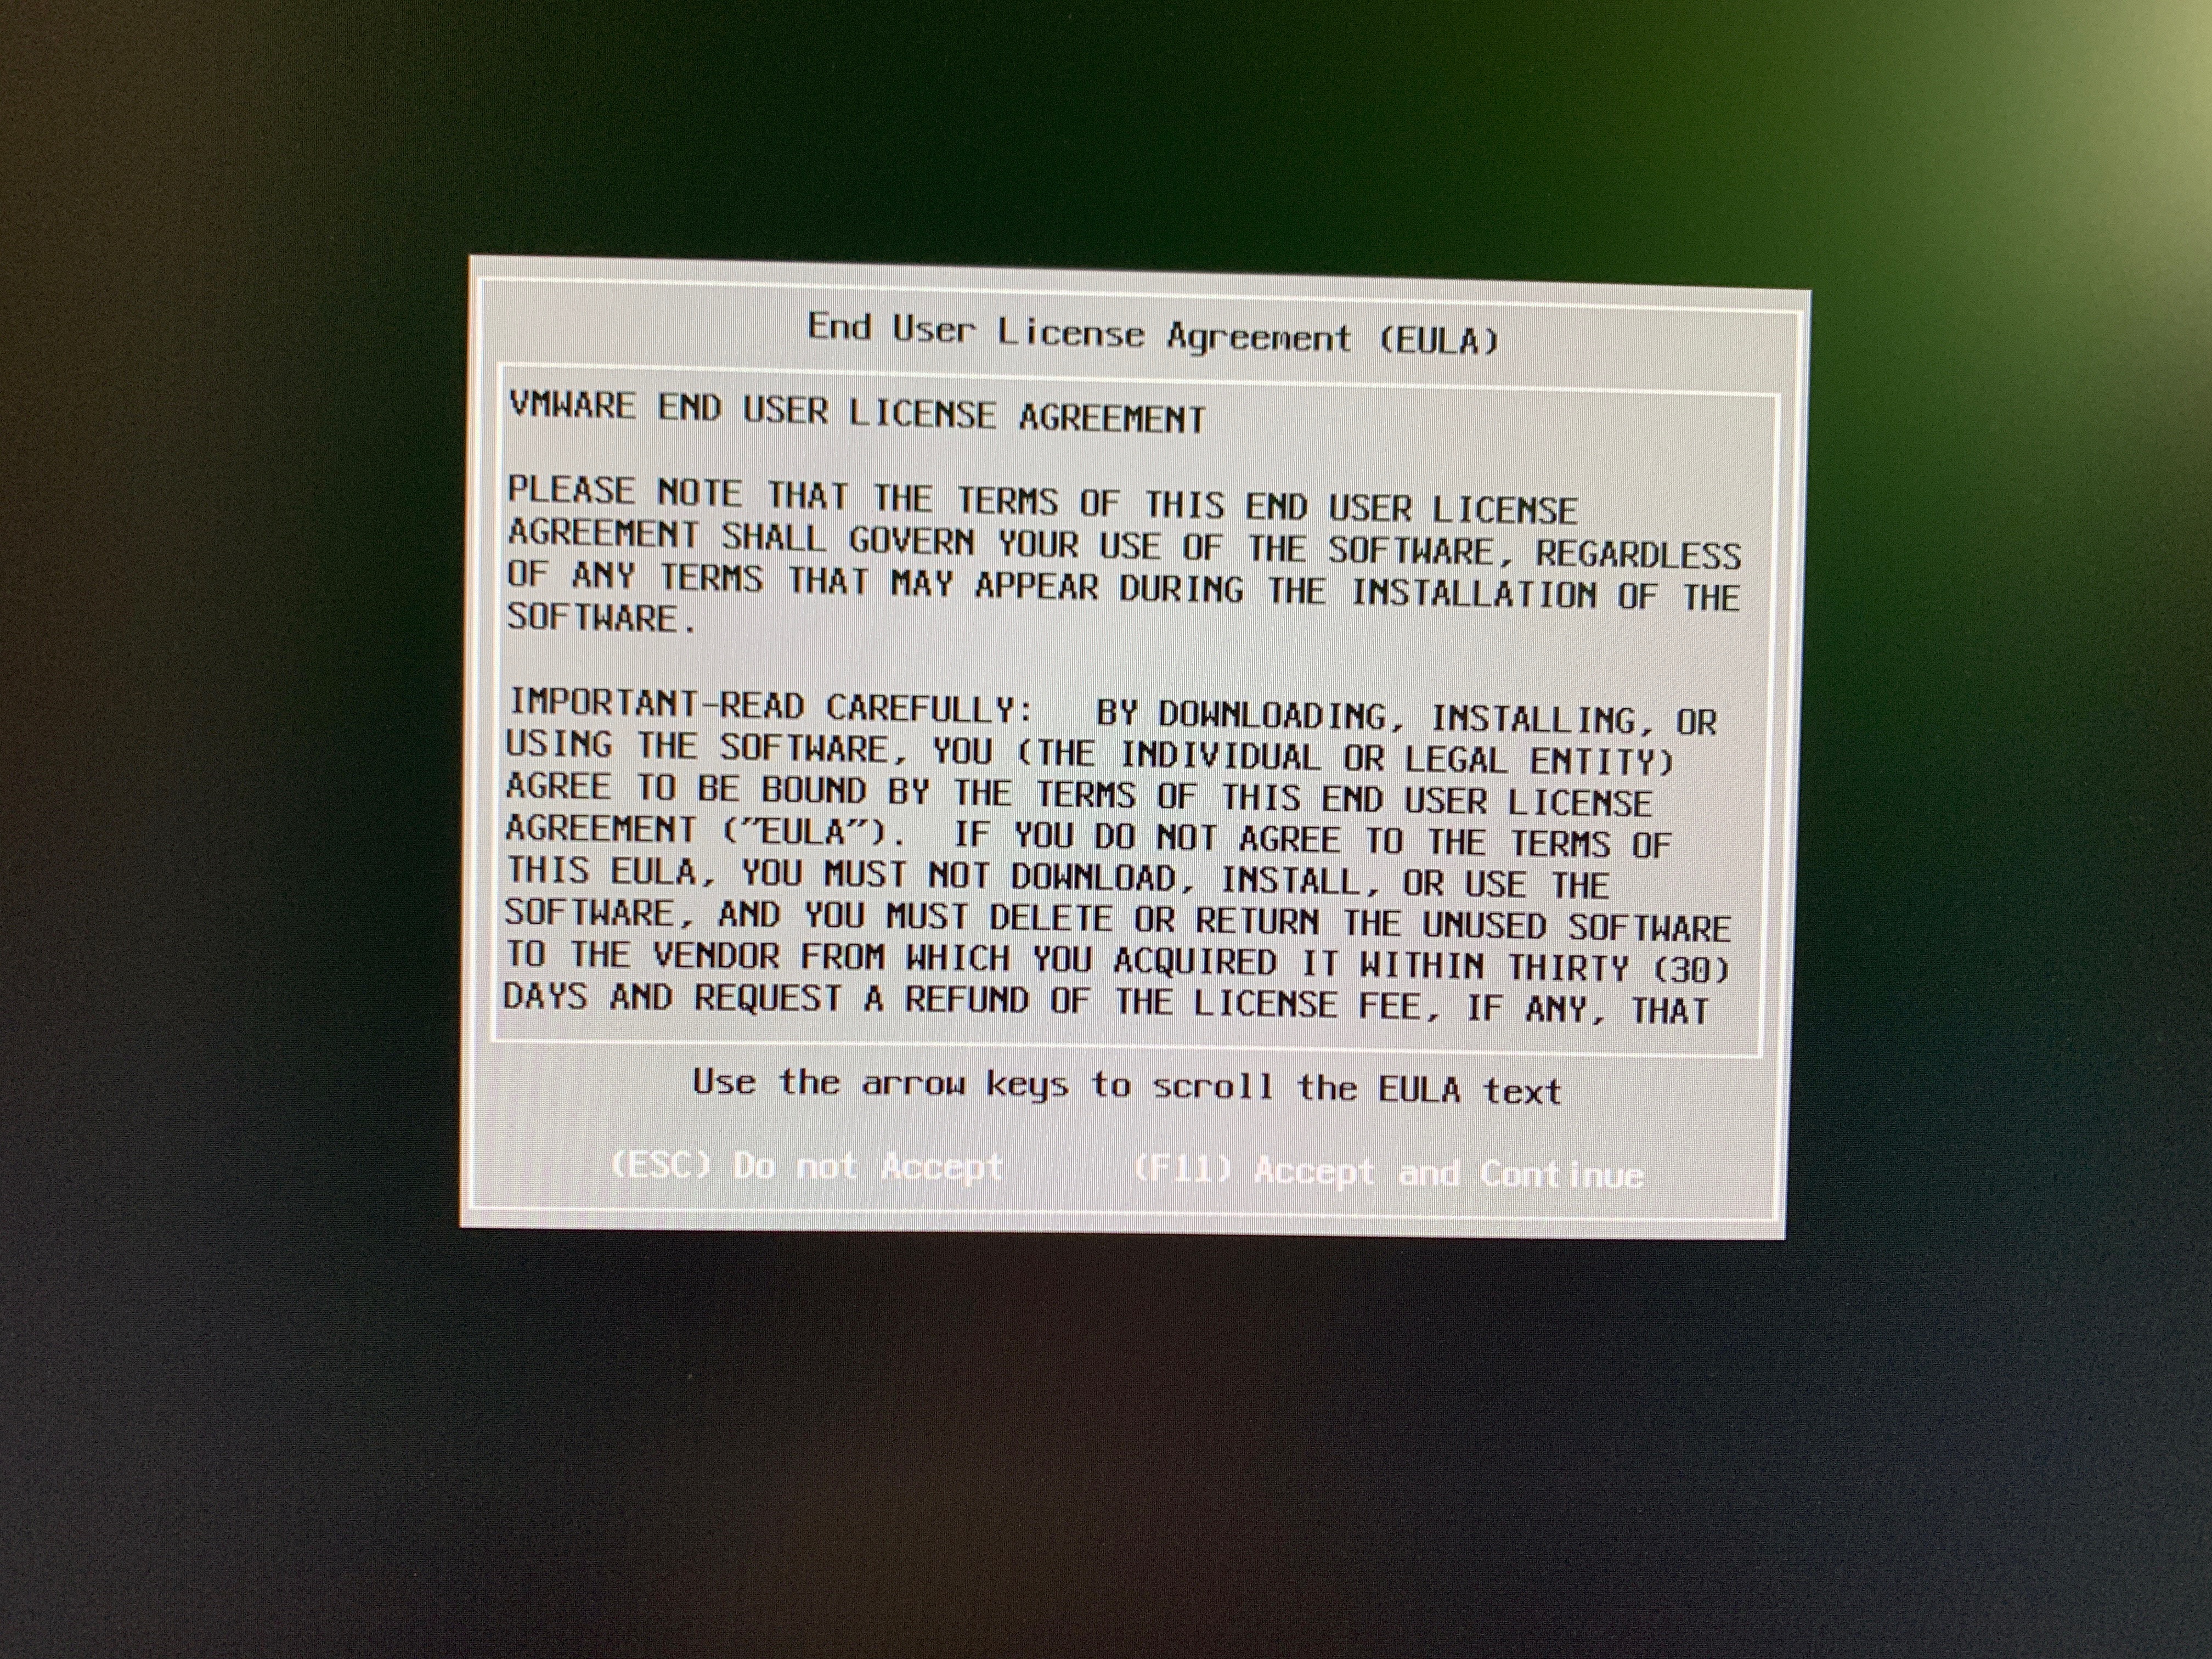
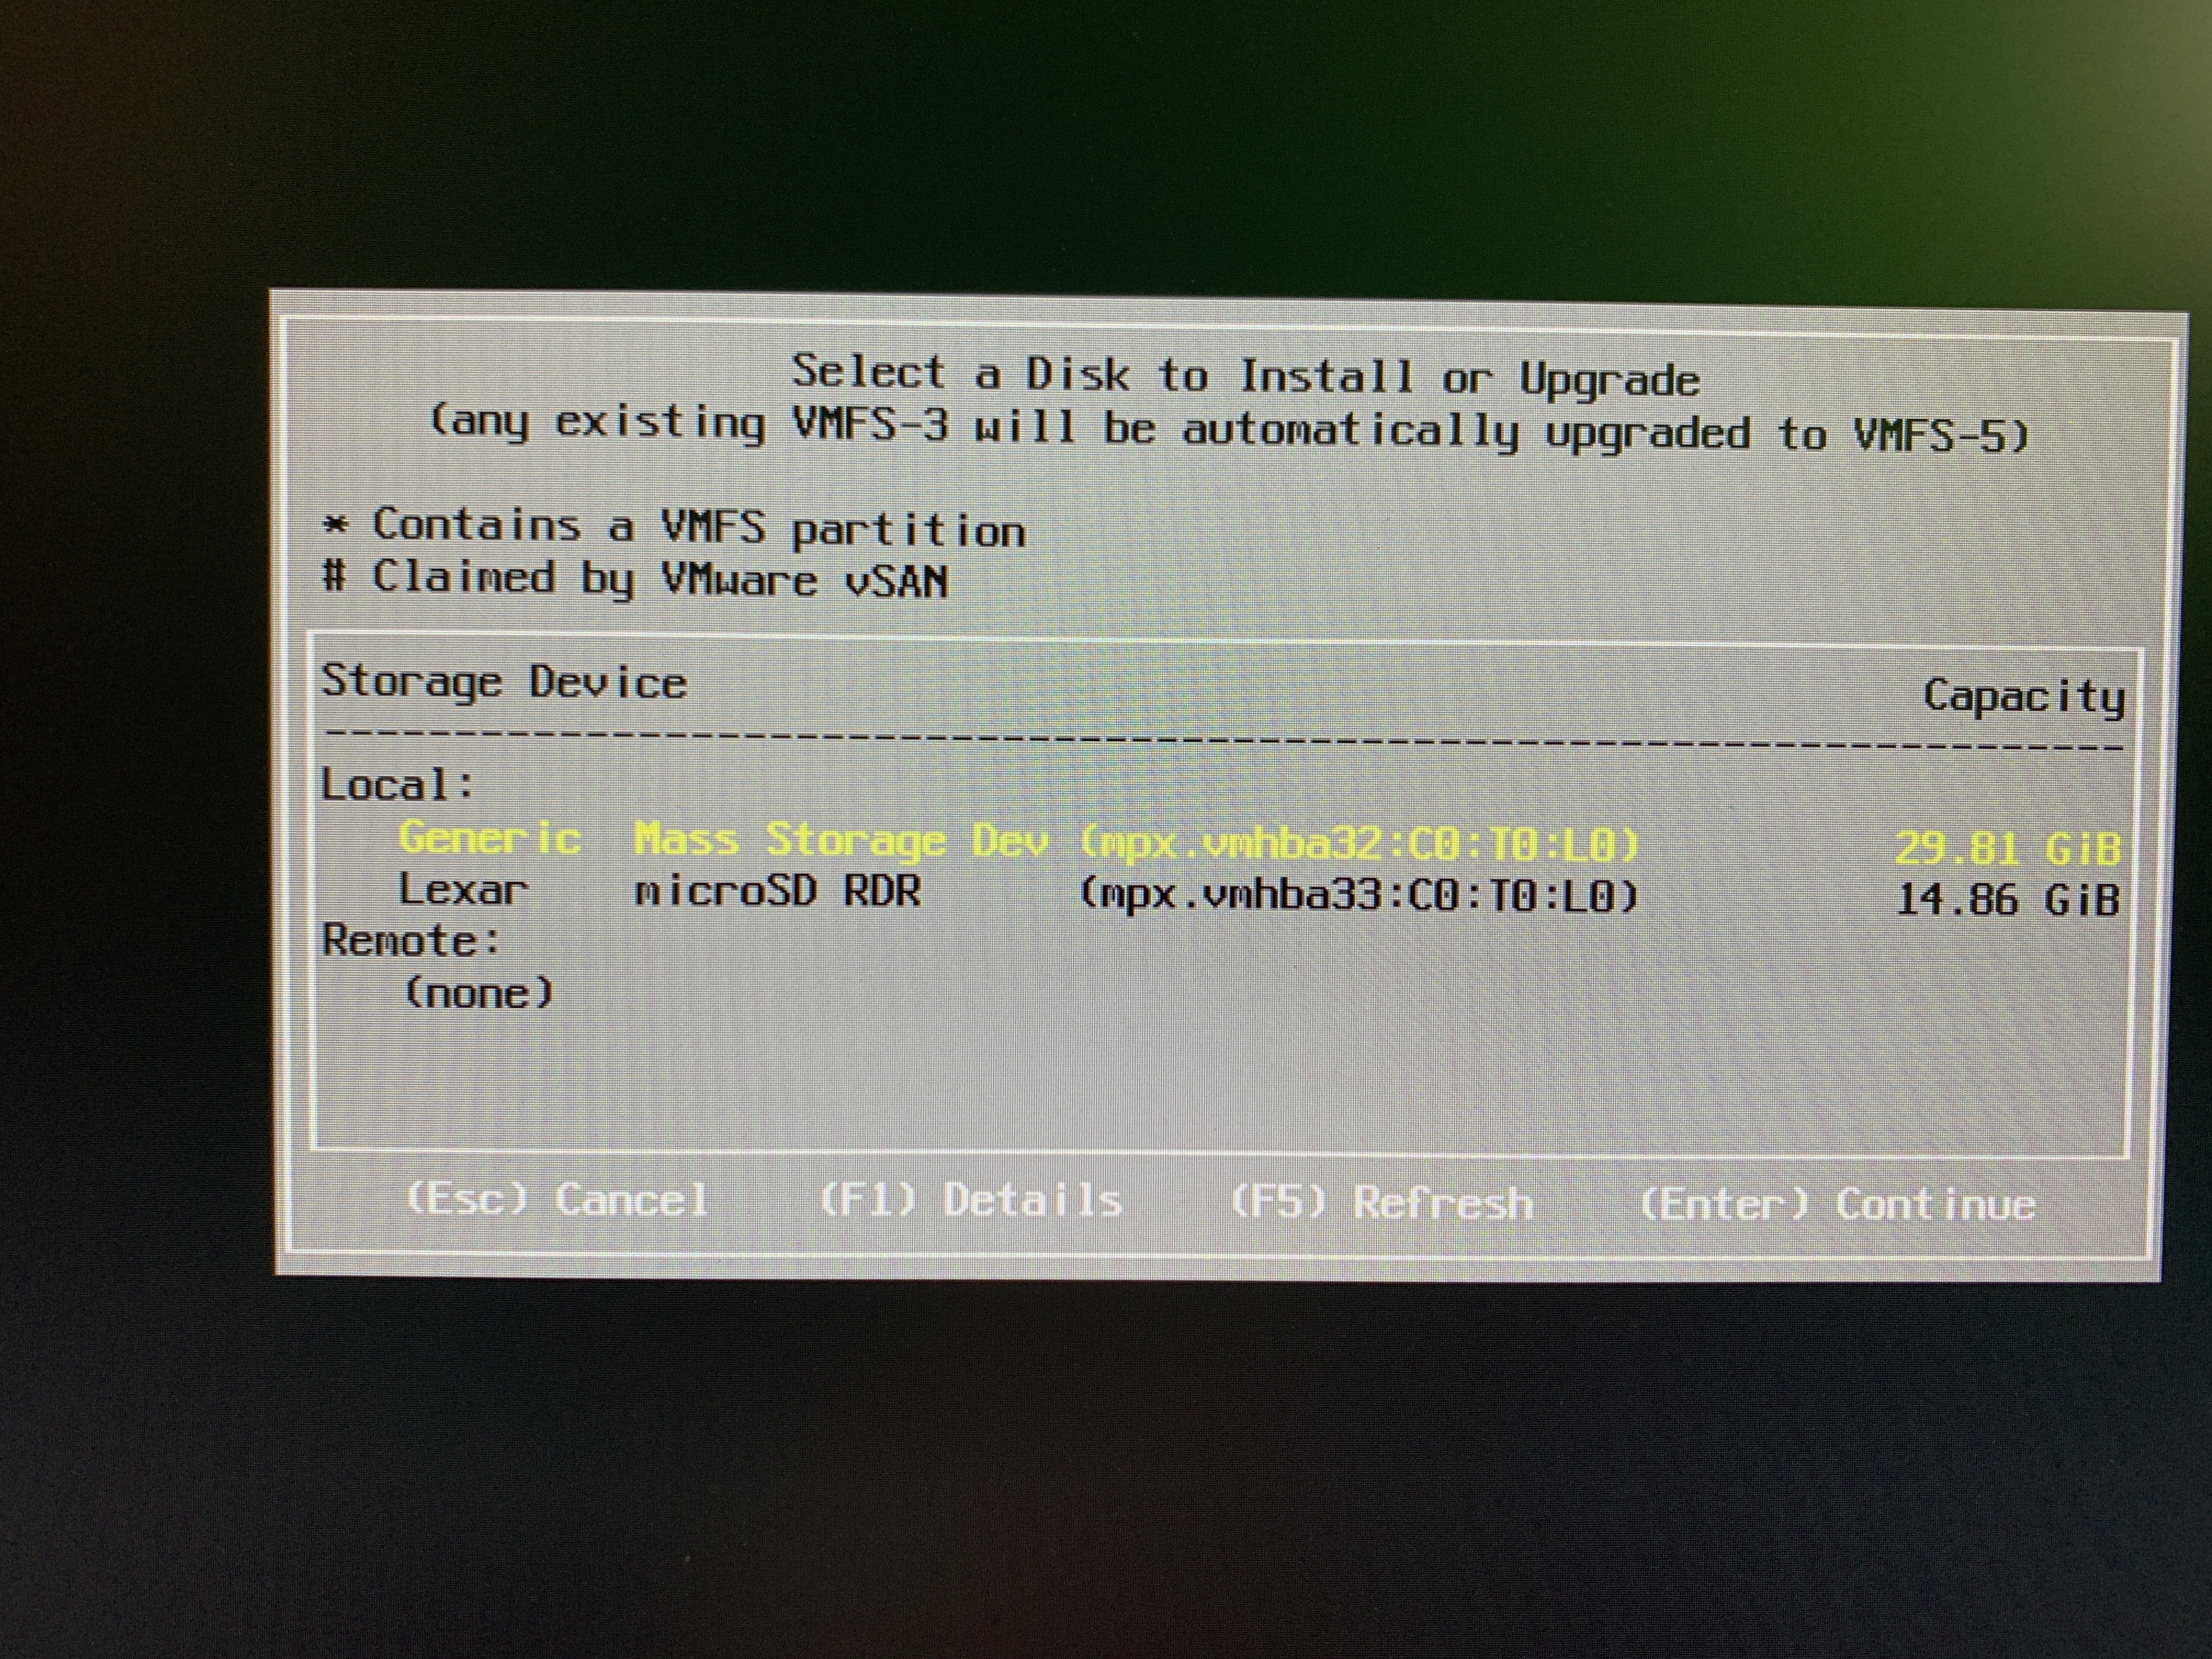
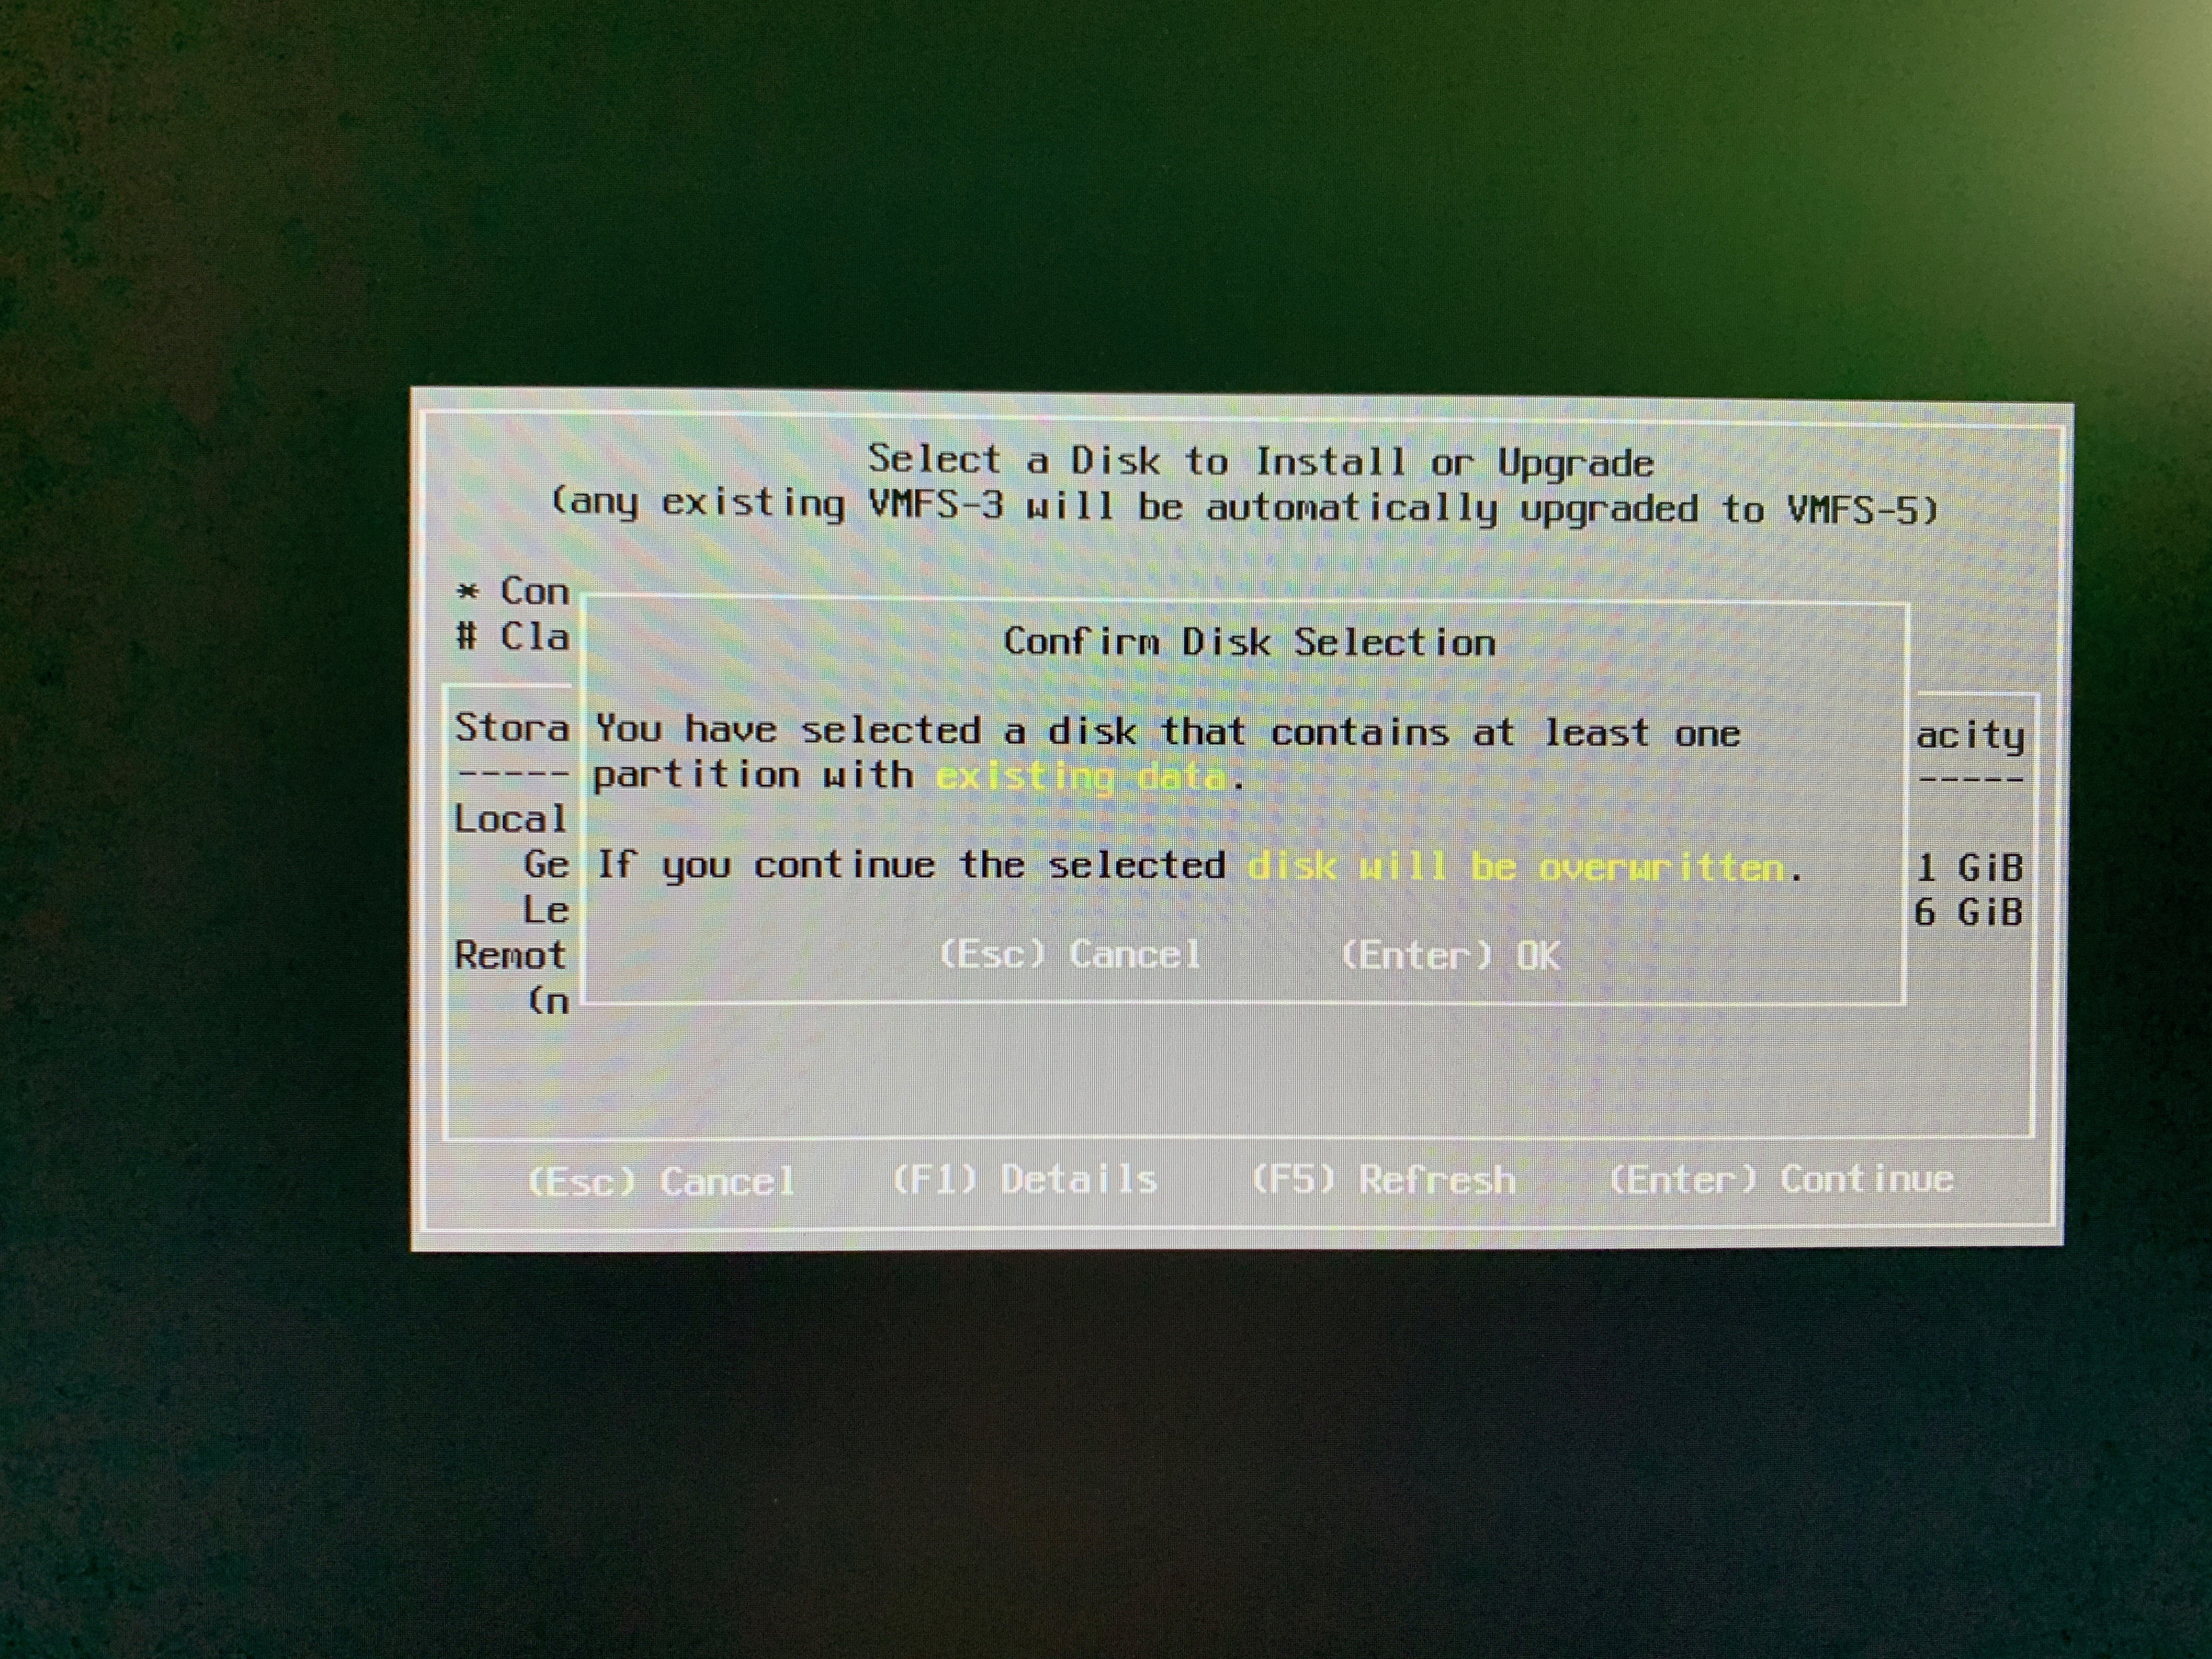
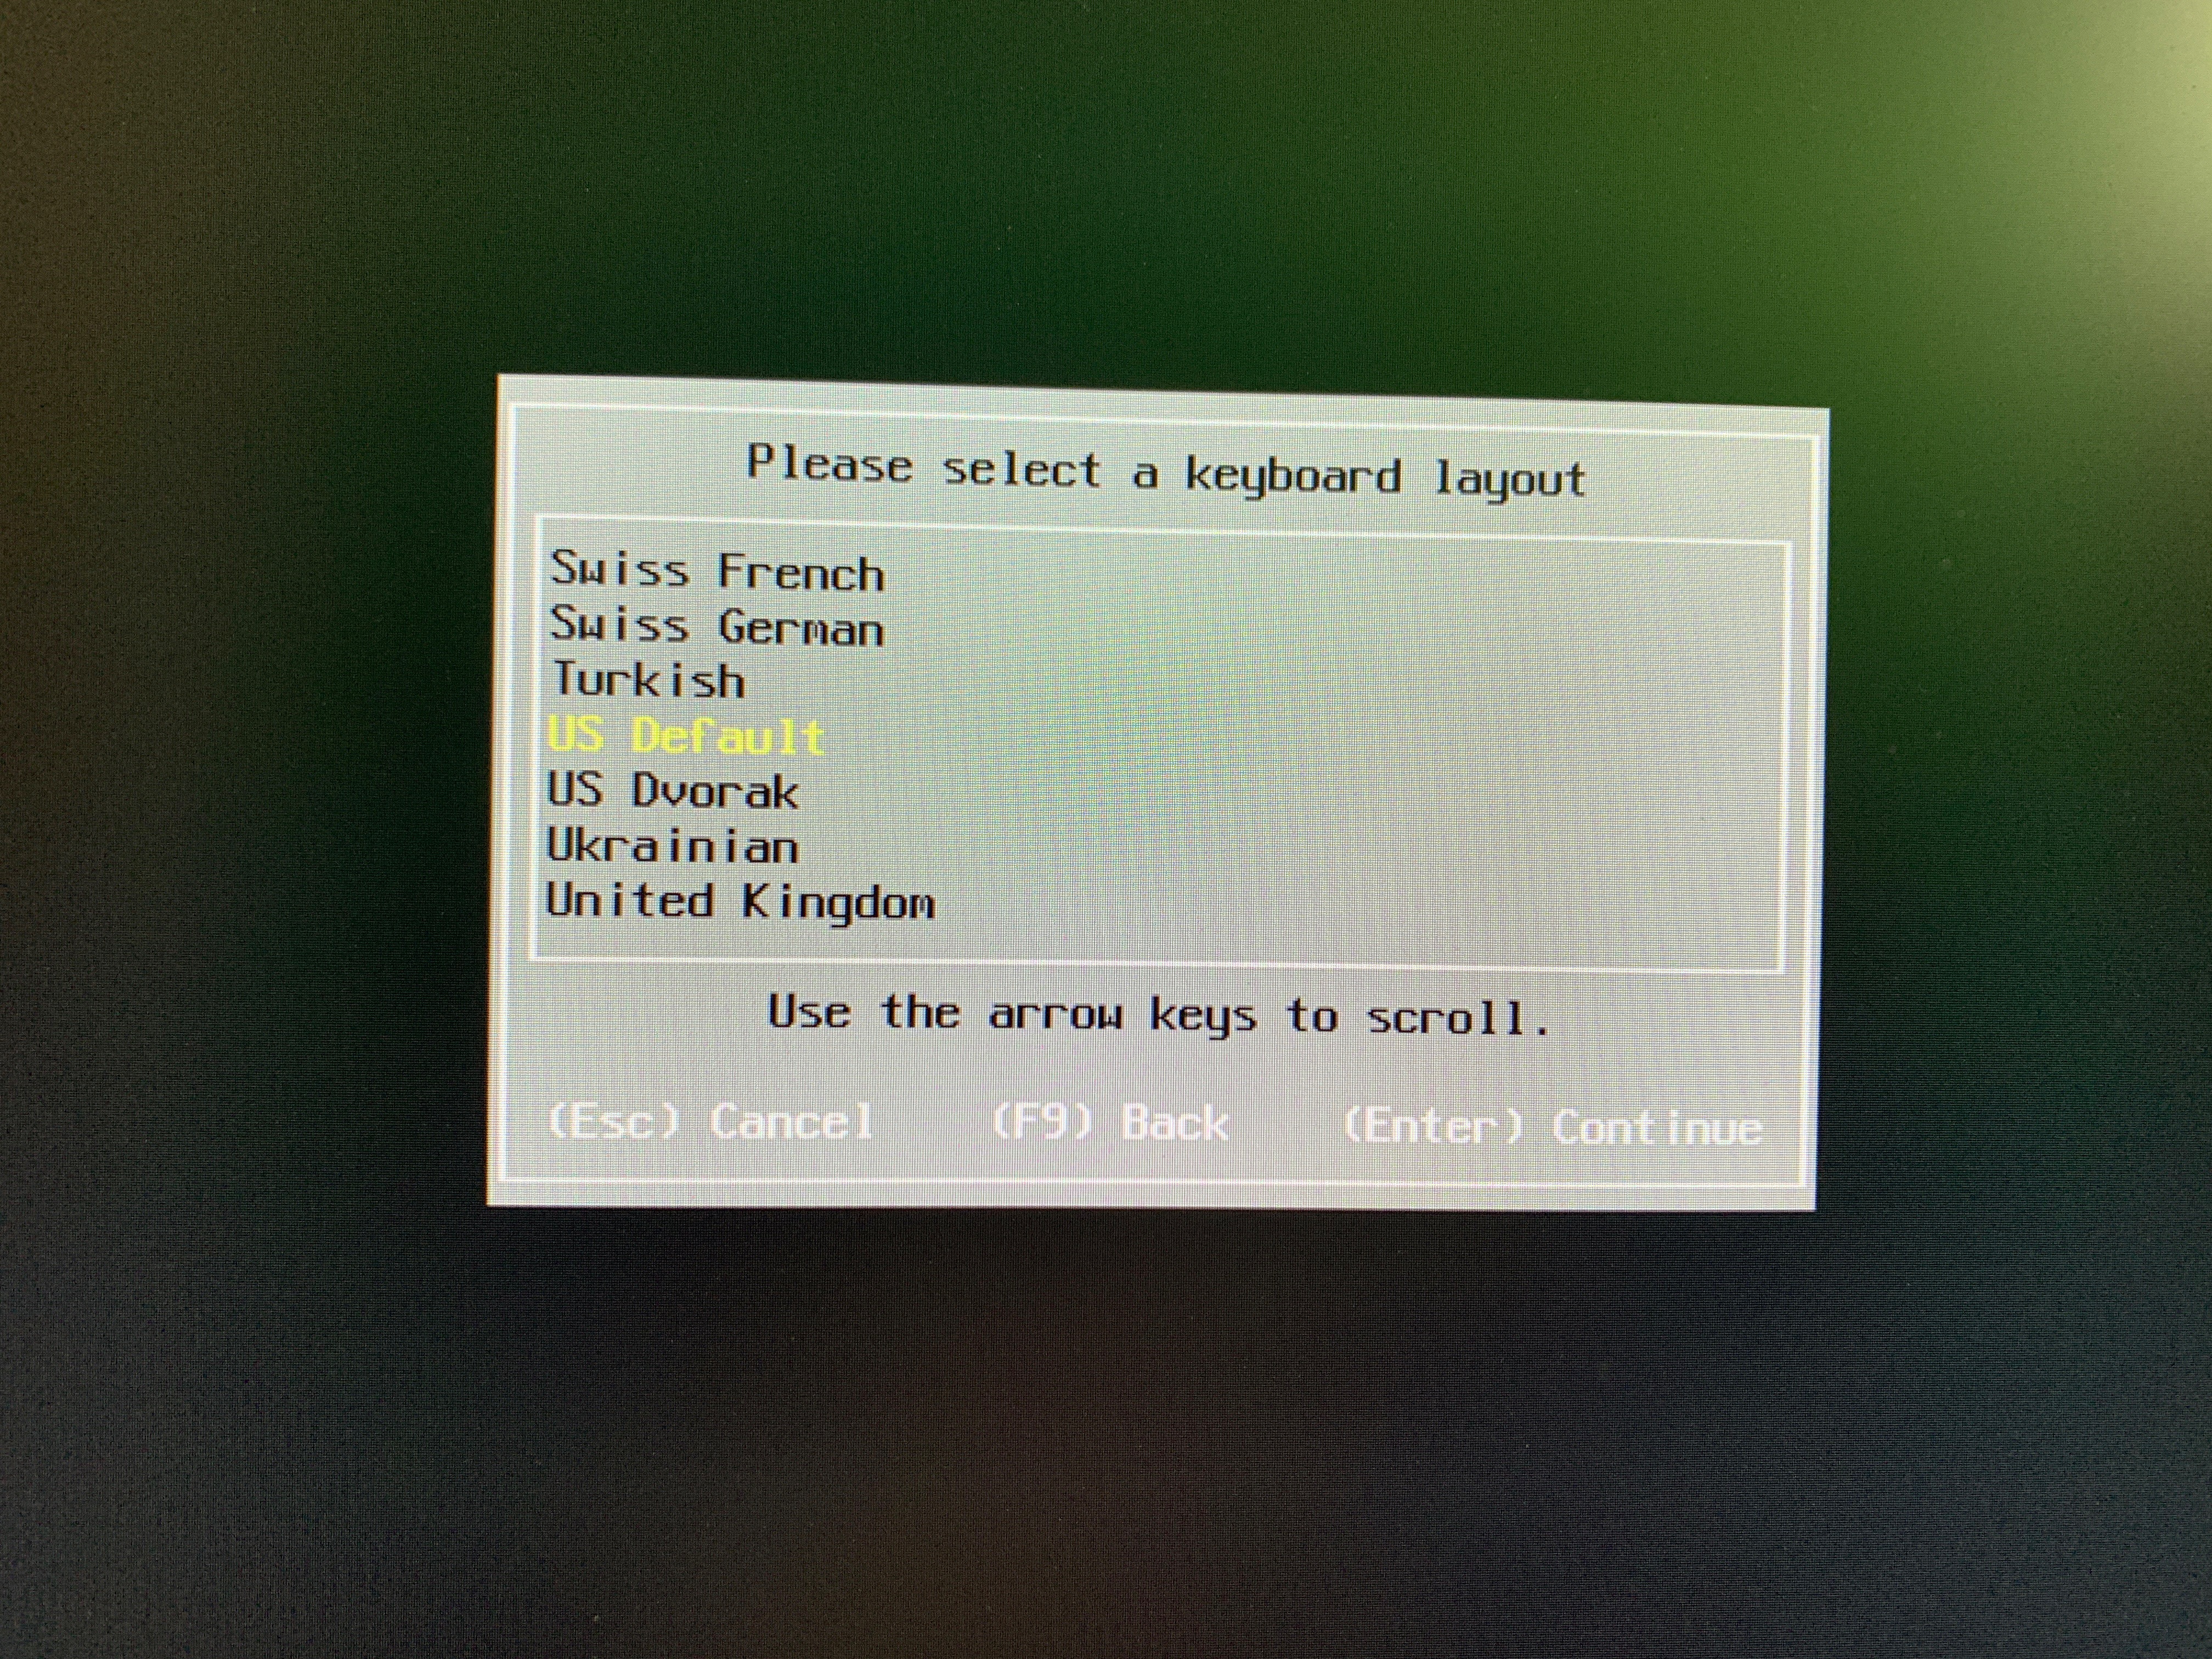
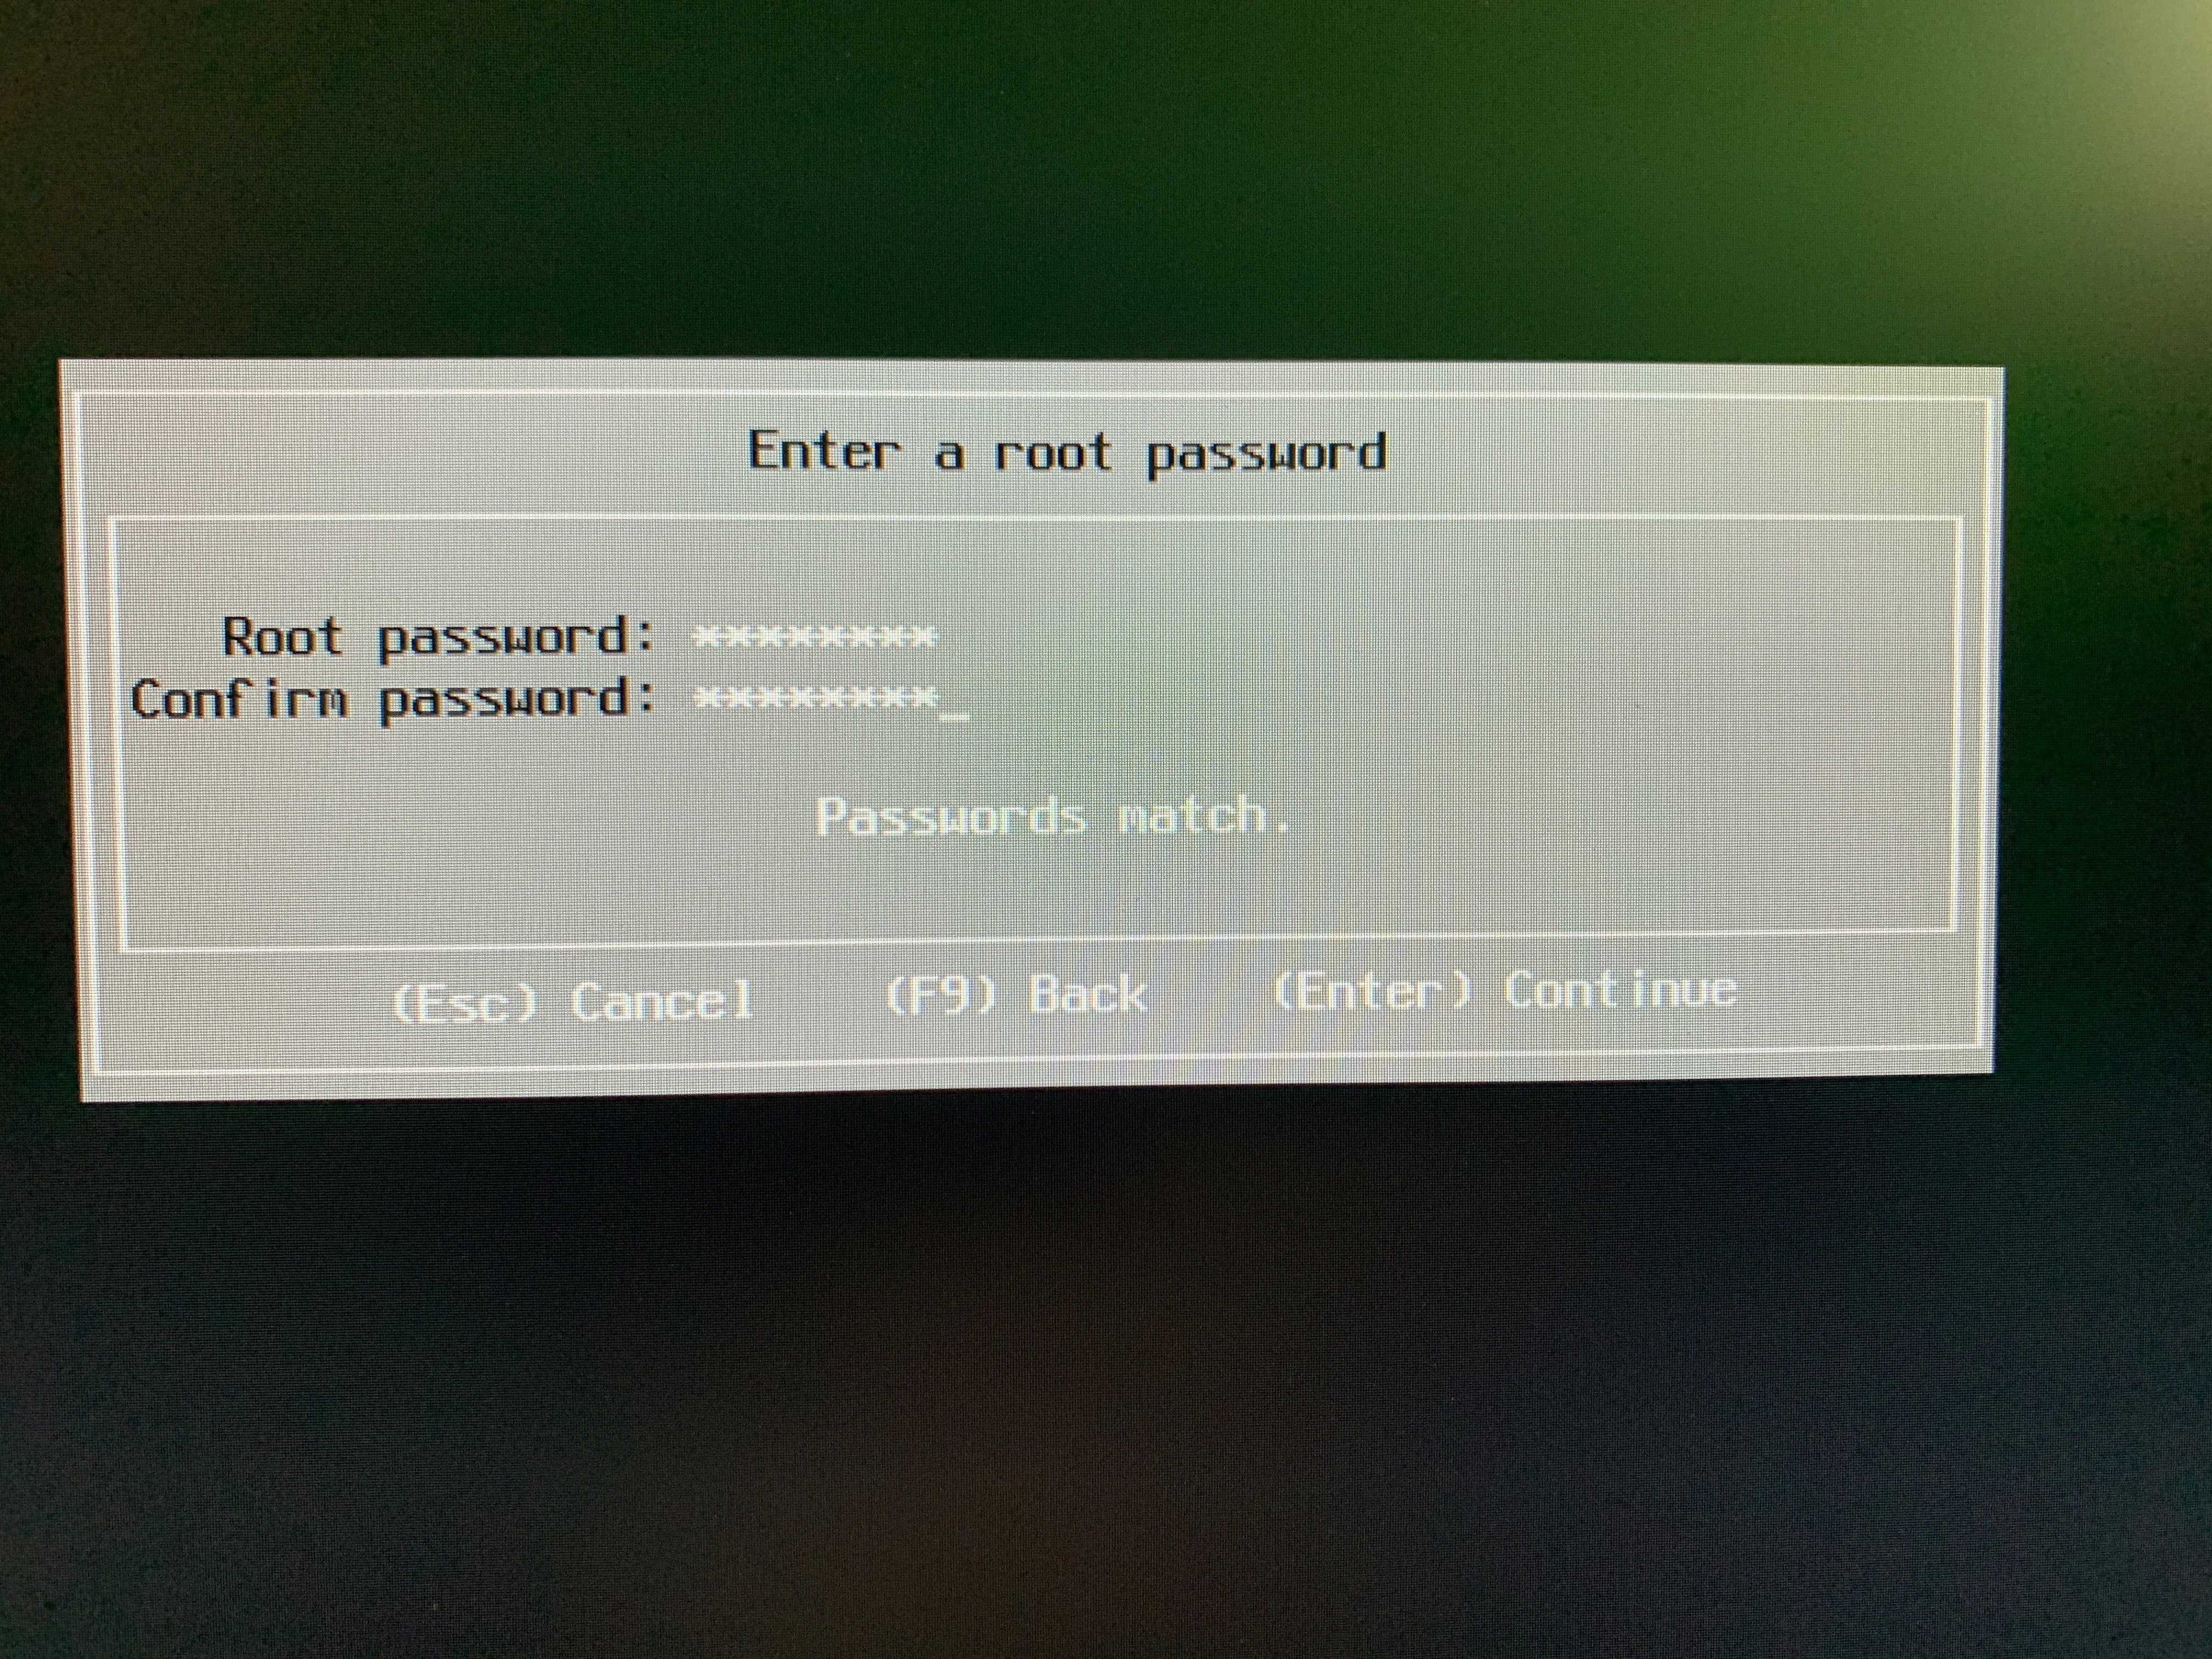
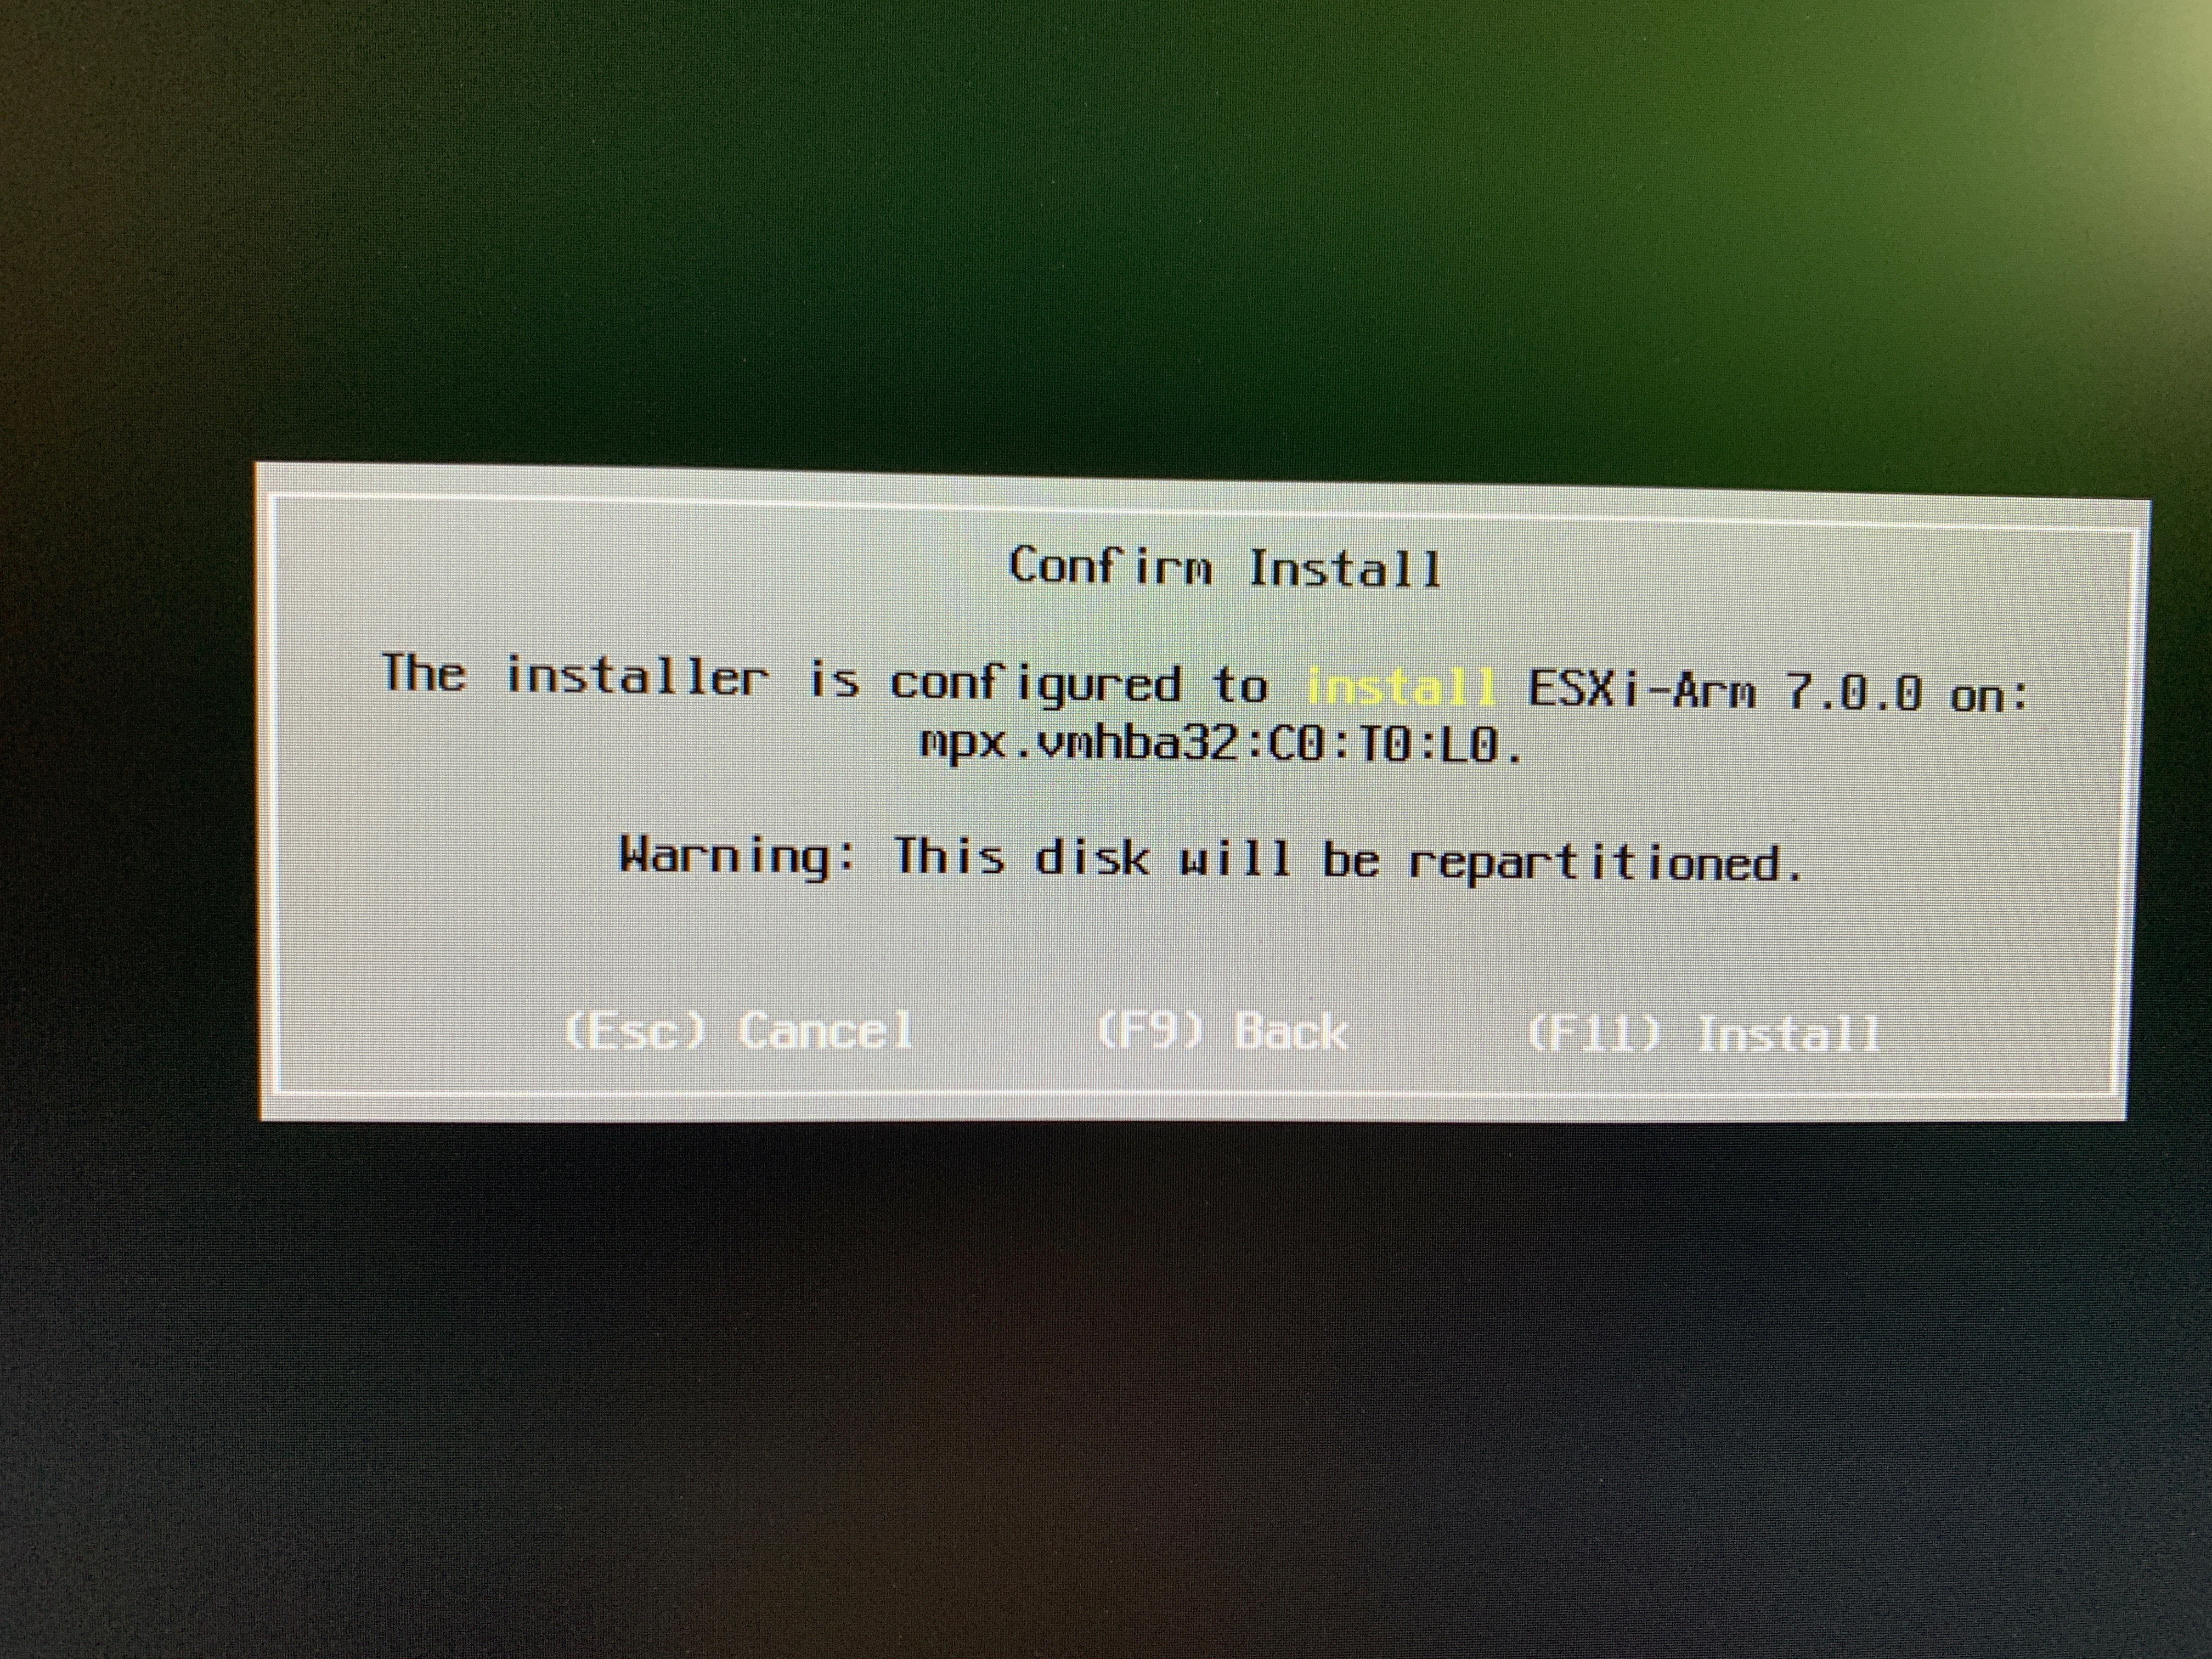
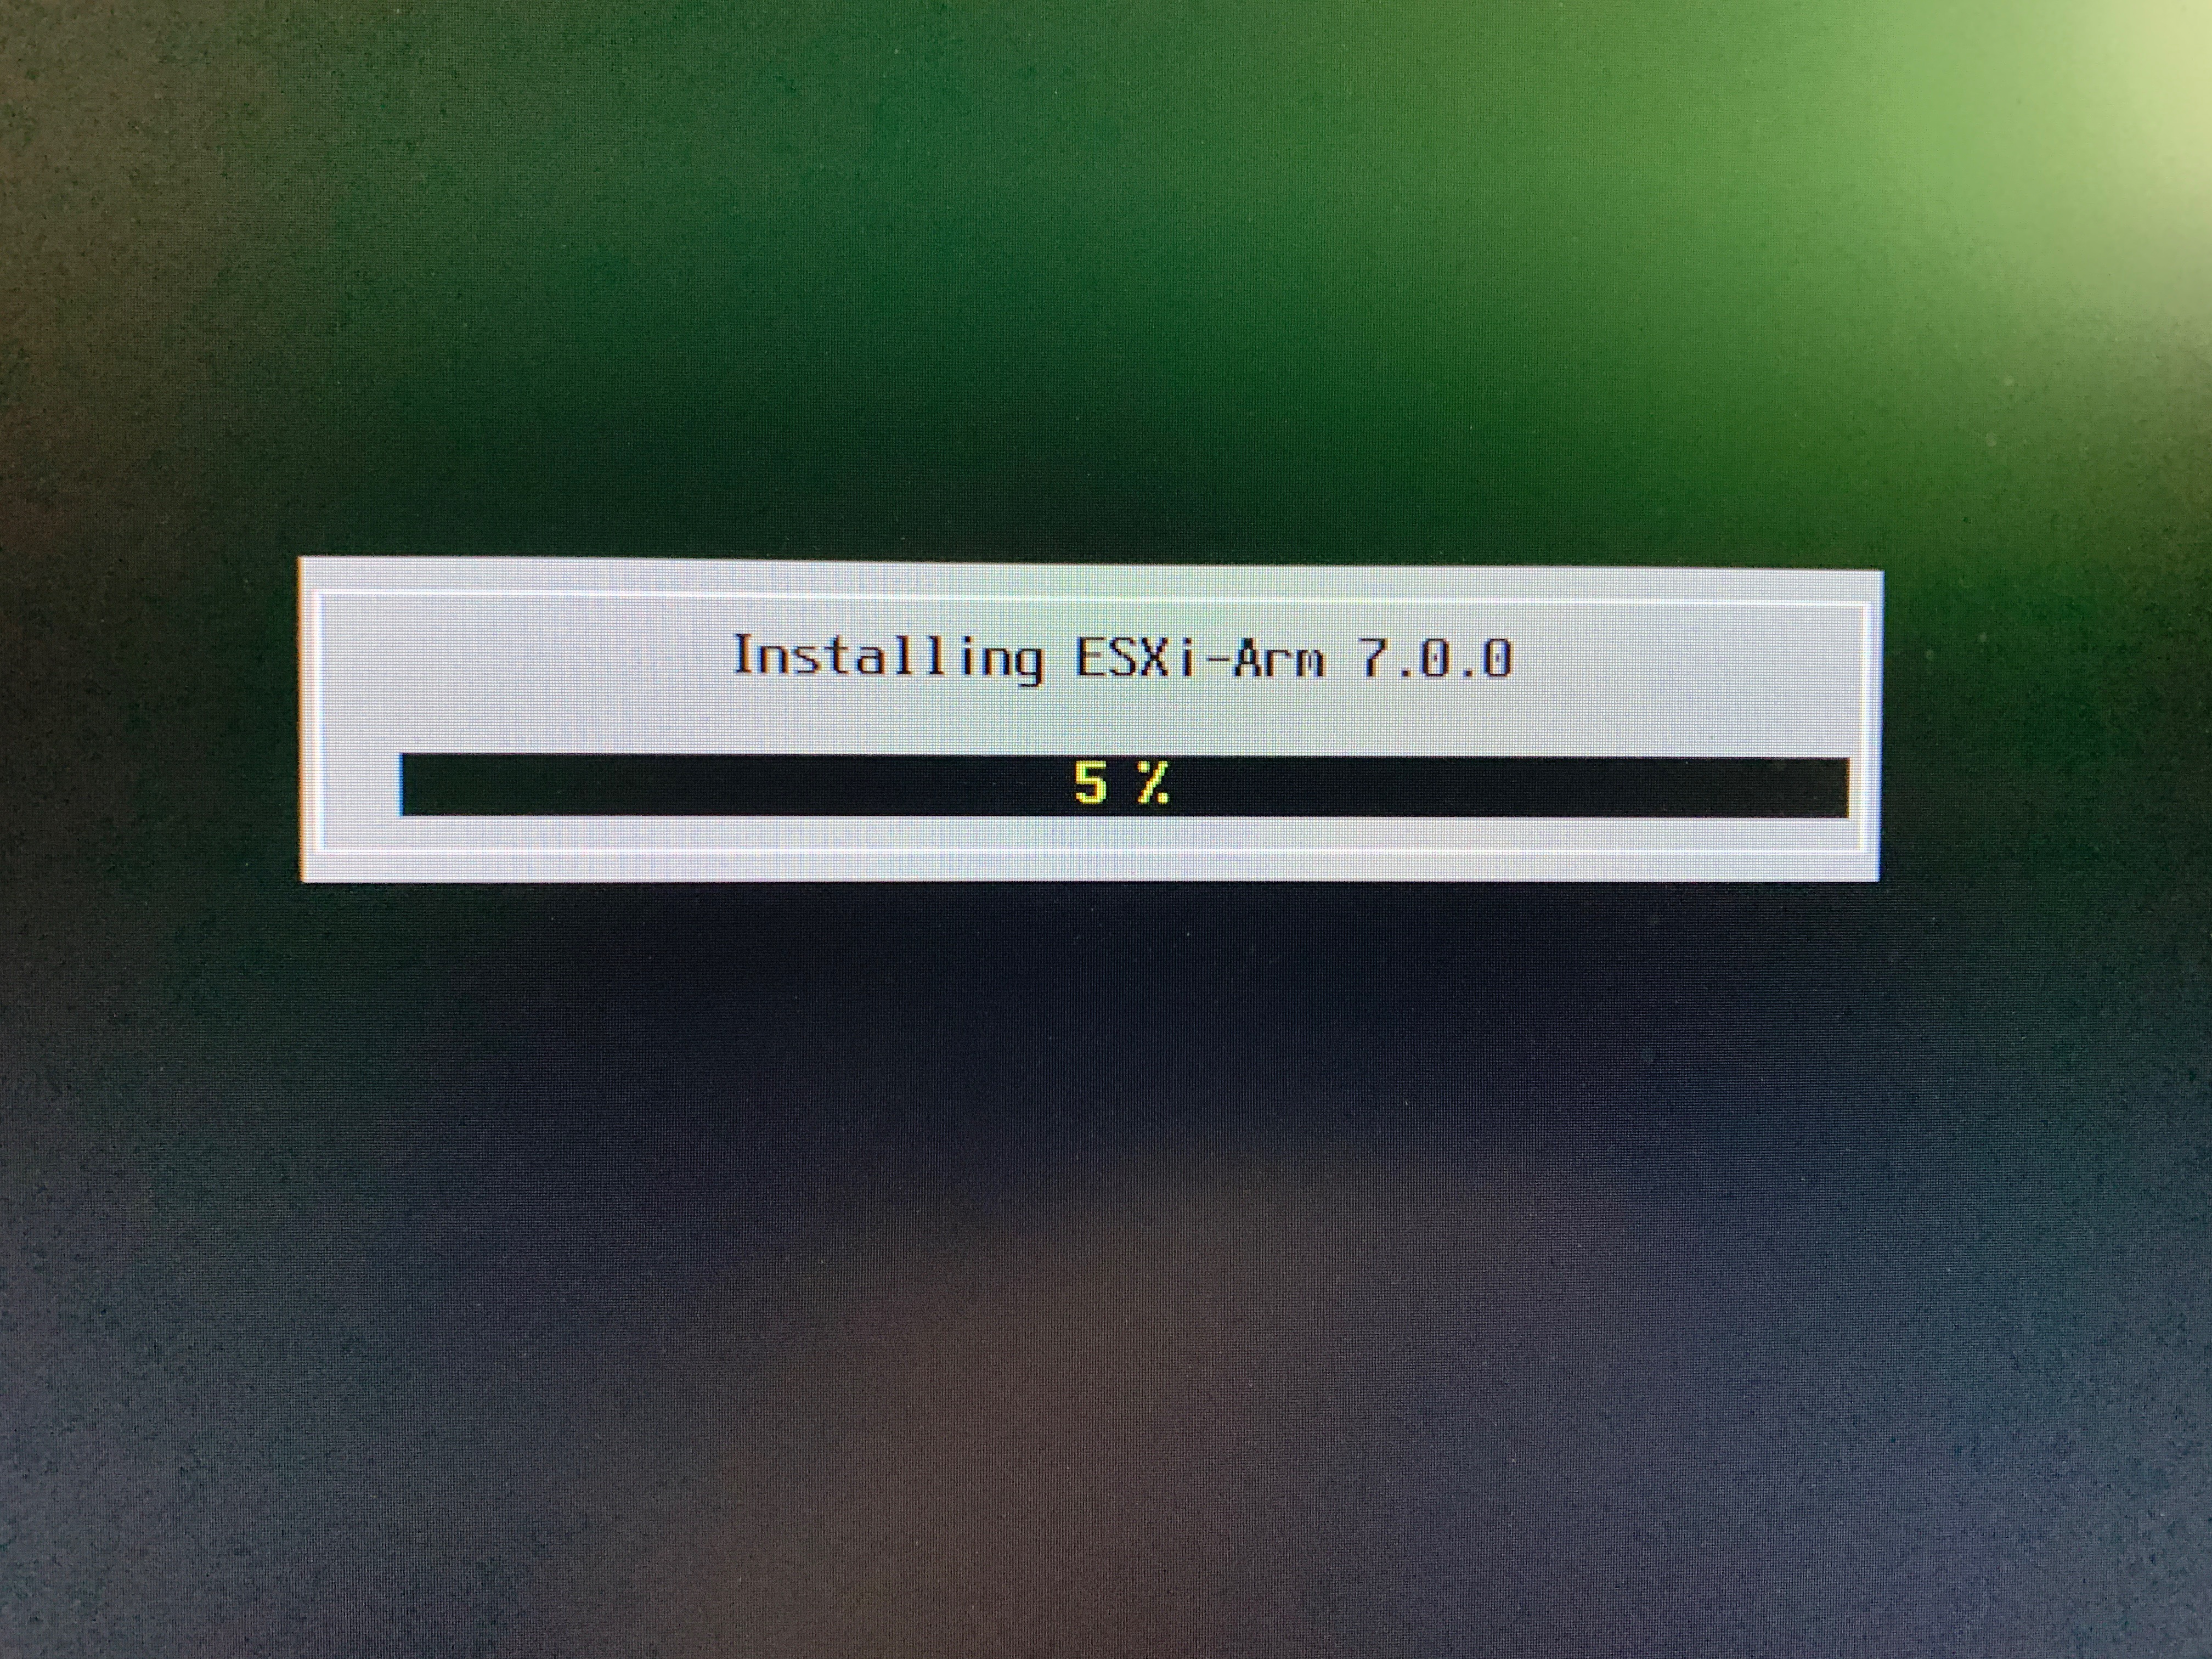
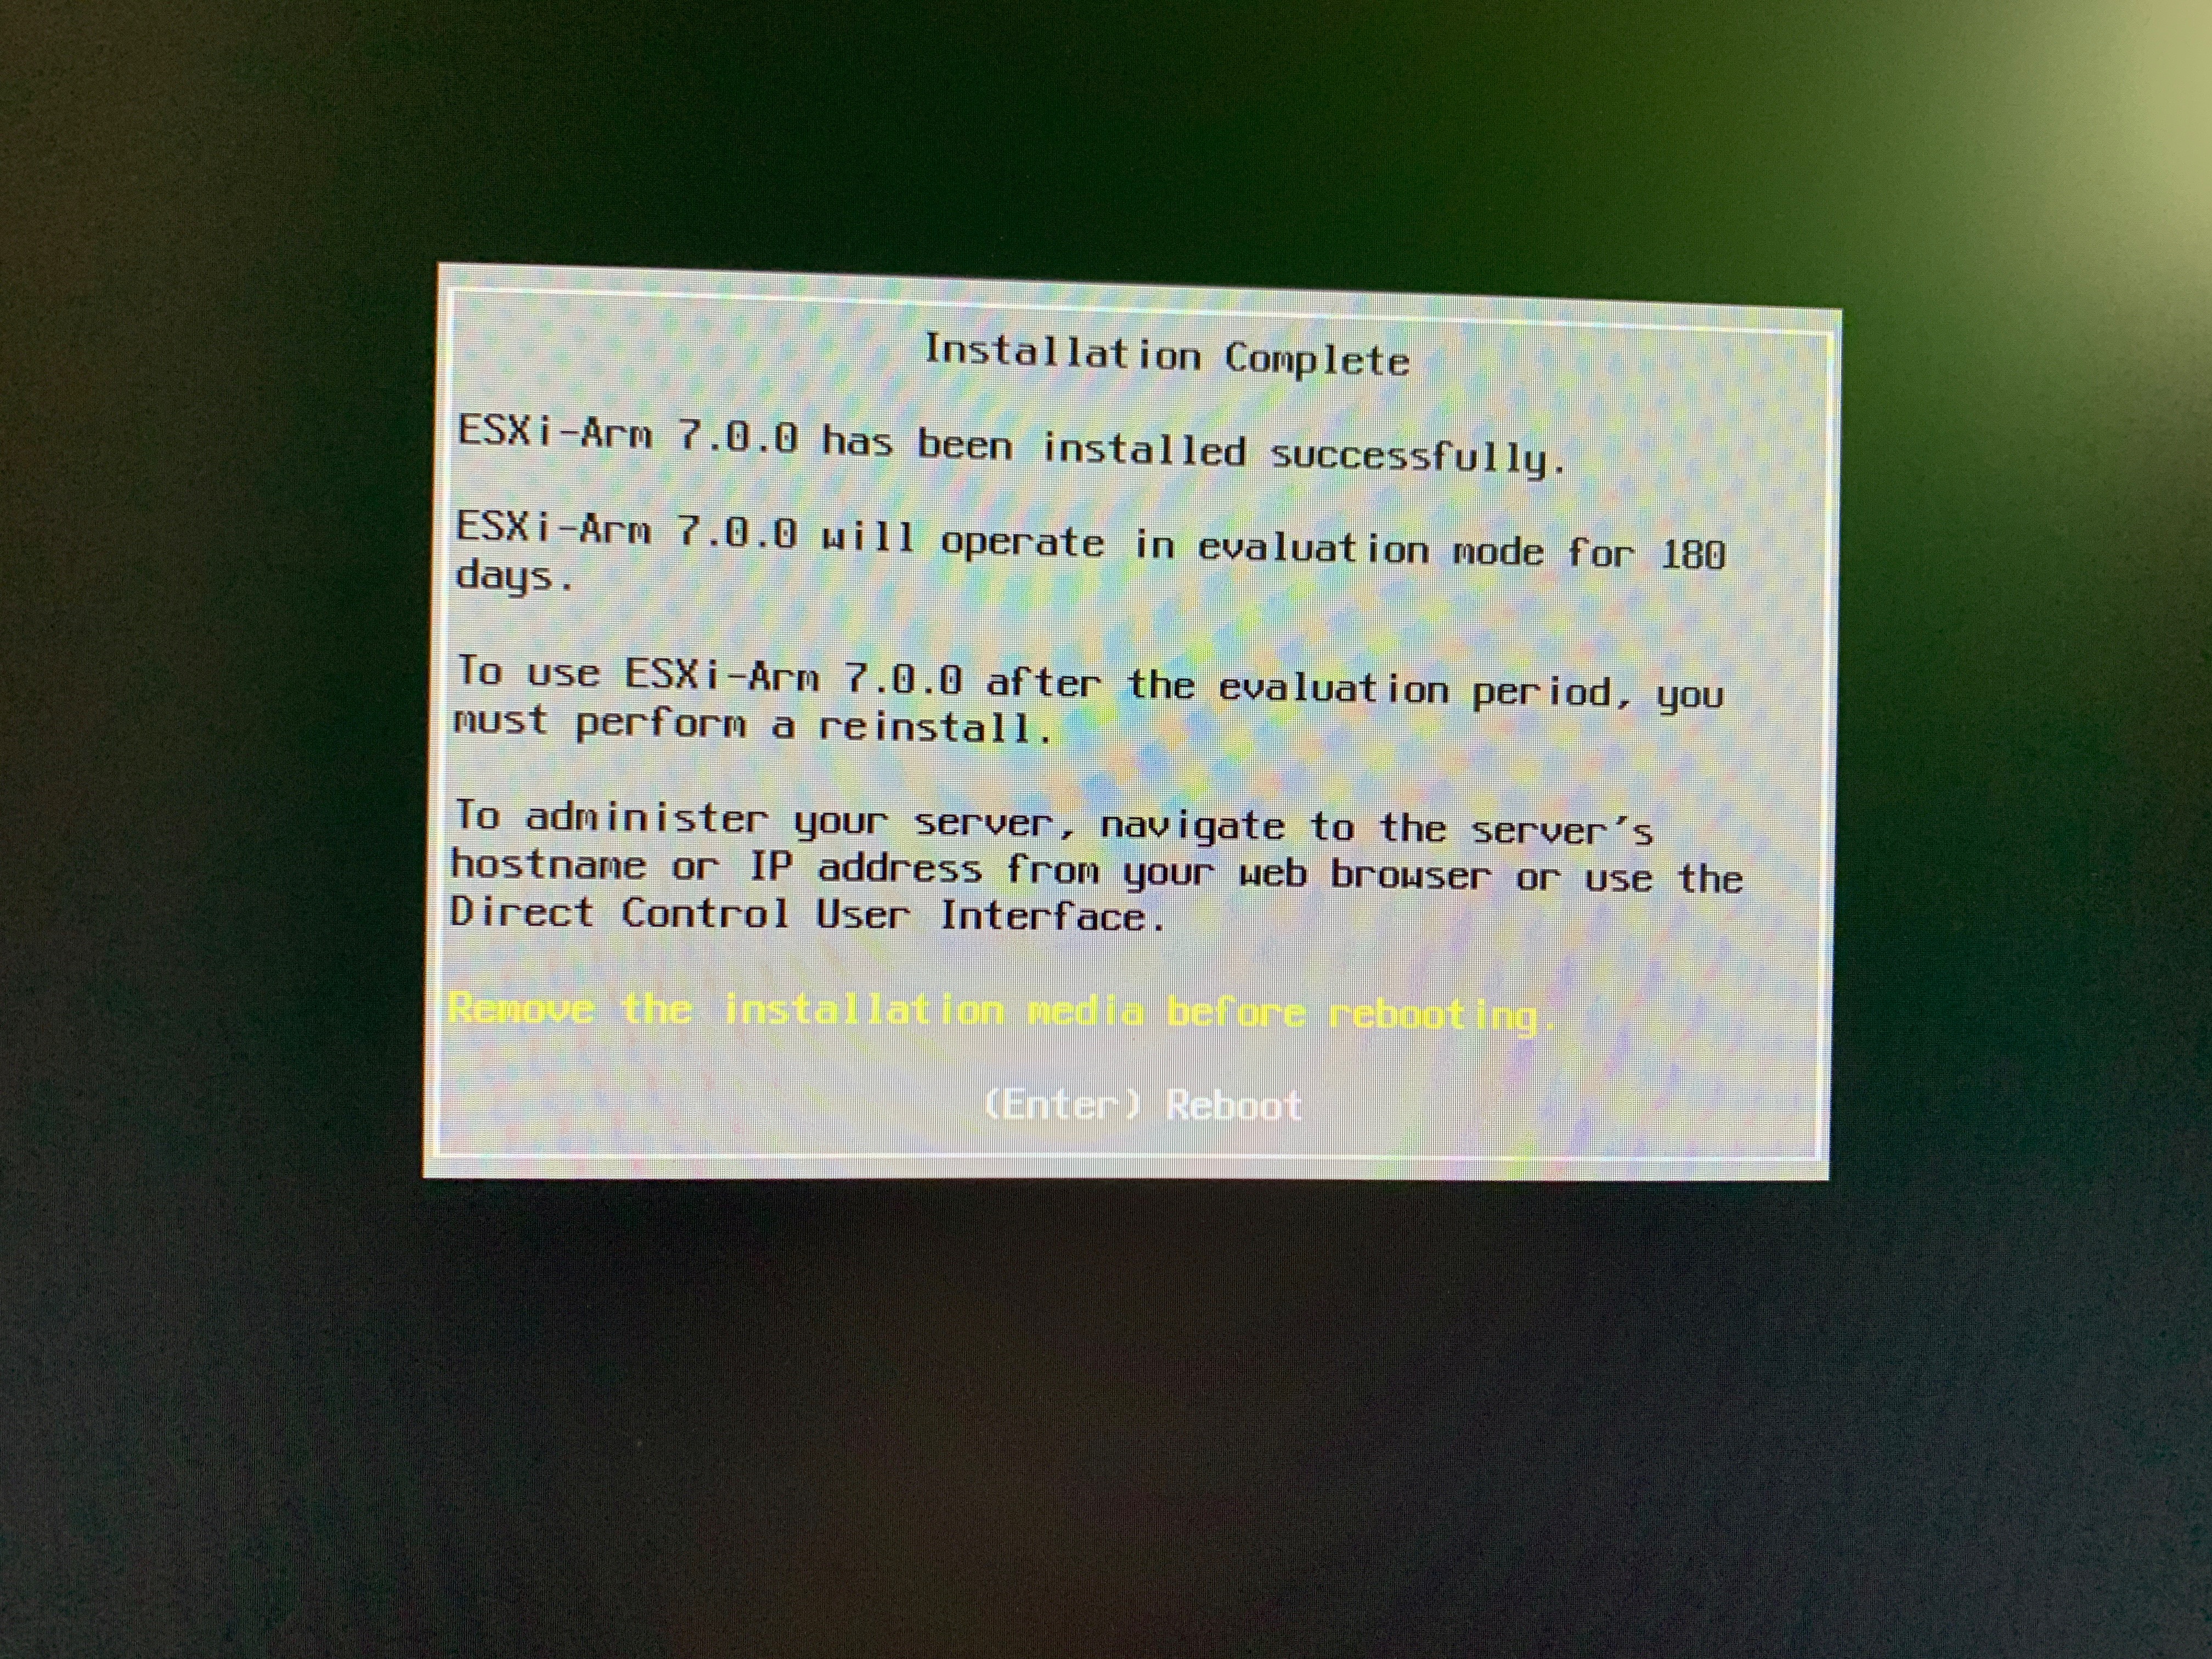
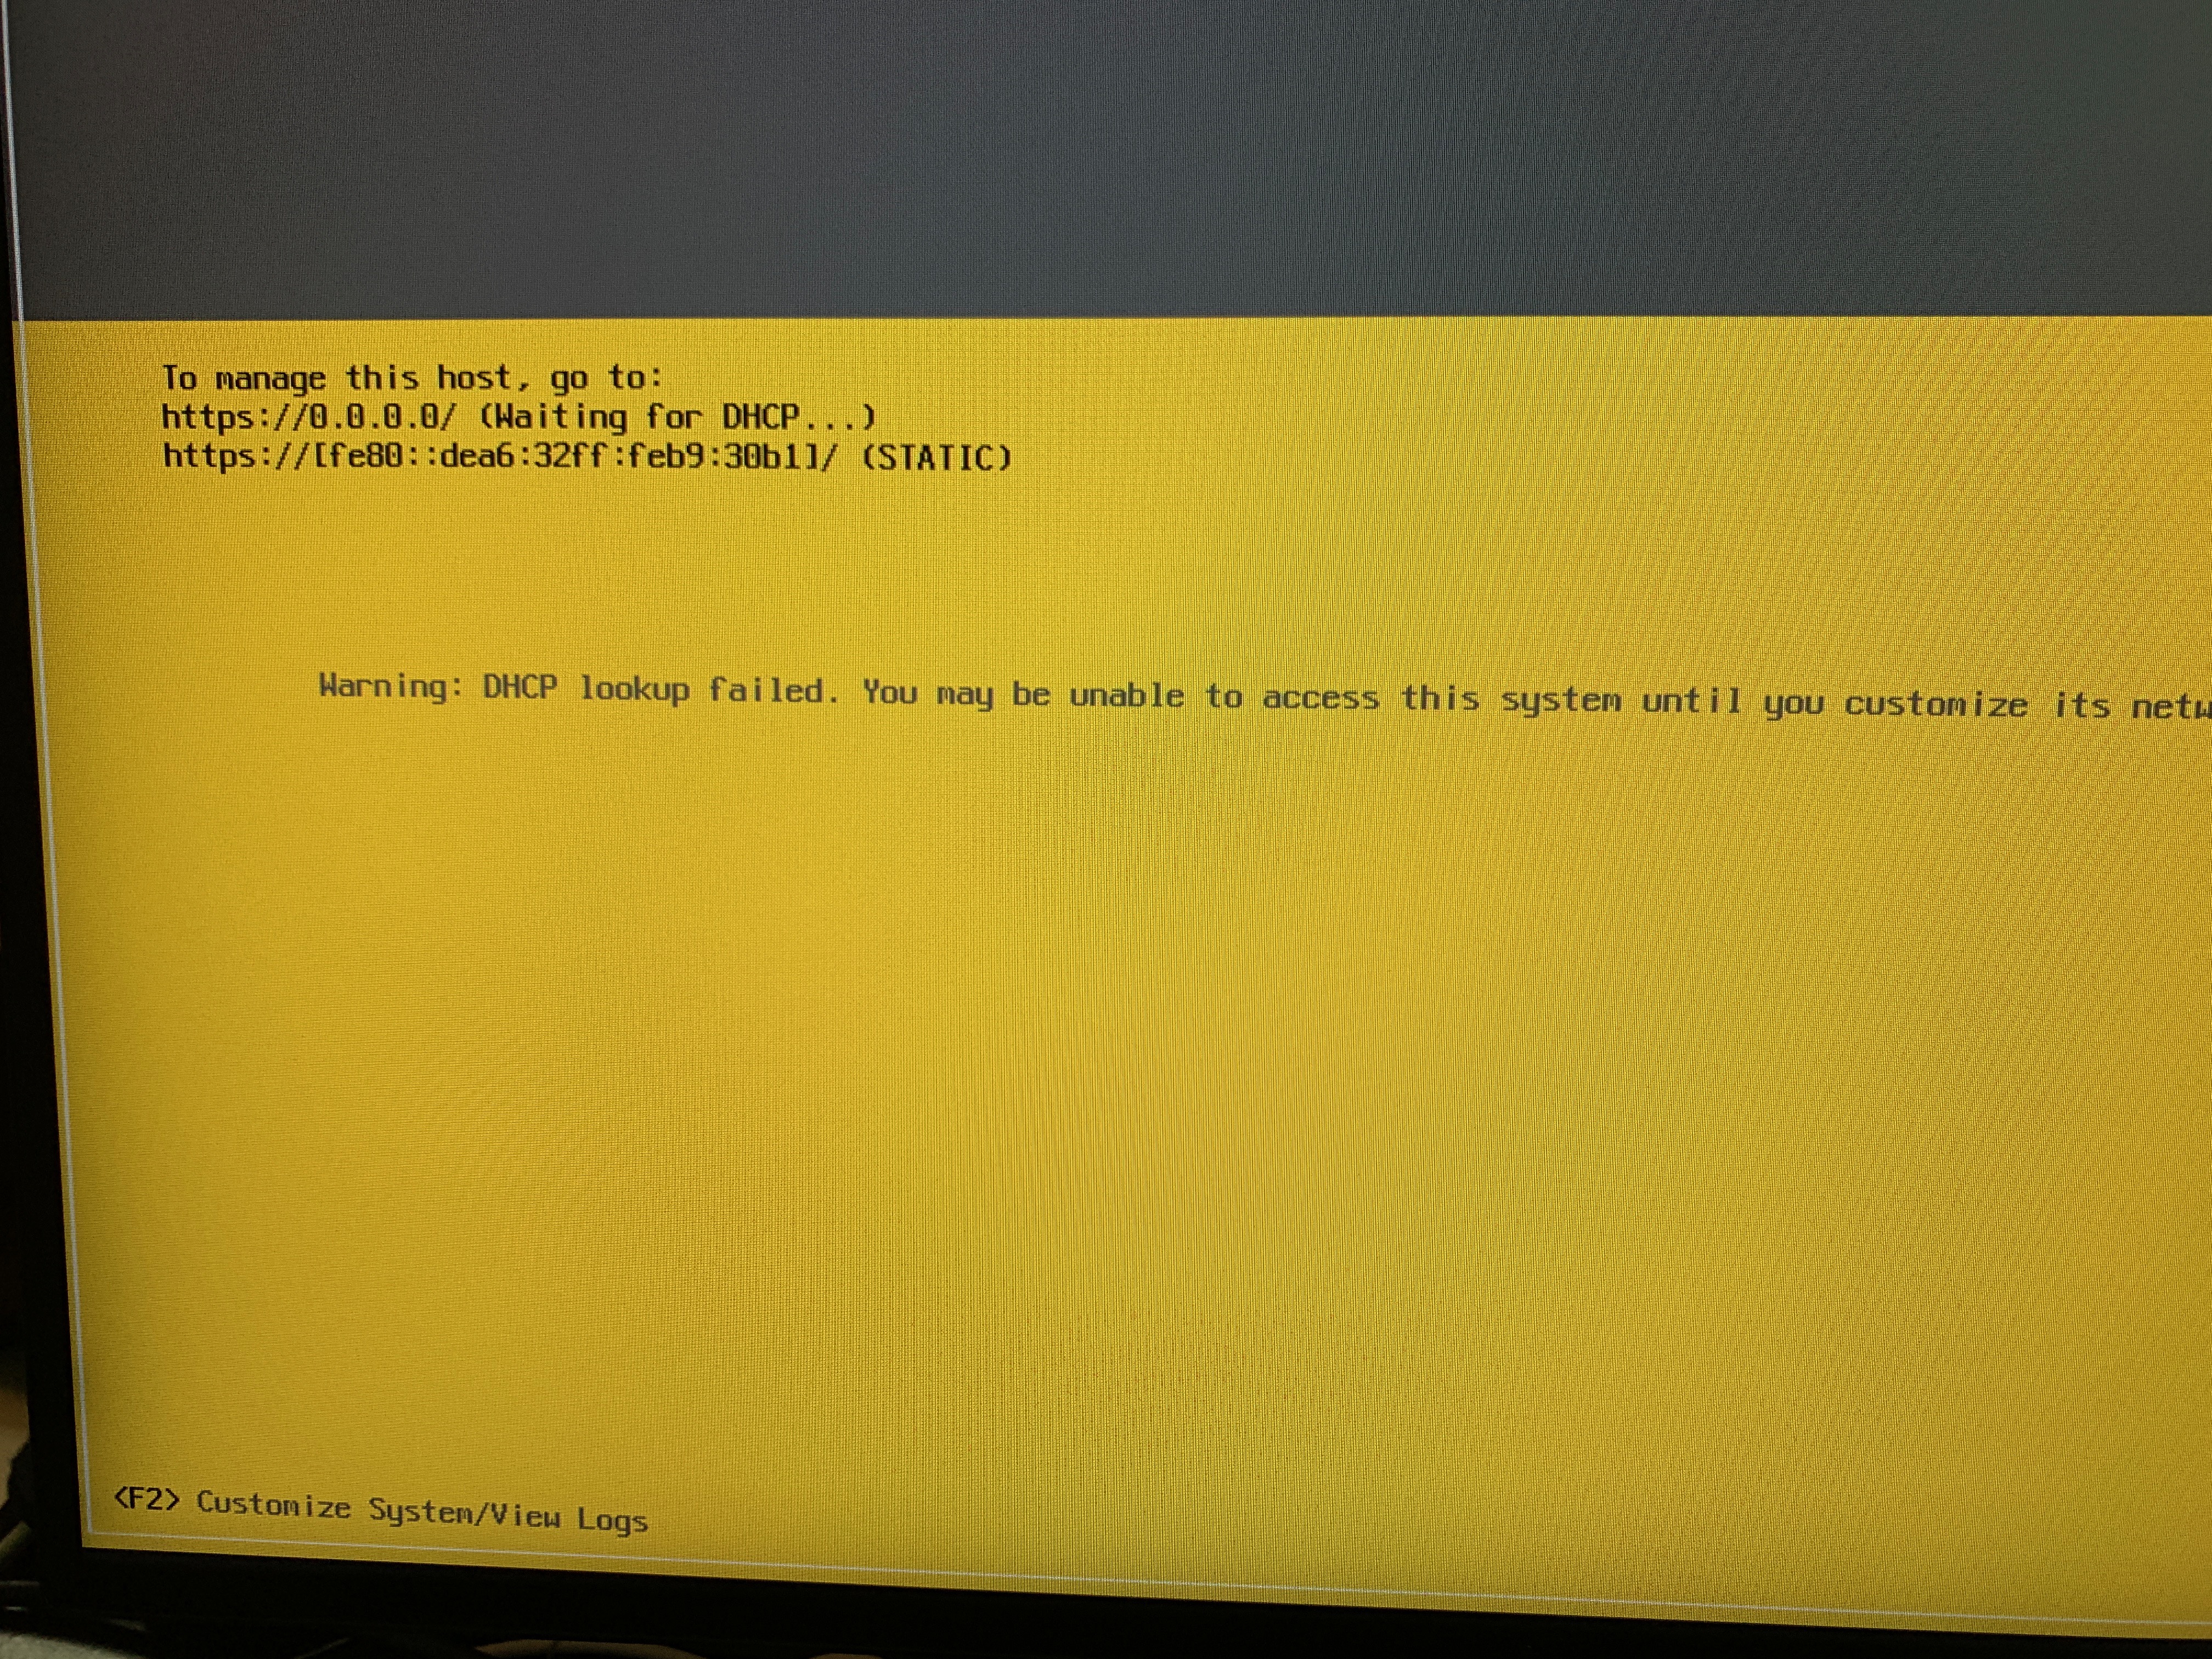
After getting the ESXi installer going, the process was pretty simple at this point selecting the 32GB blank SD card to install options like you normally would with the normal installer prompts. Once completed, the installer prompts to remove the install media and reboots the RP4.
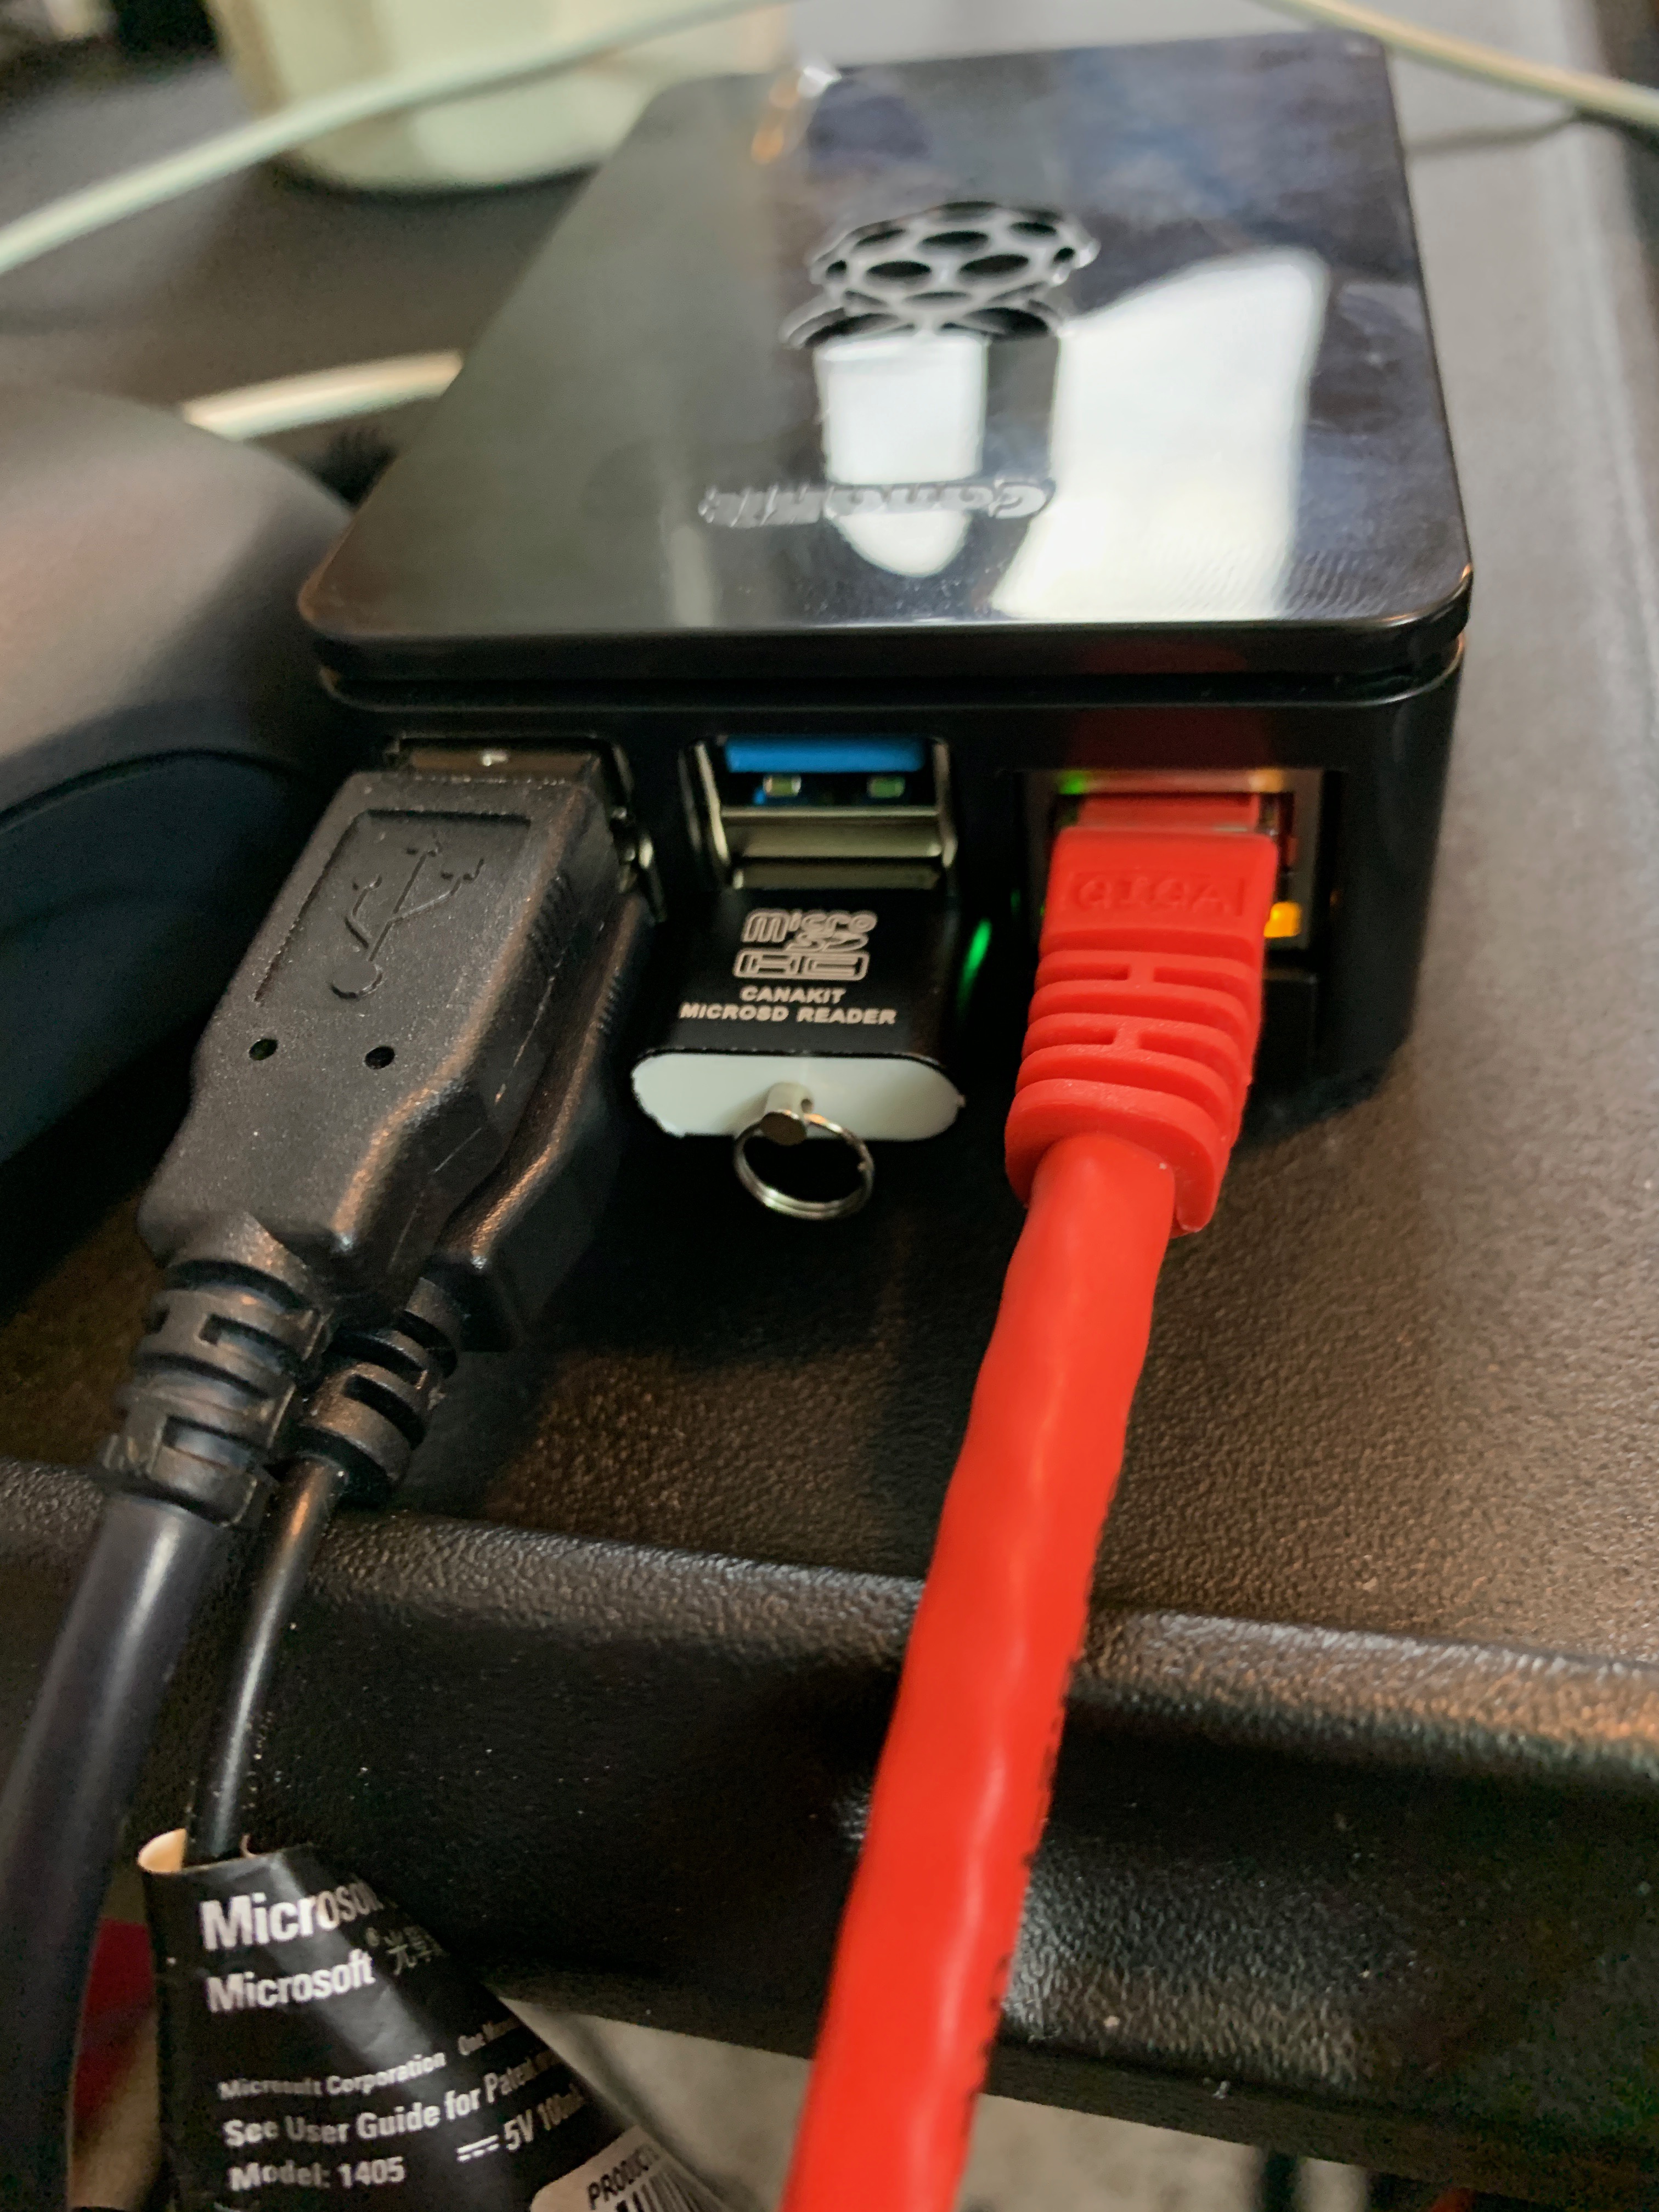
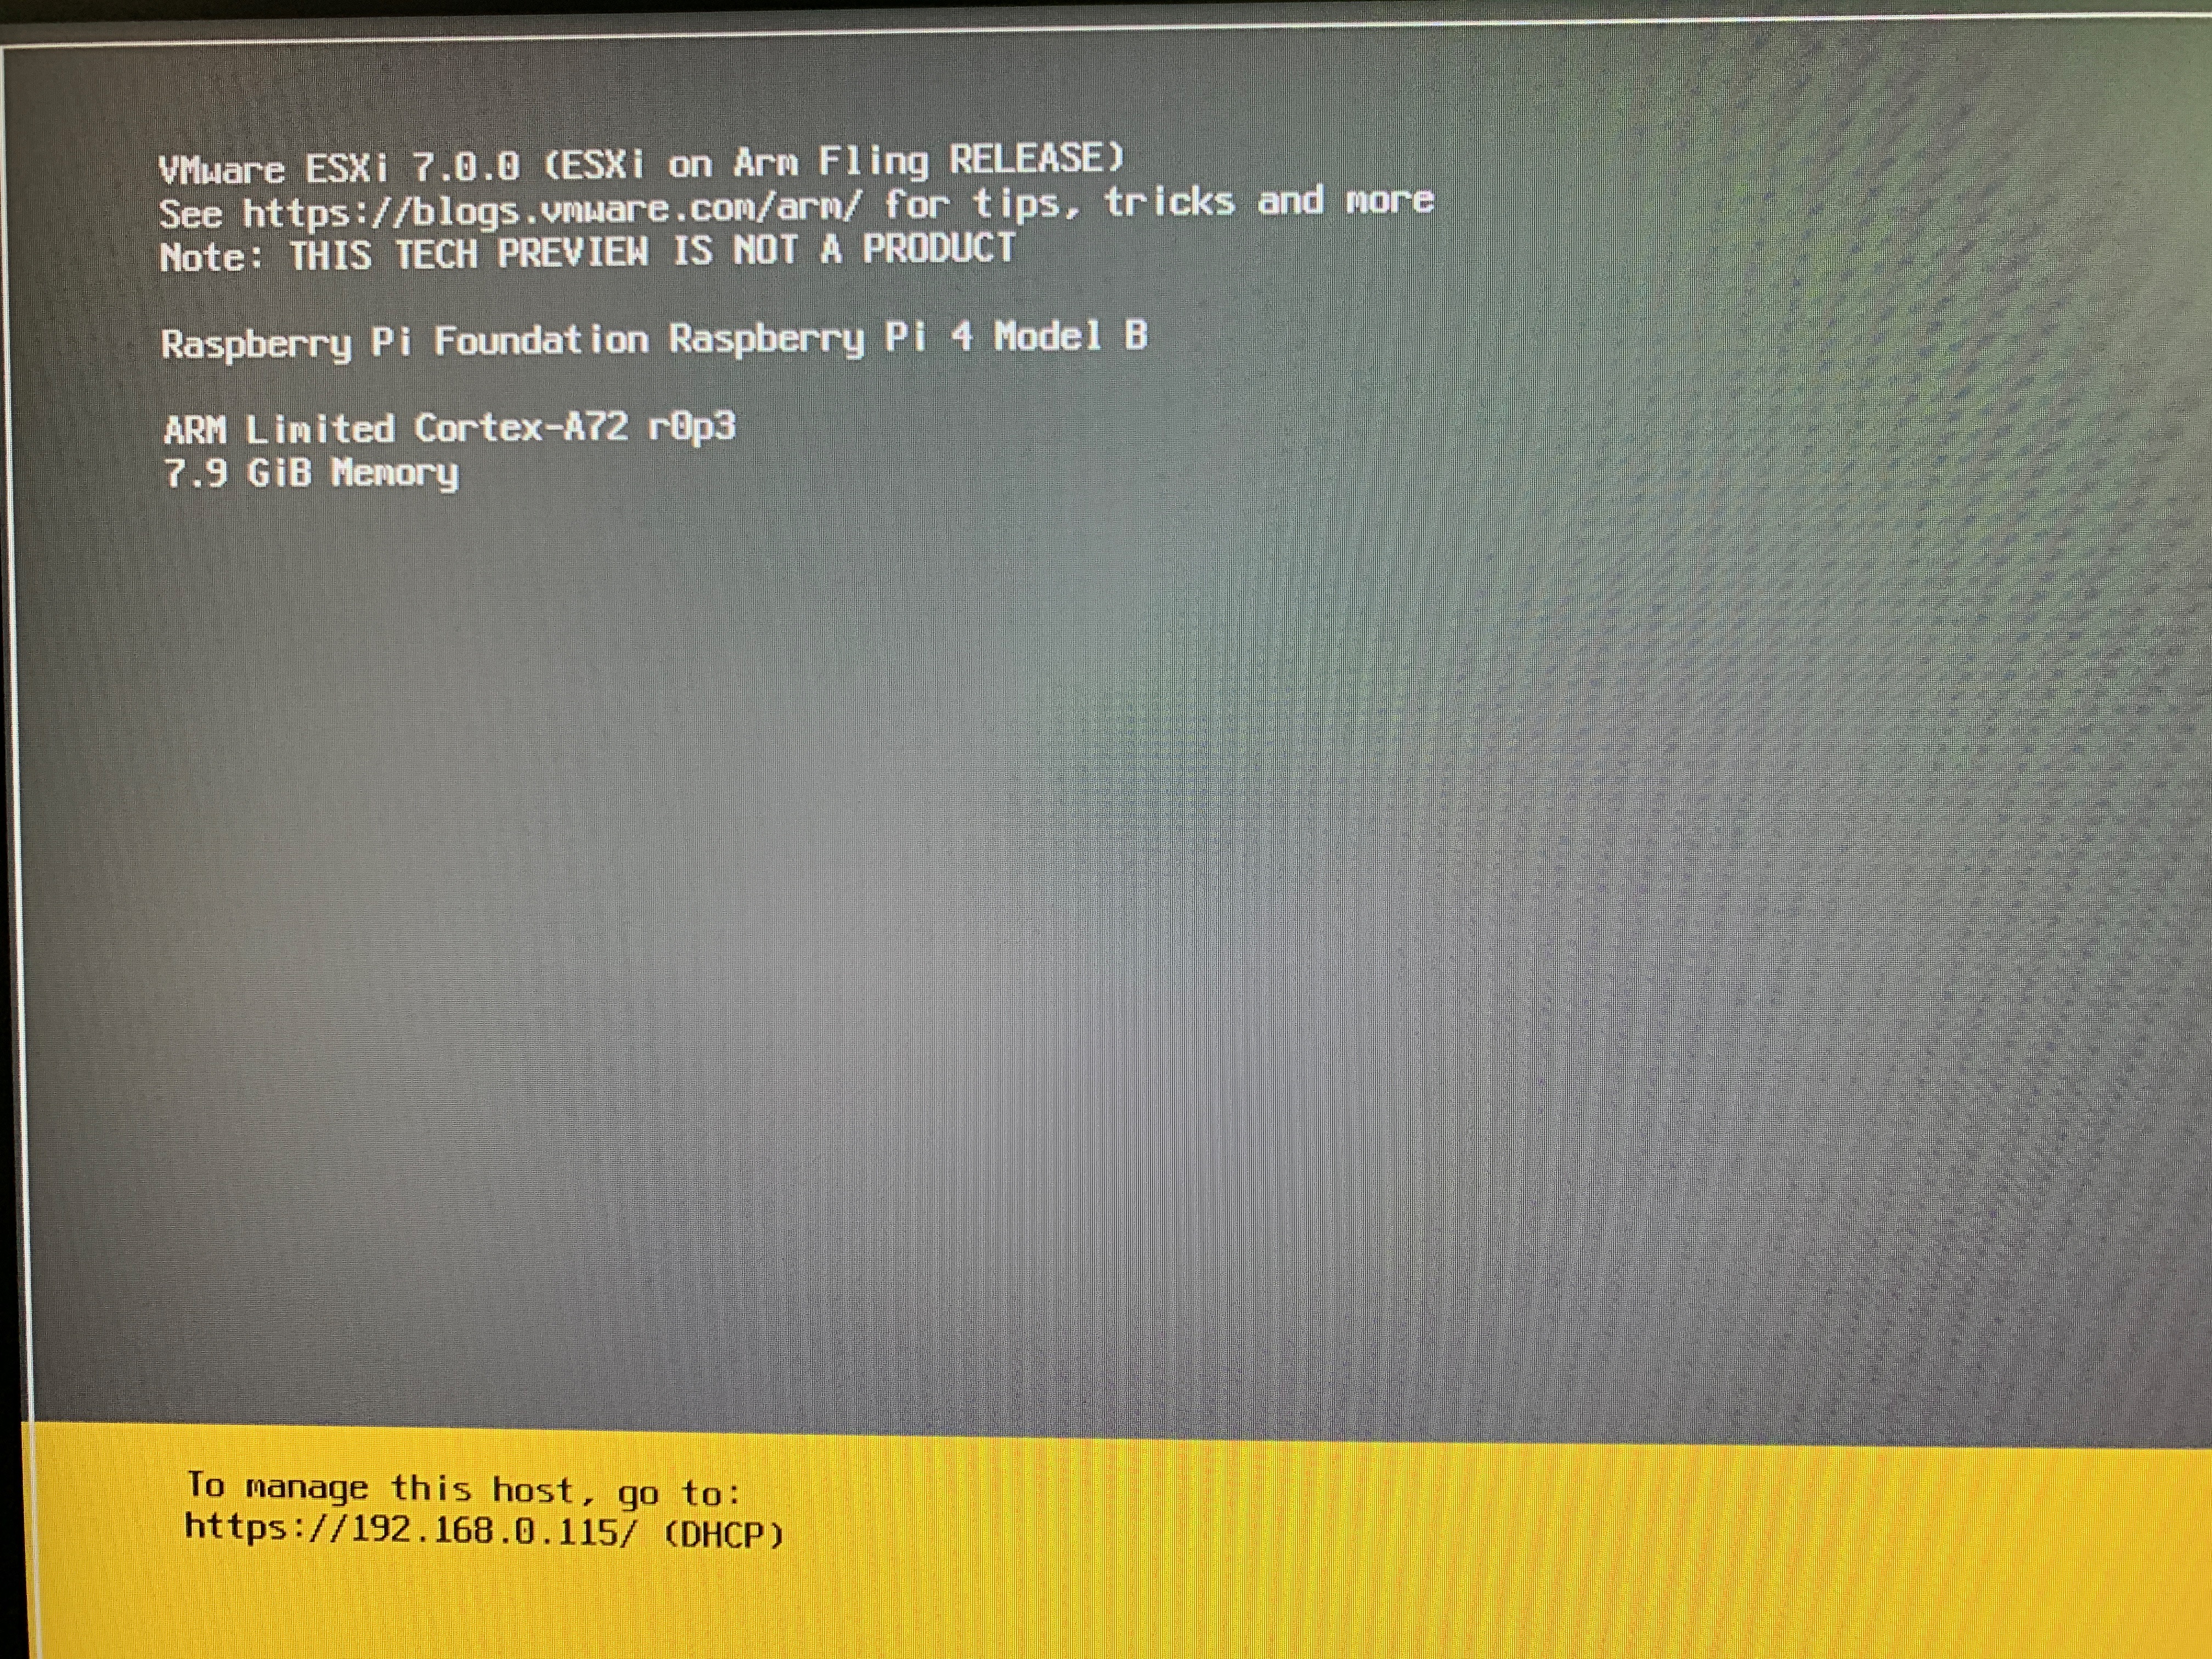
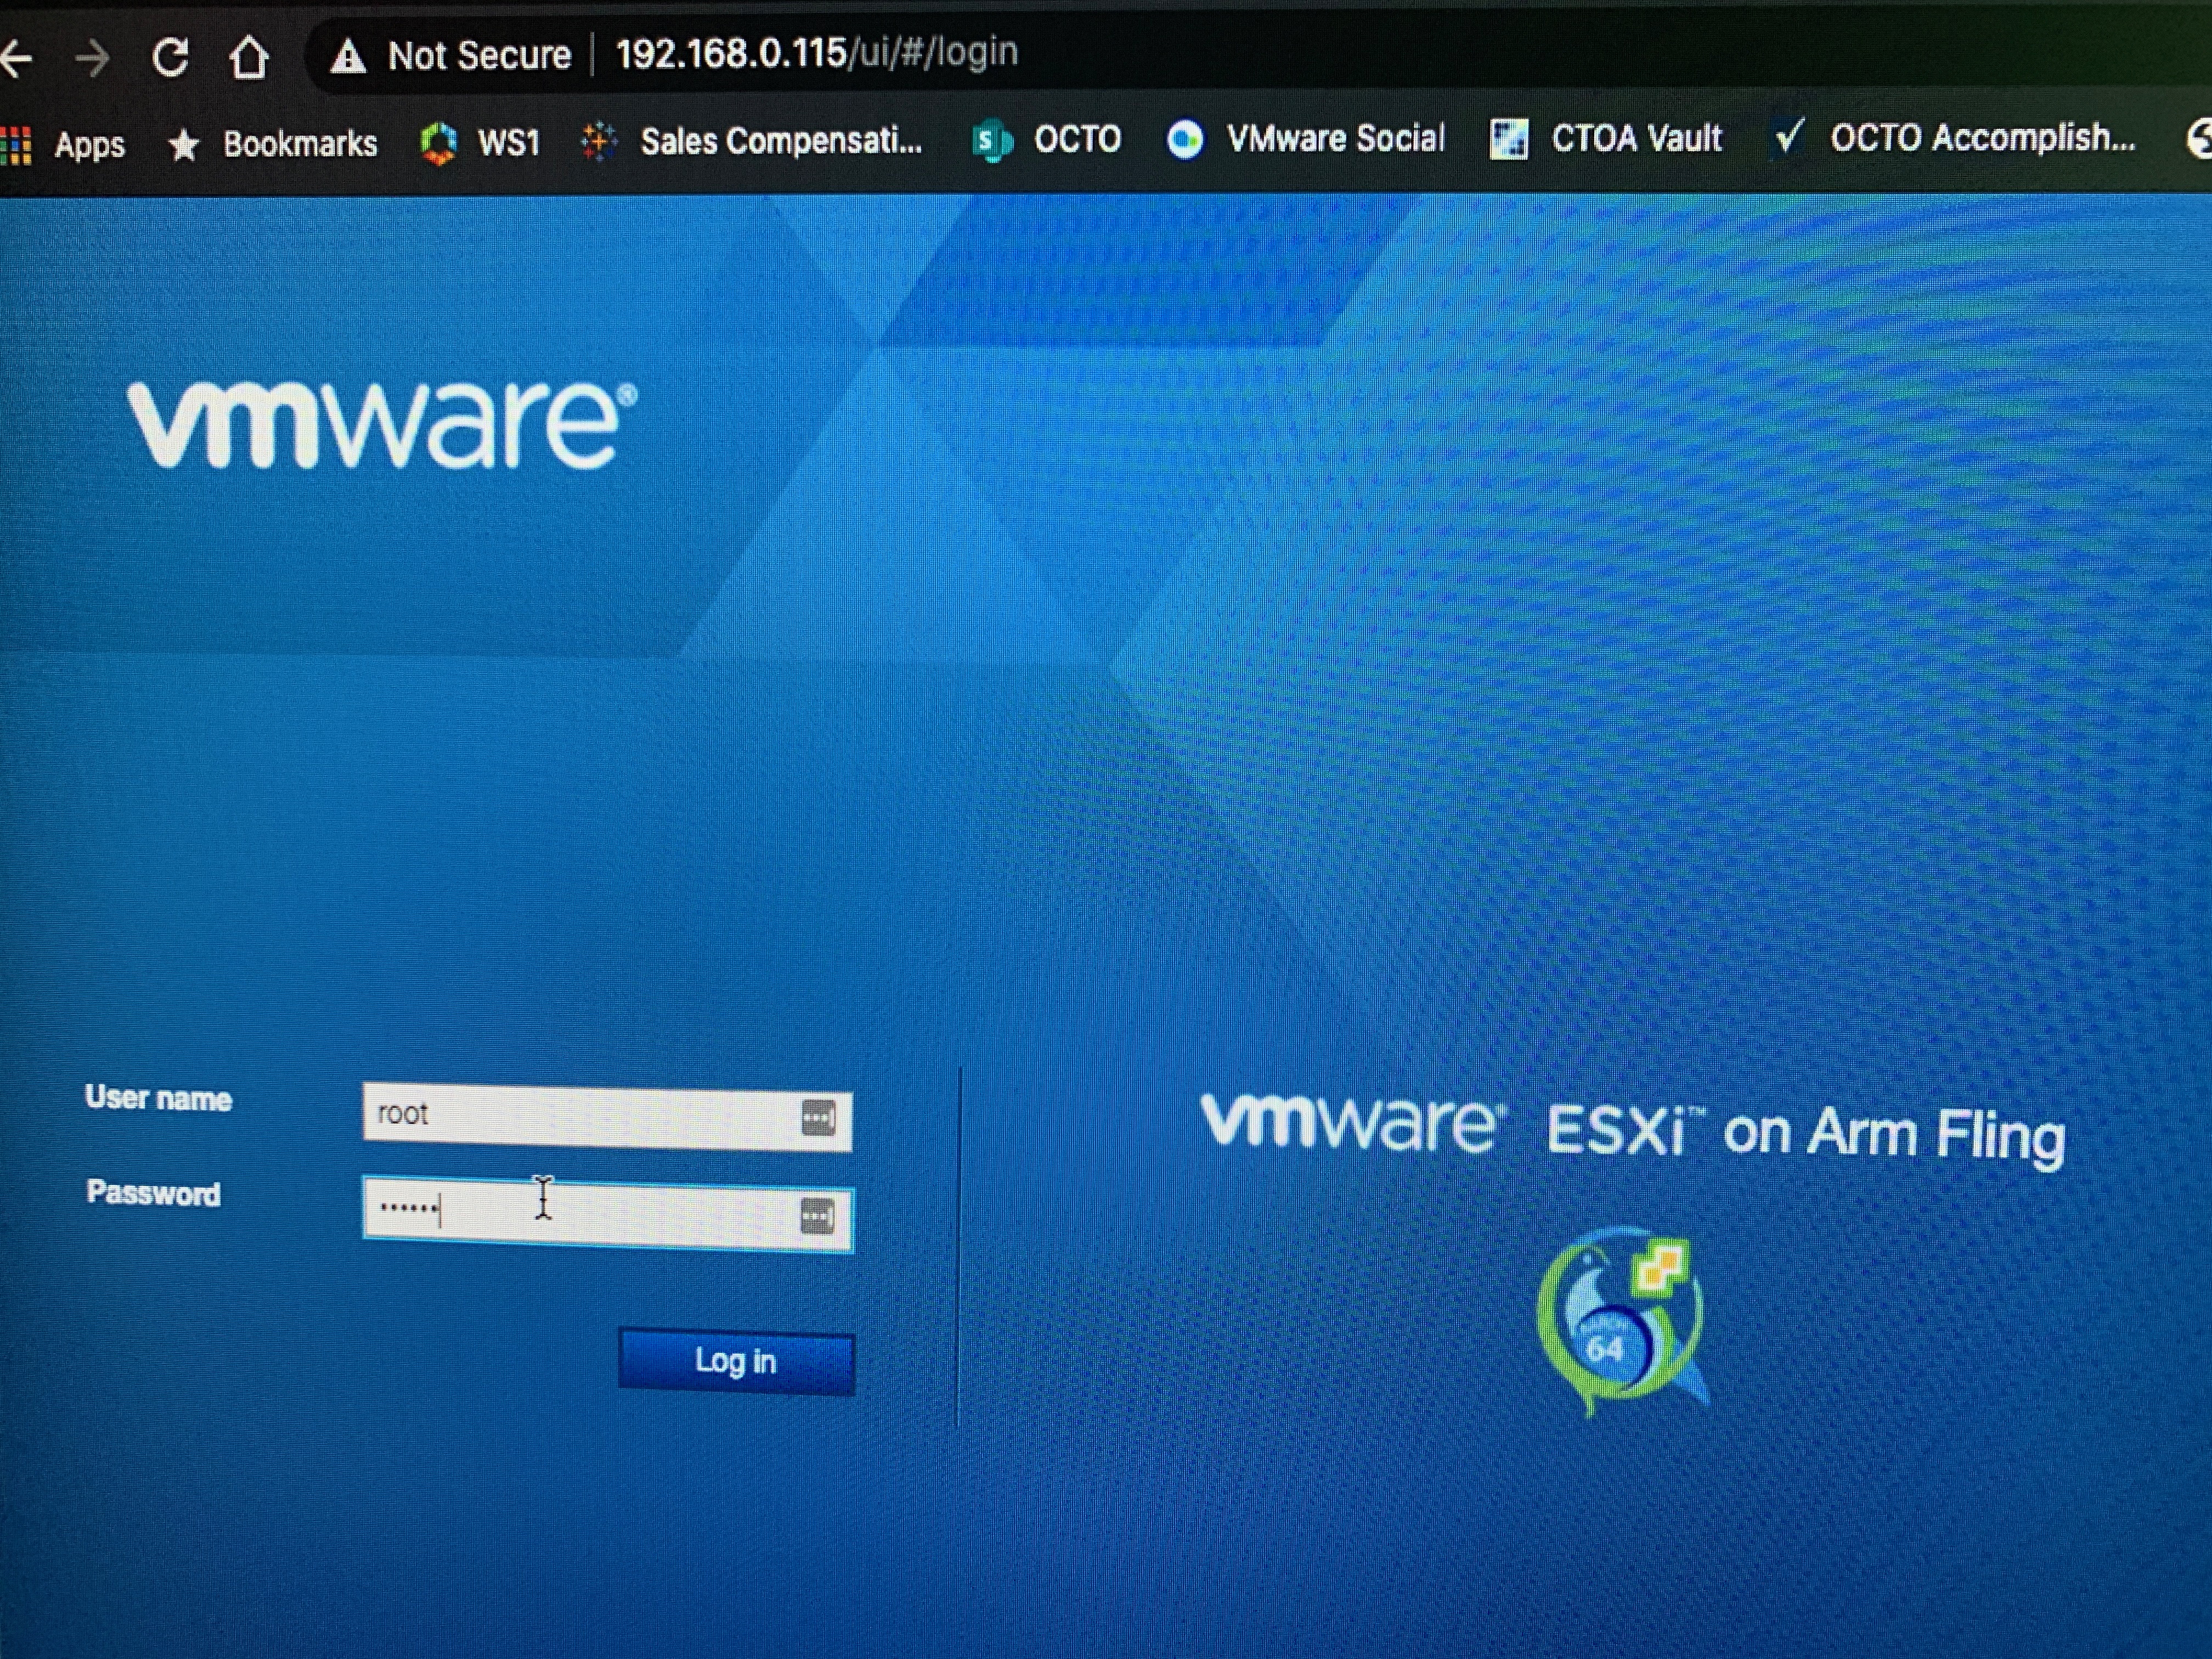
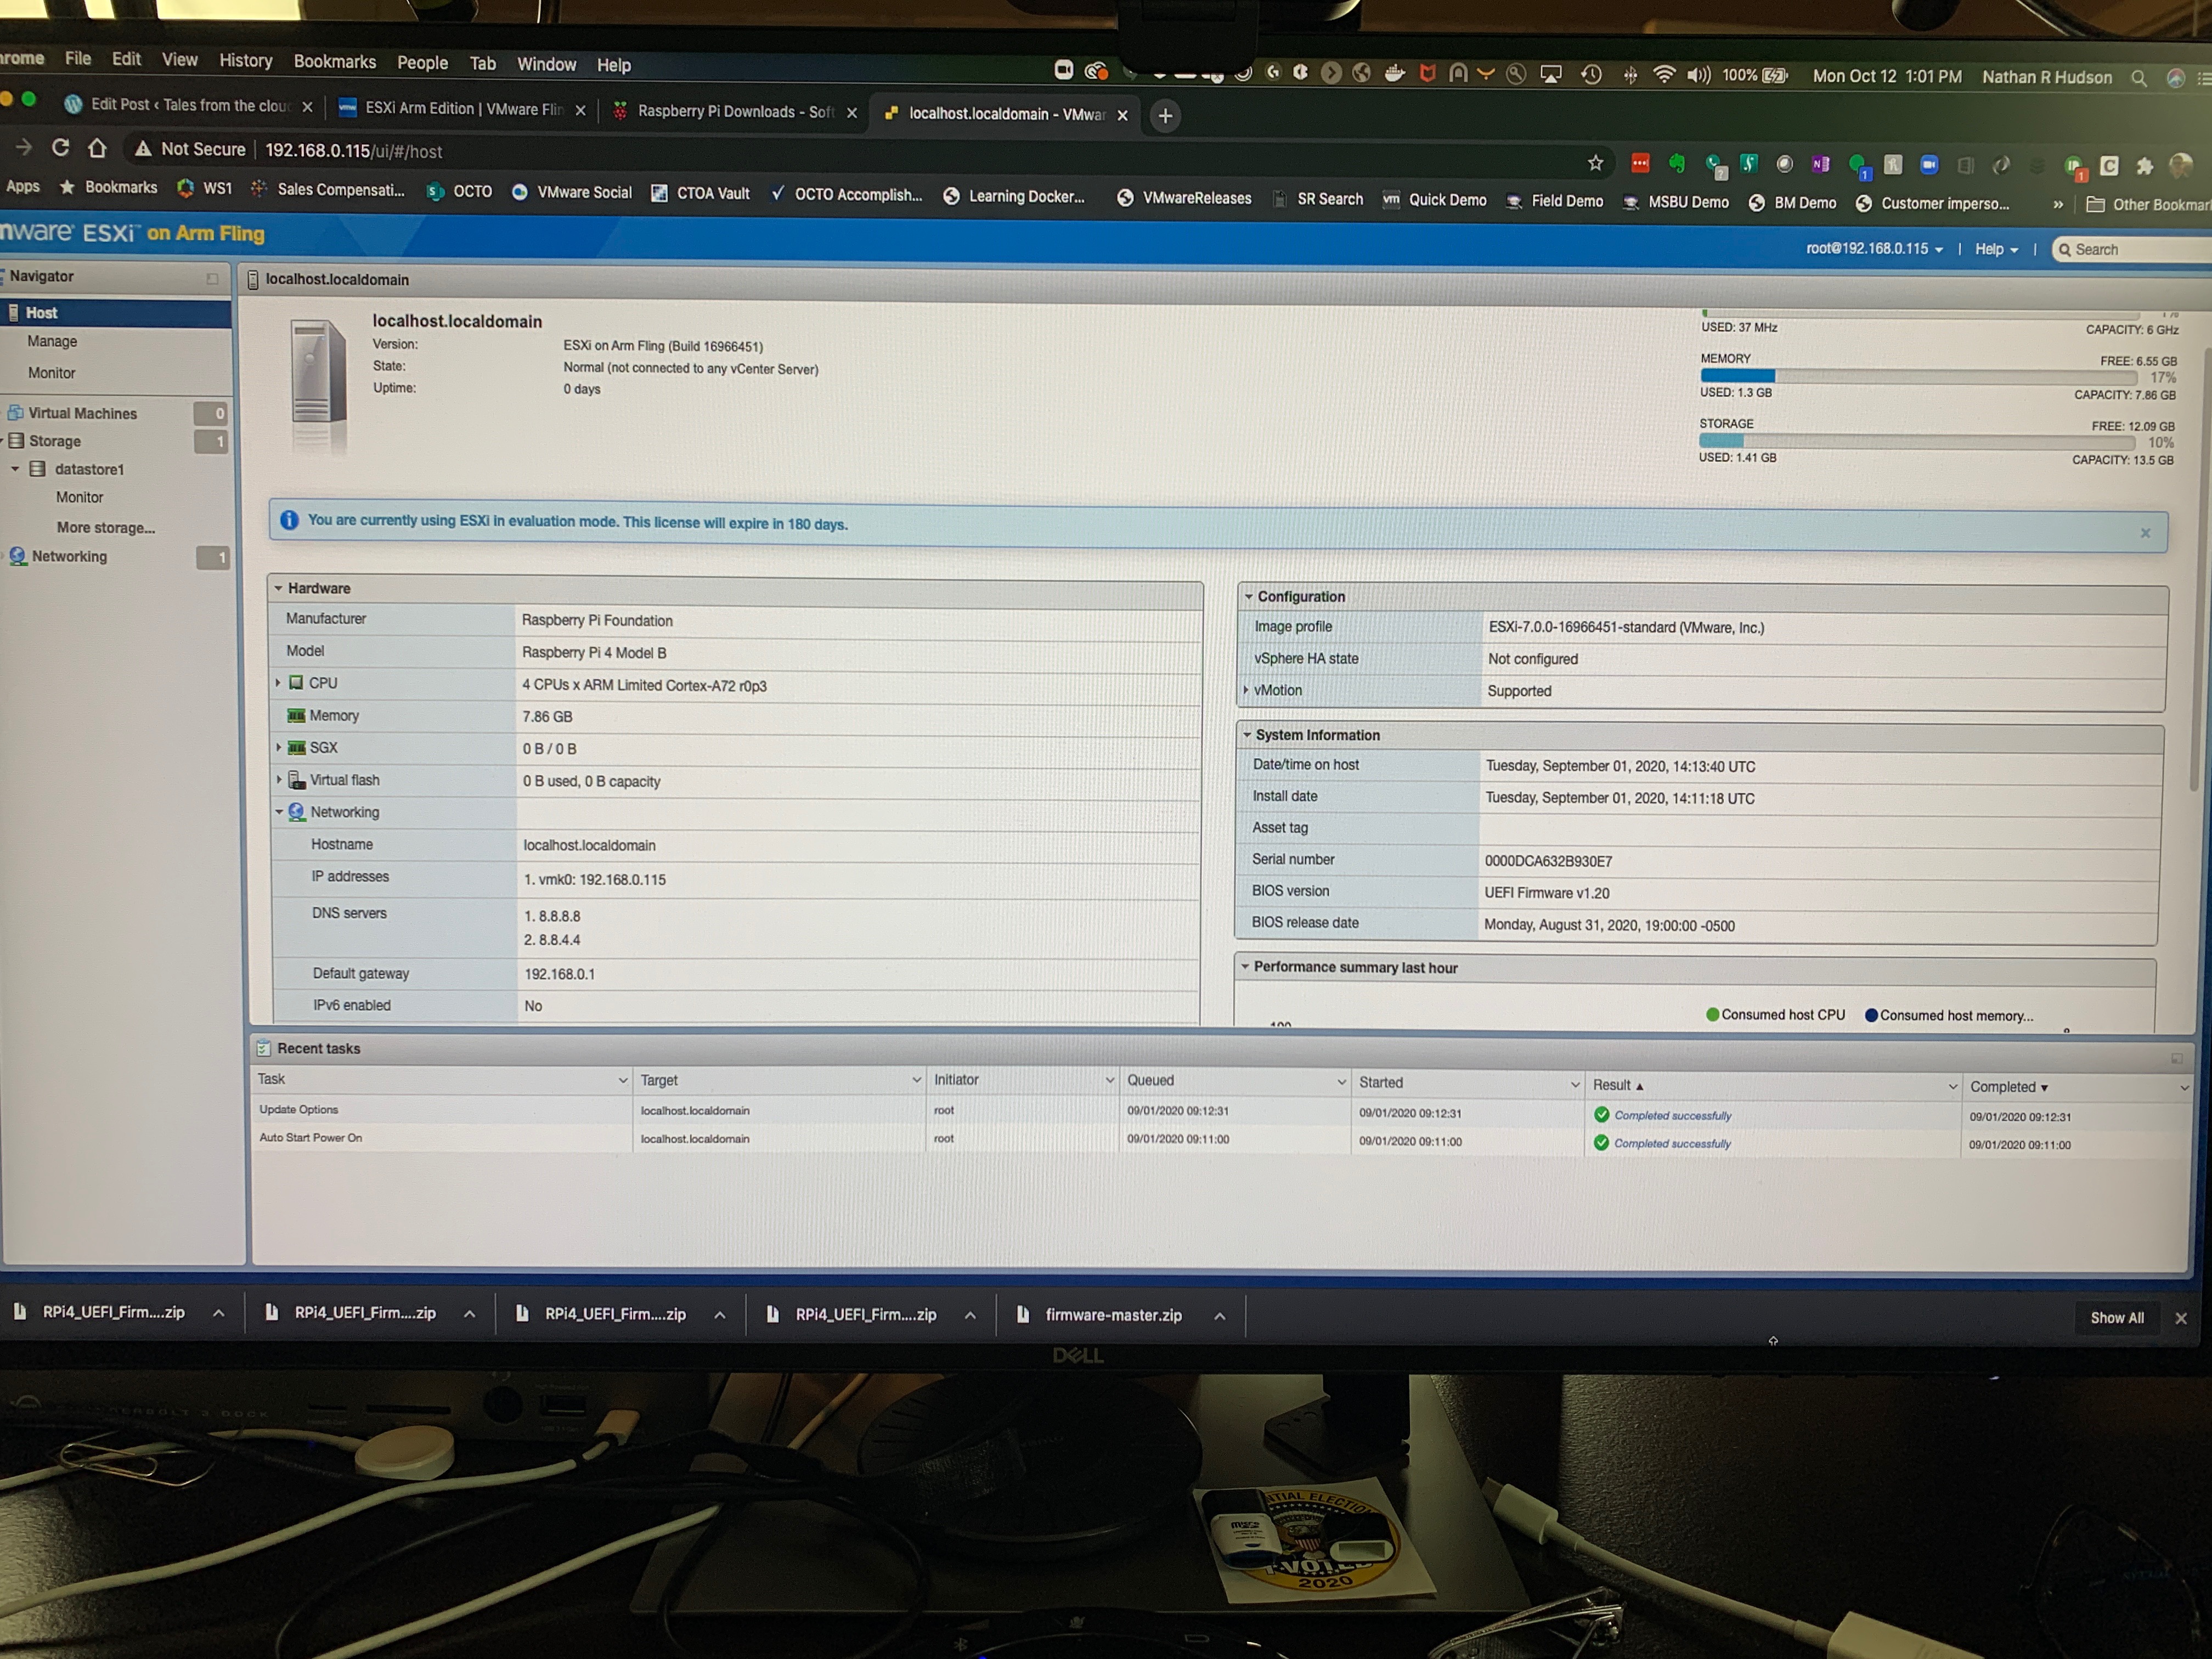
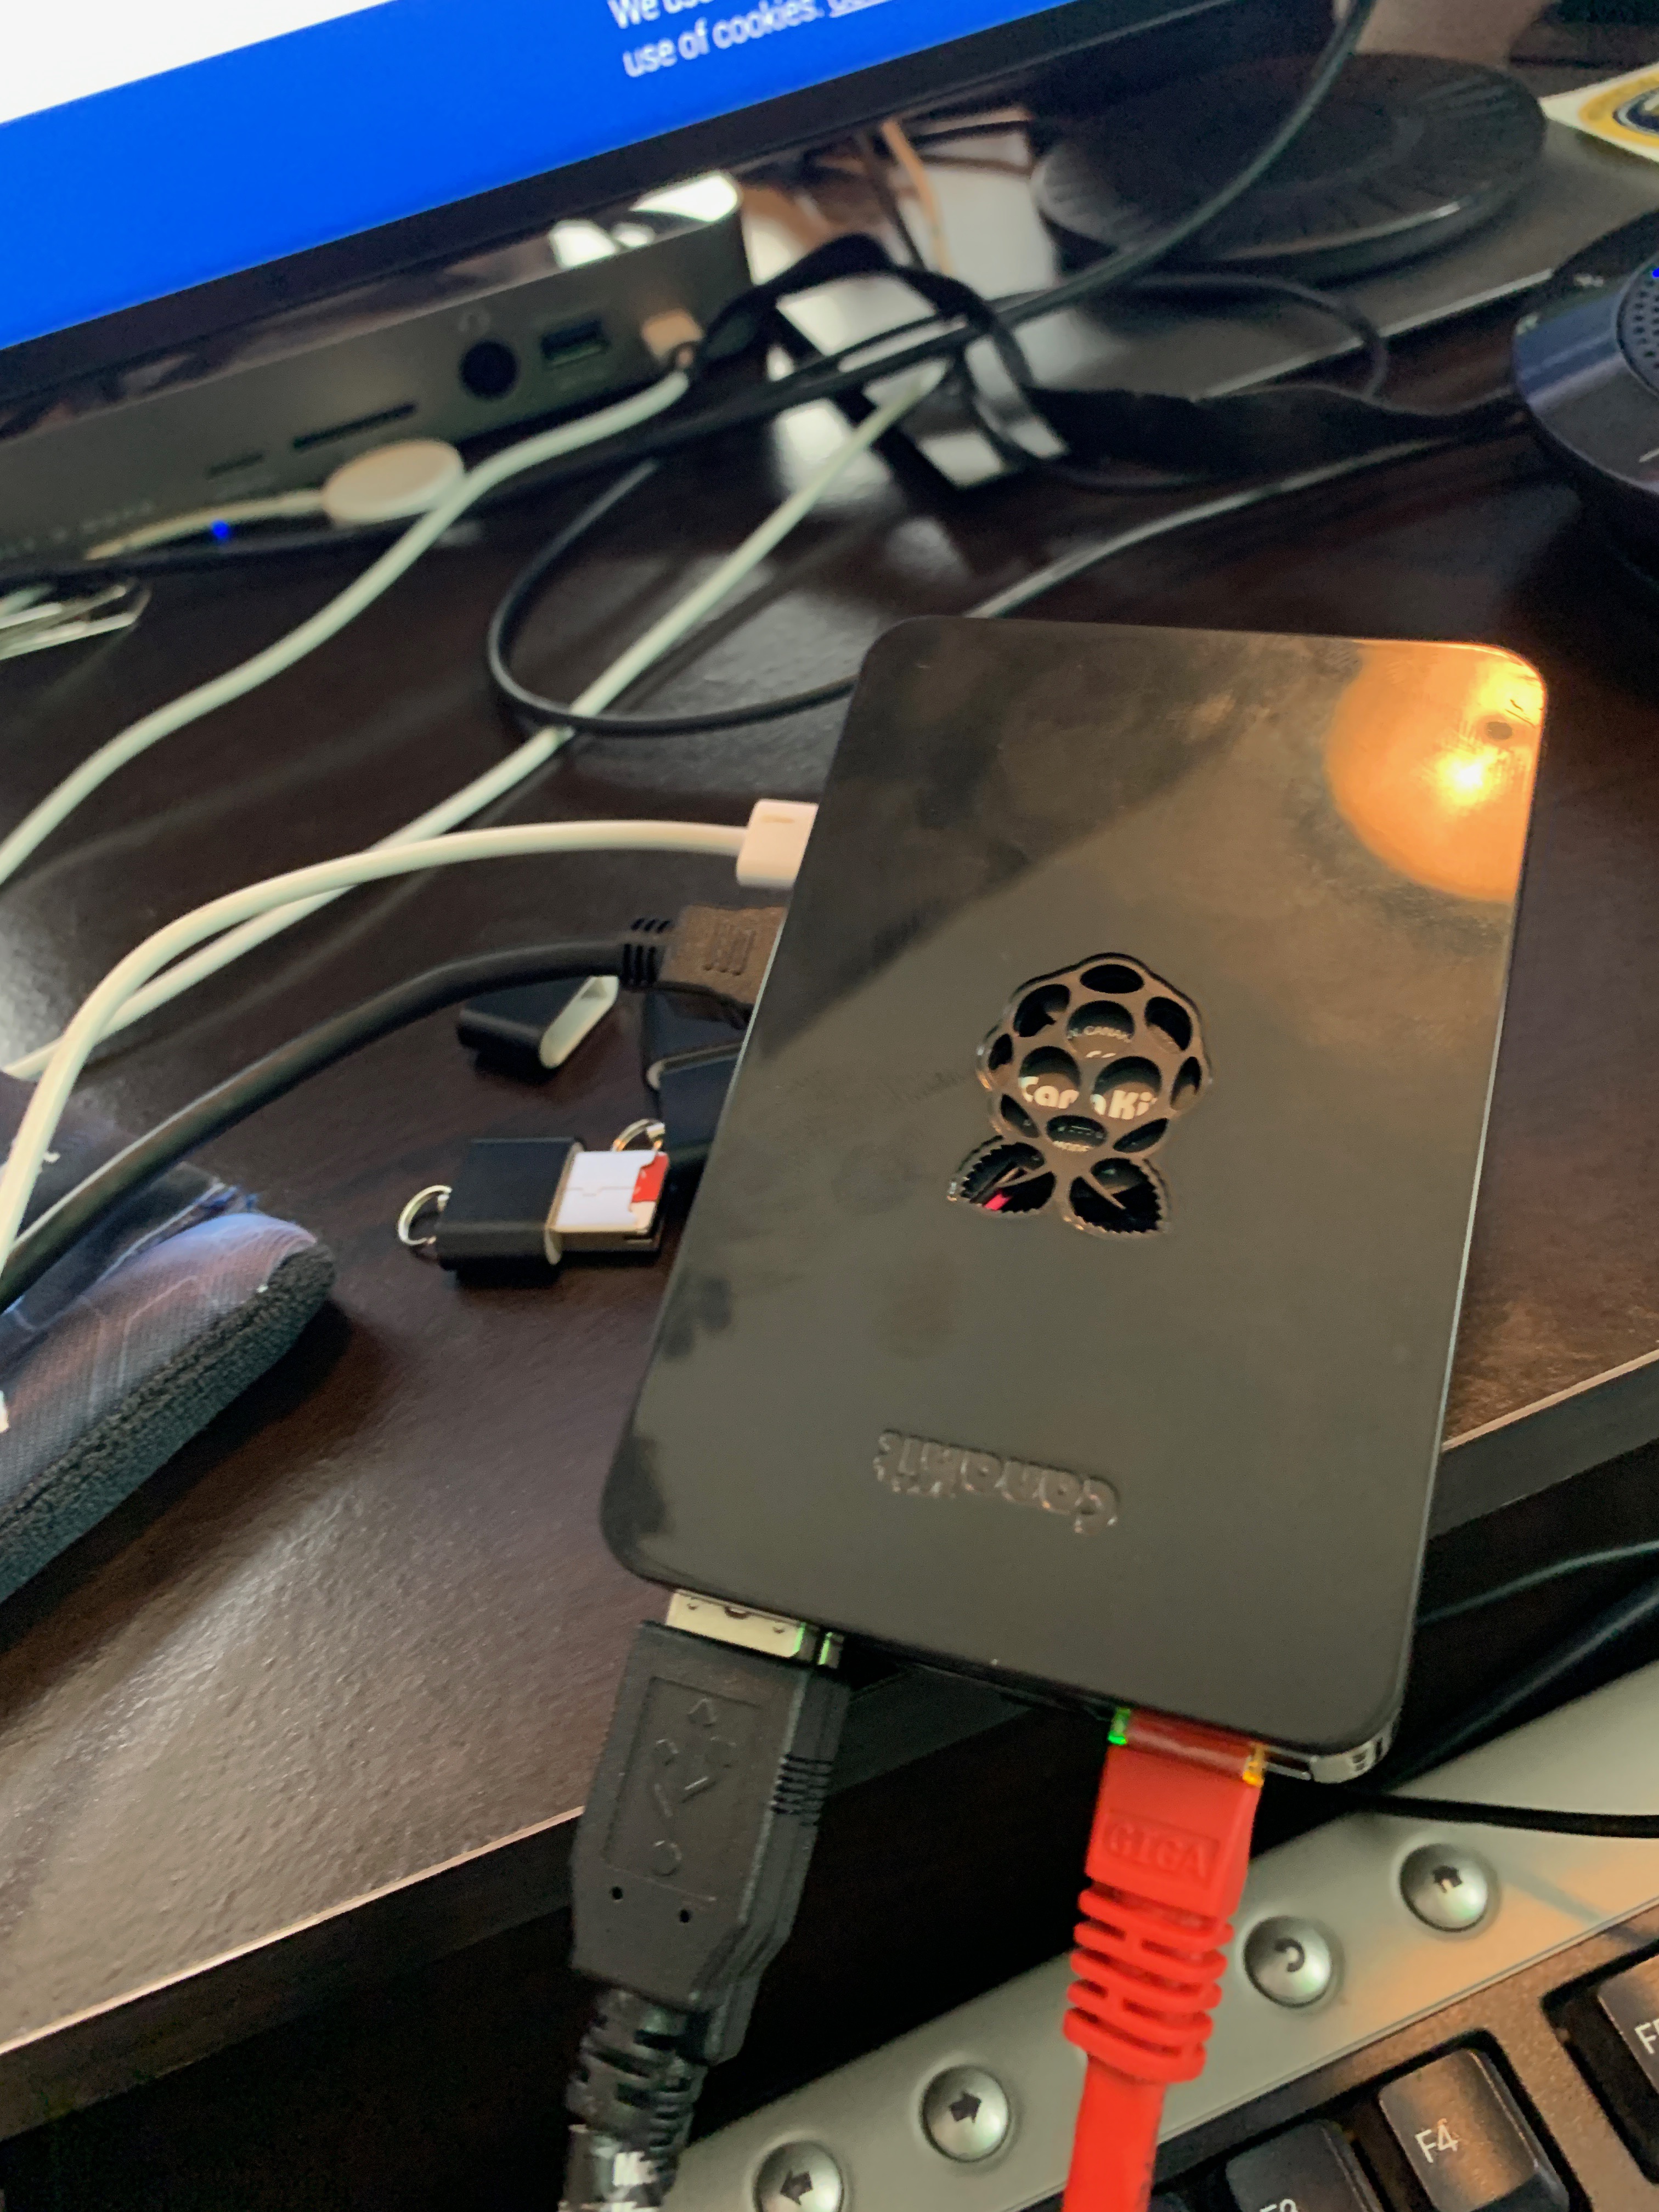
As seen above the installer media has been removed and I only have the SD card with the UEFI firmware and boot loader and in the back, the USB card reader with the install of ESXi7. It boots up and when plugged into a network cable, grabbed a DHCP address off my network, allowing me to log in and verify everything looks like a typical vSphere stand-alone host.
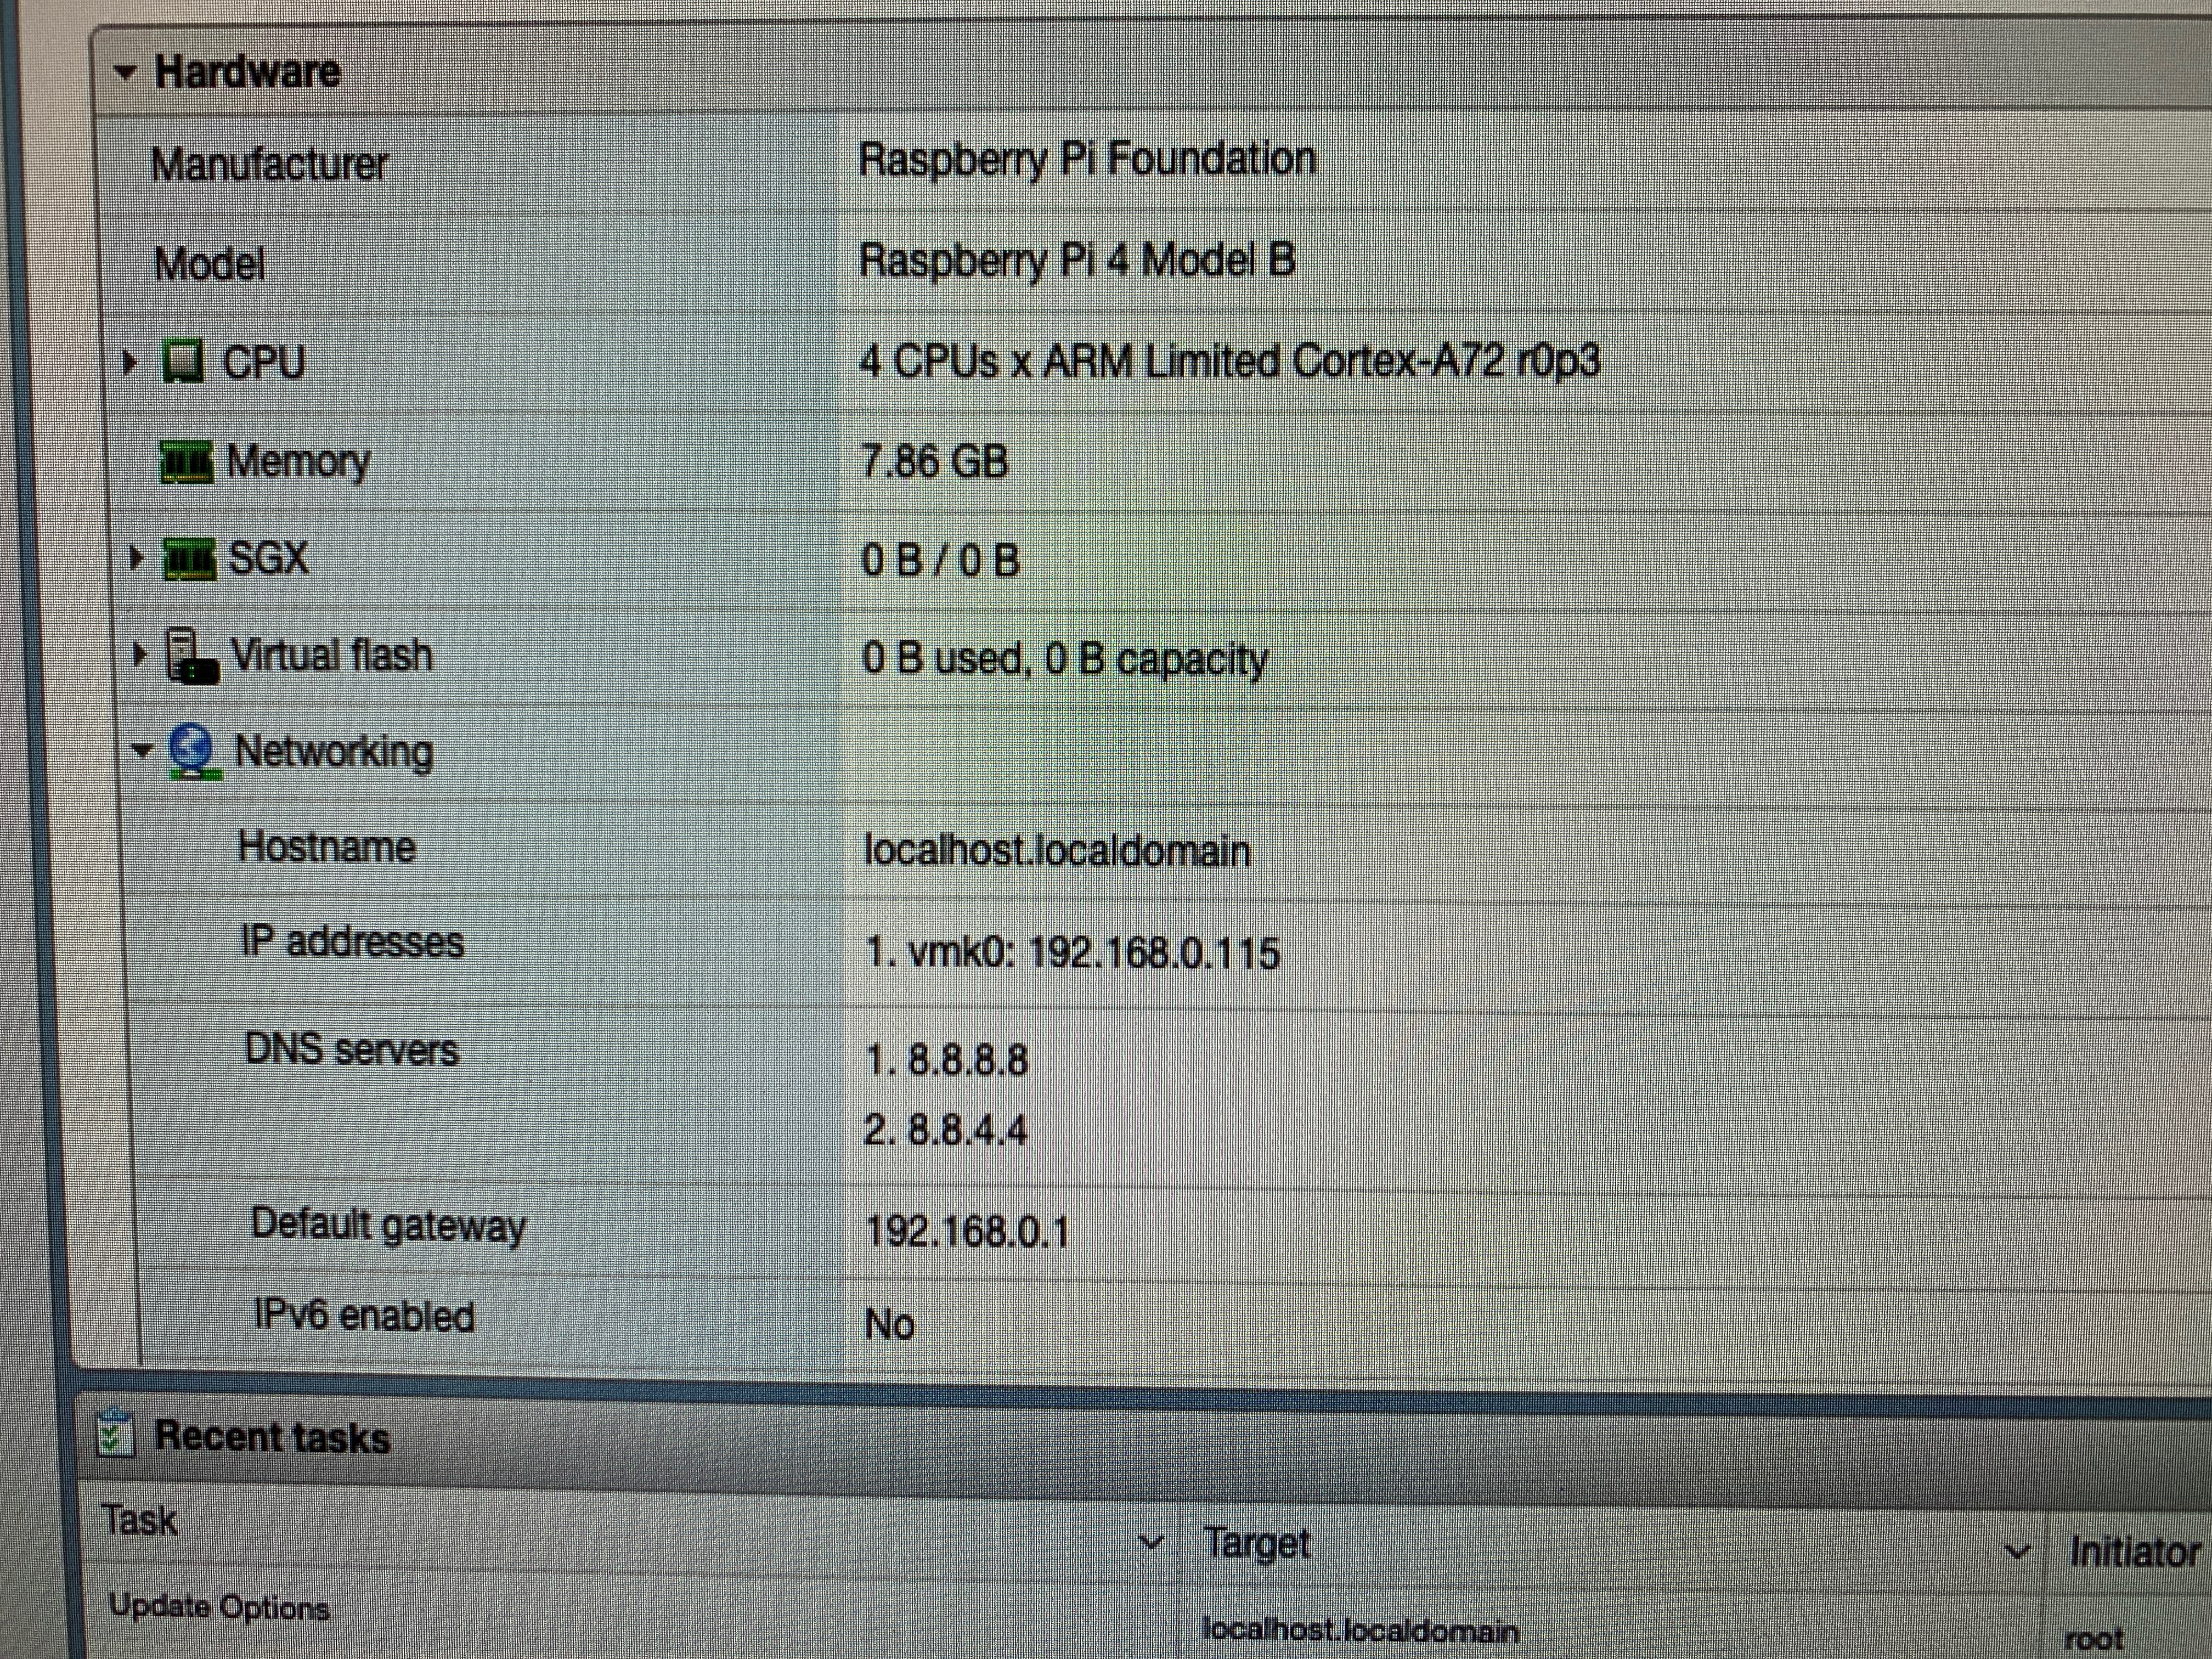
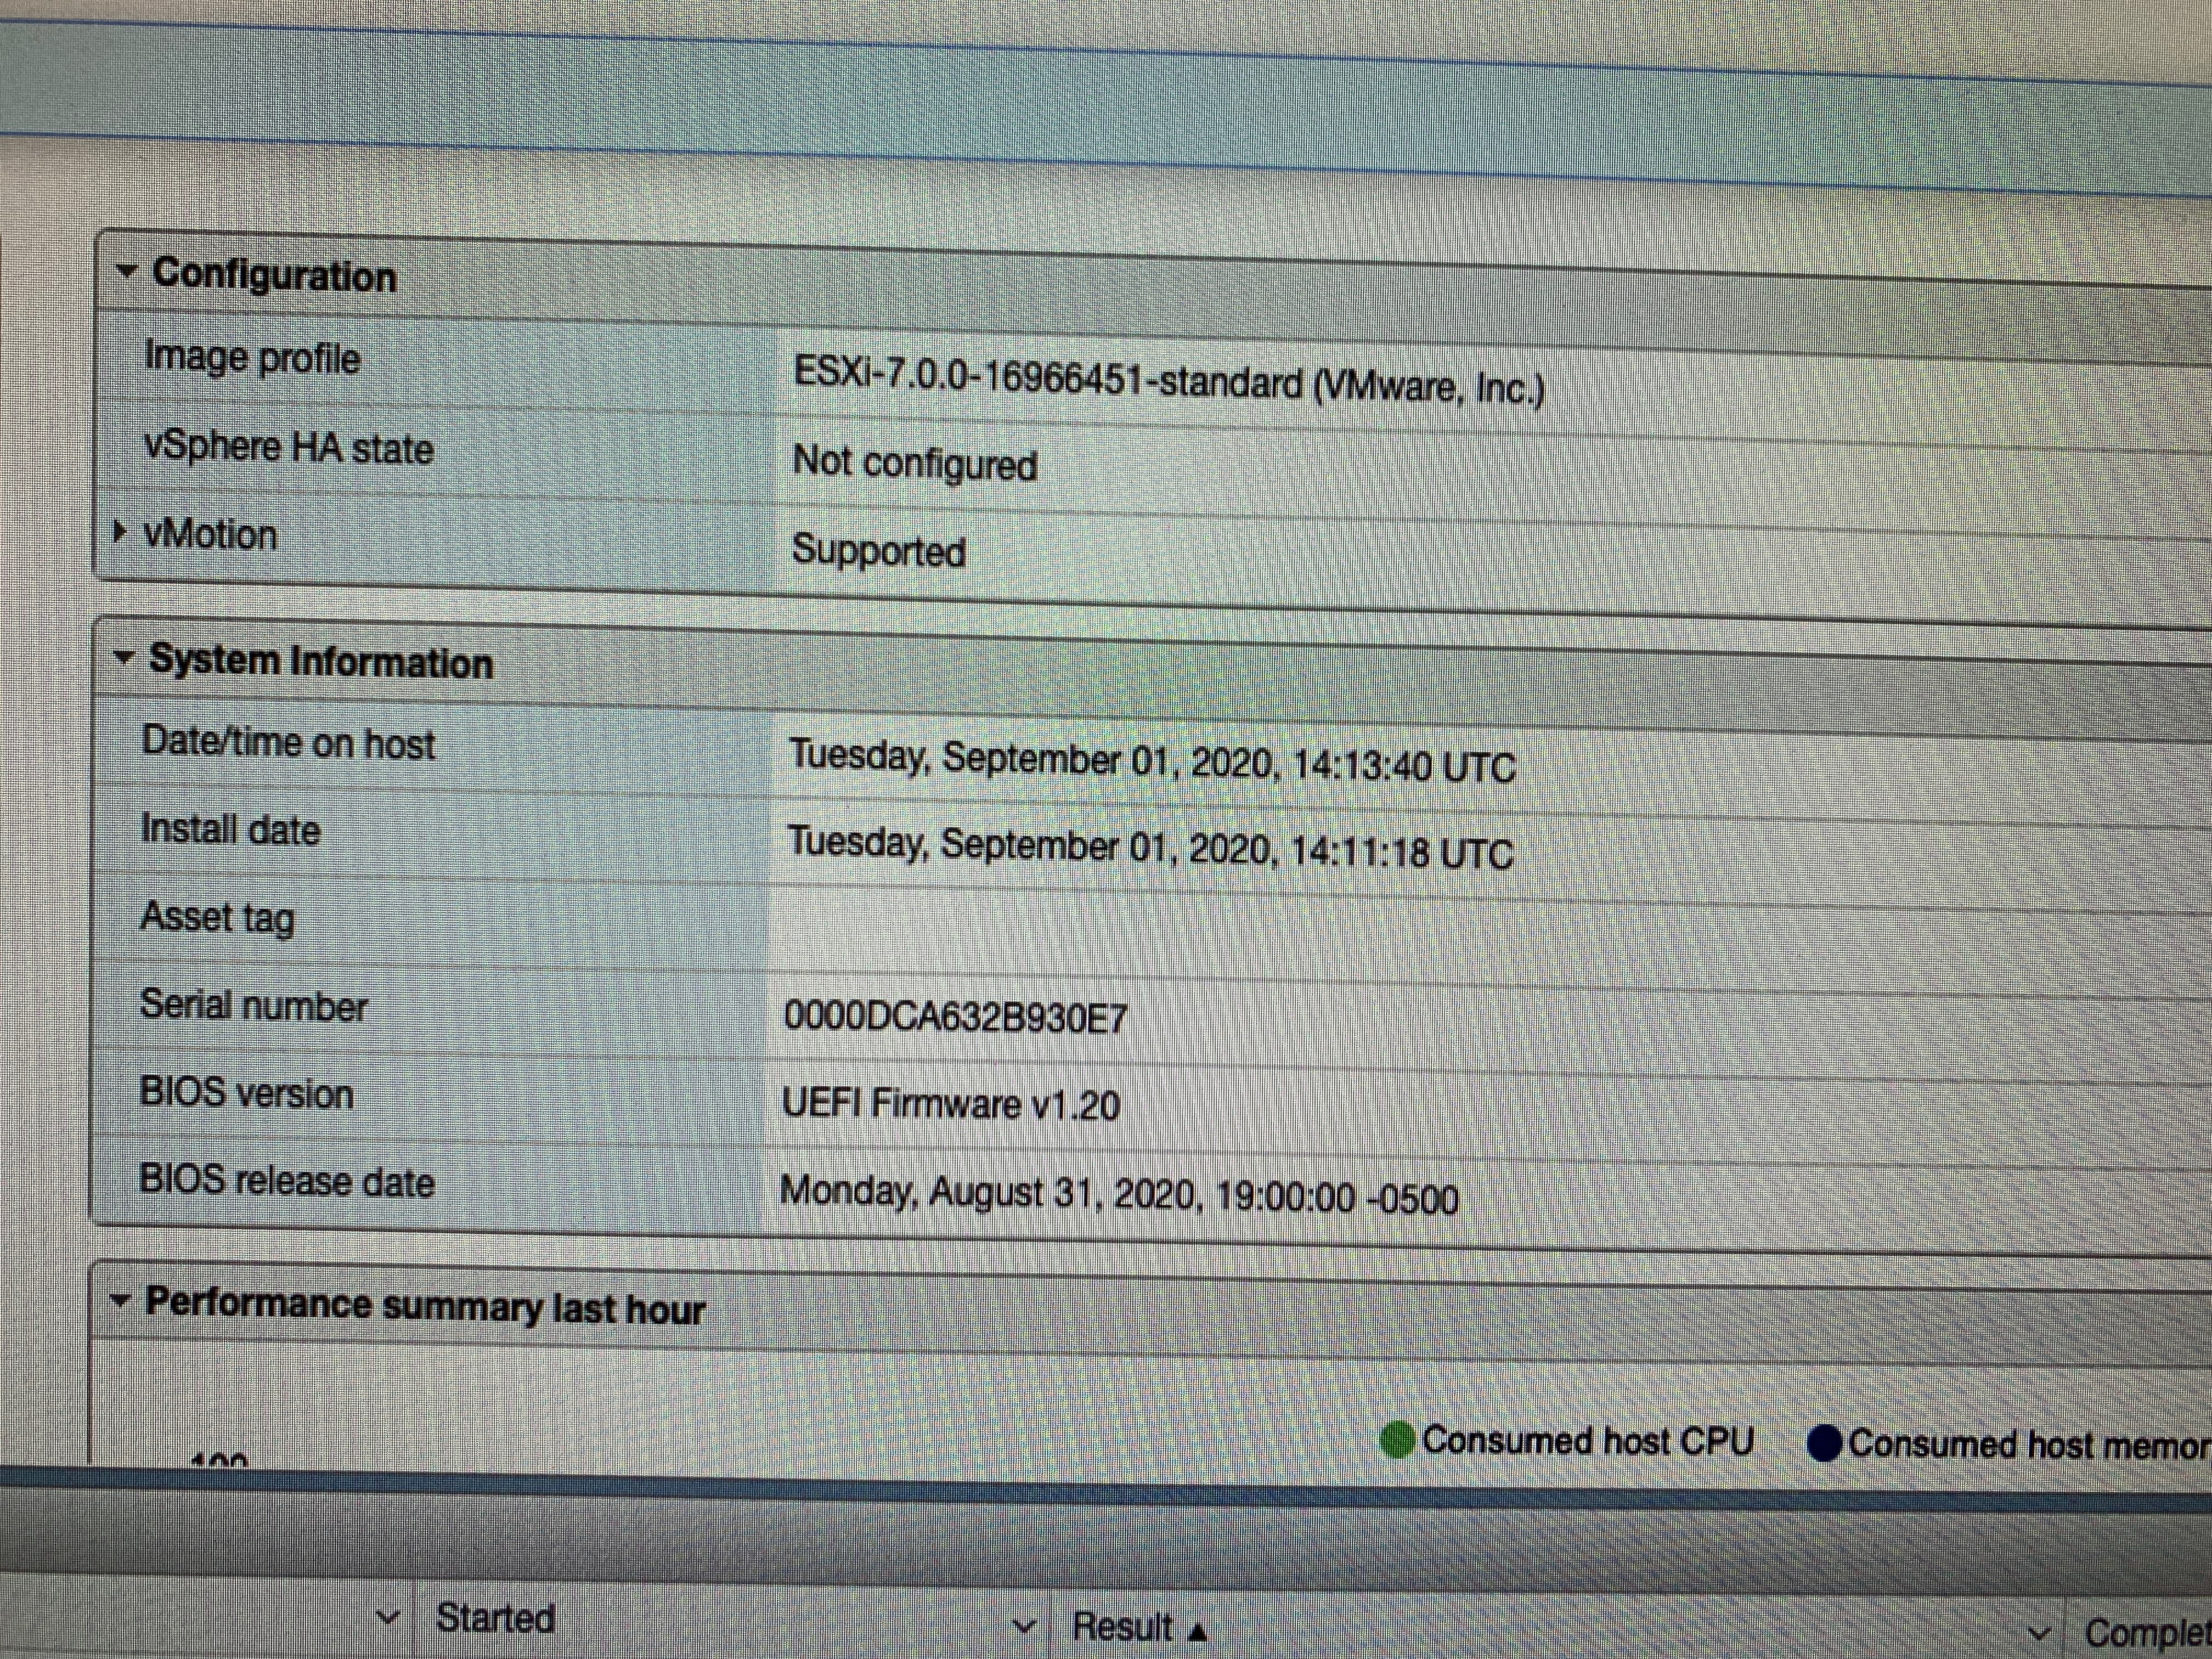
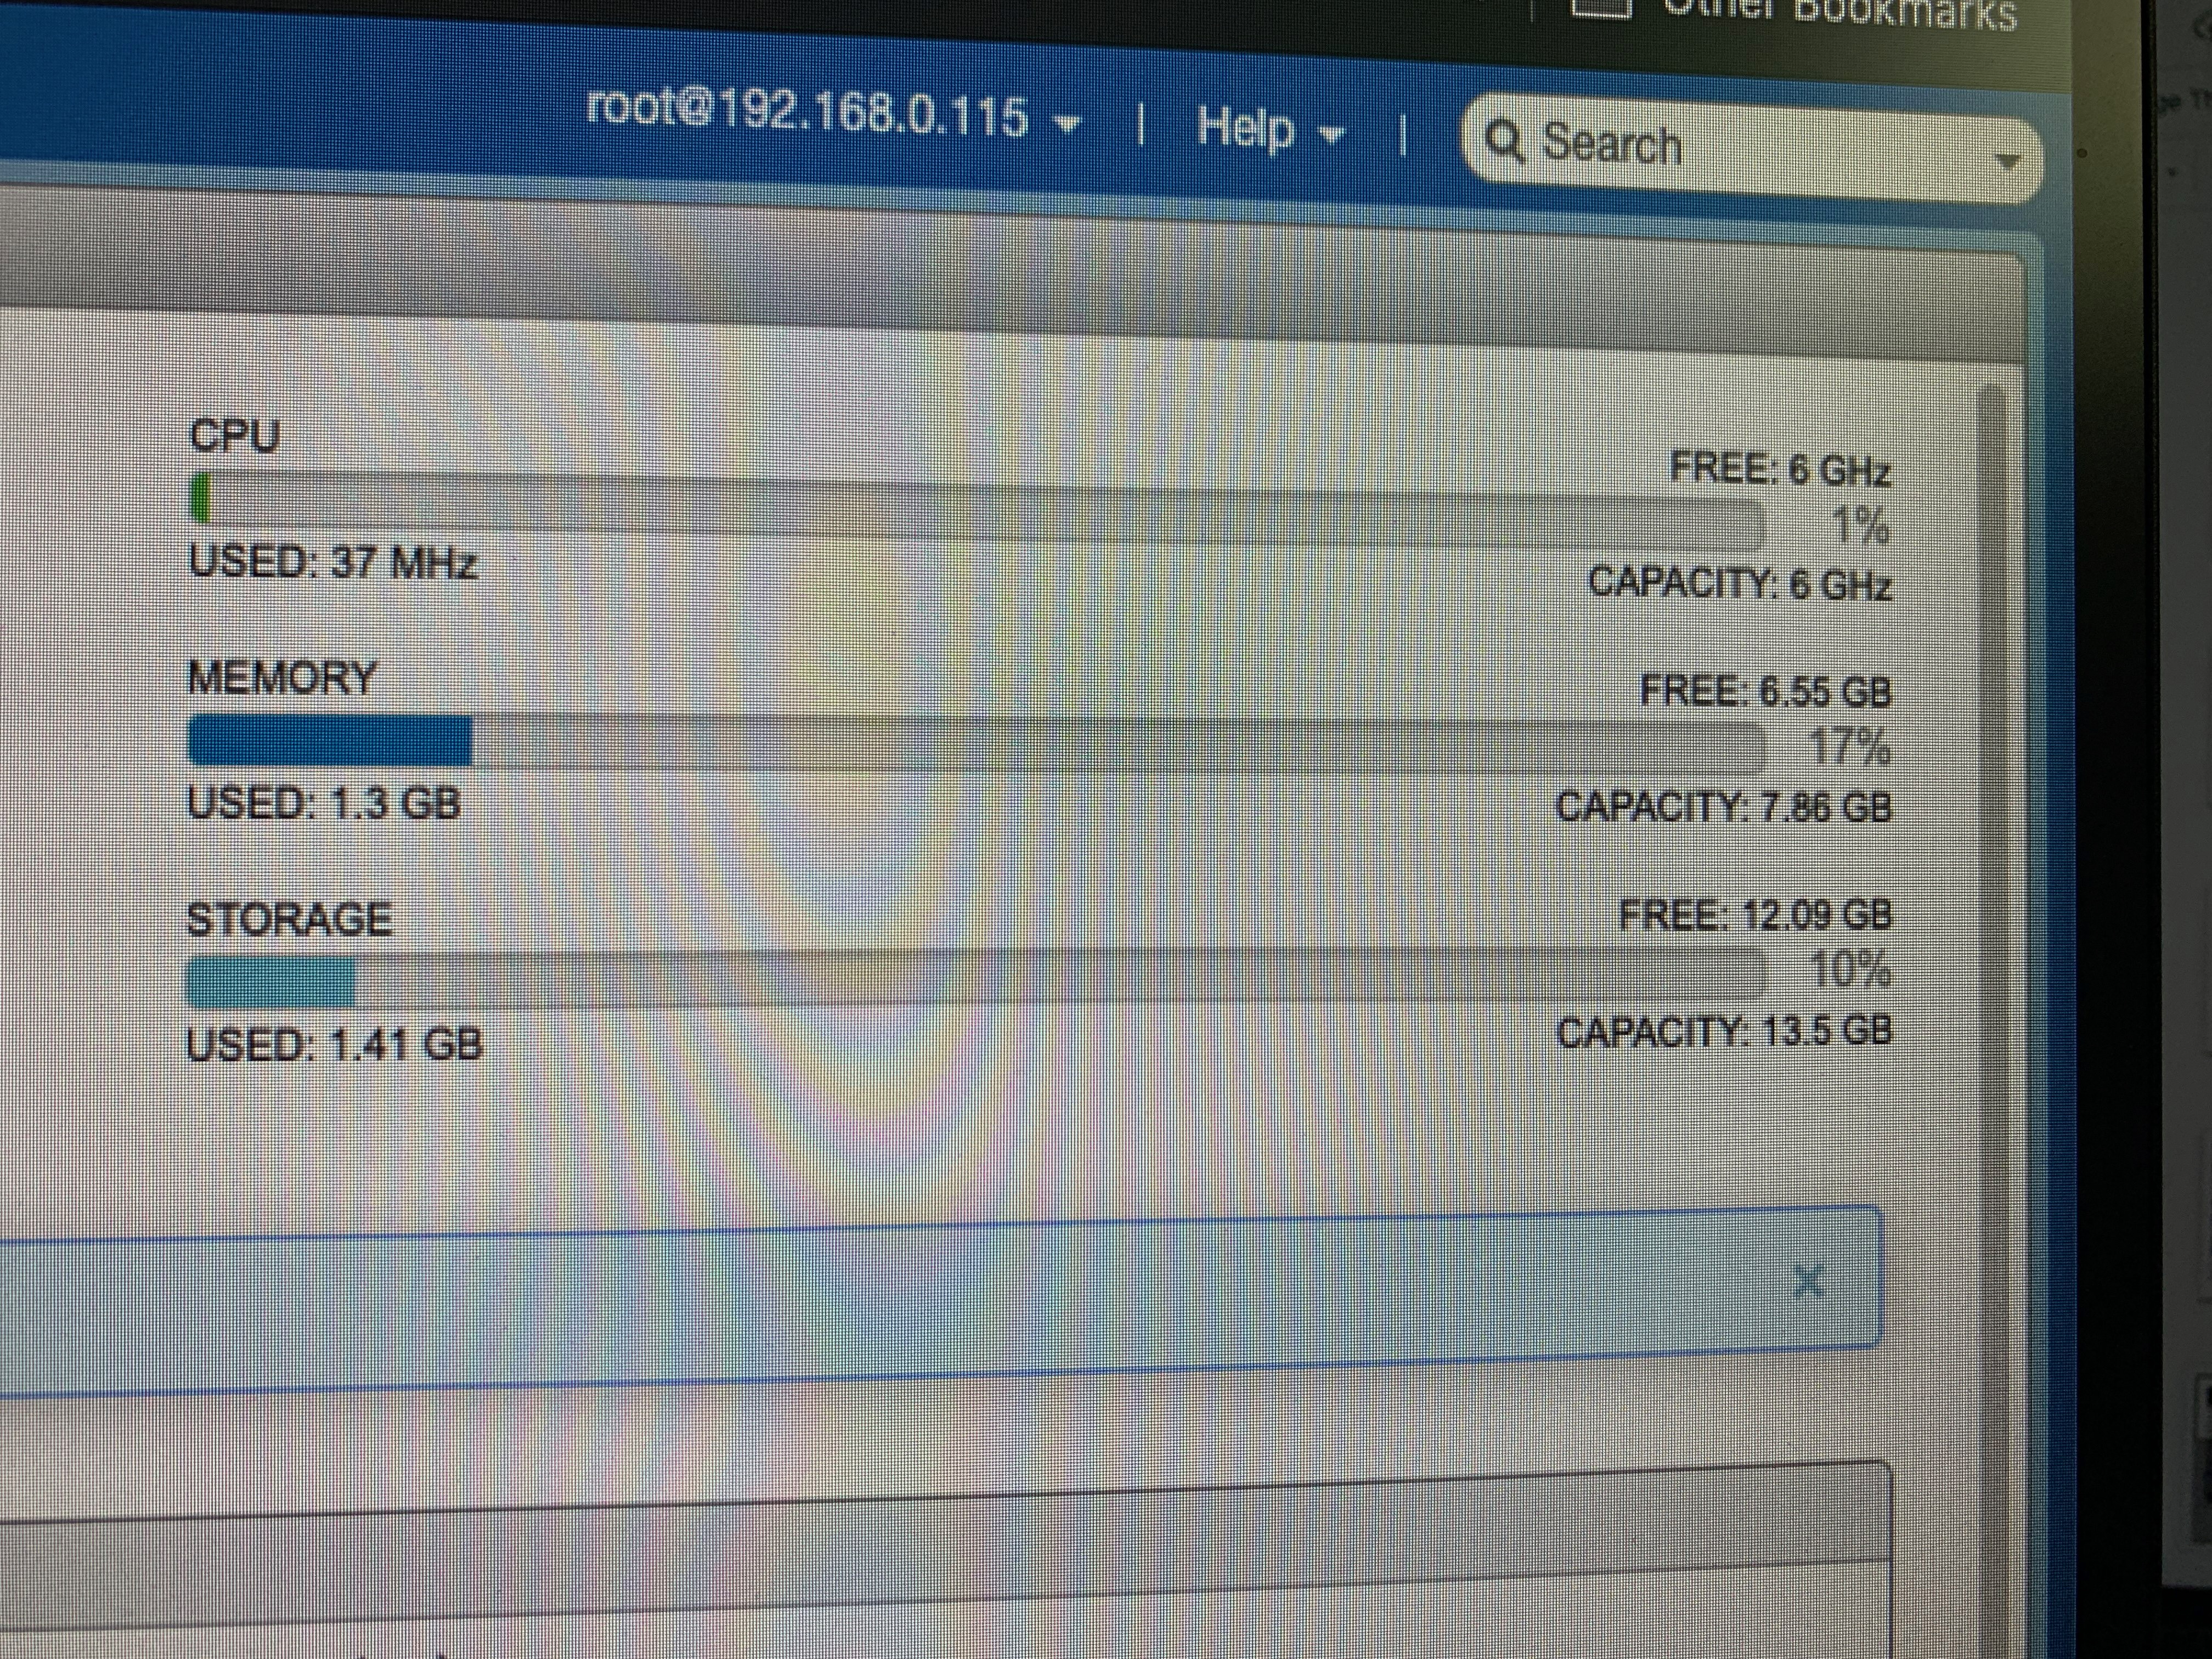
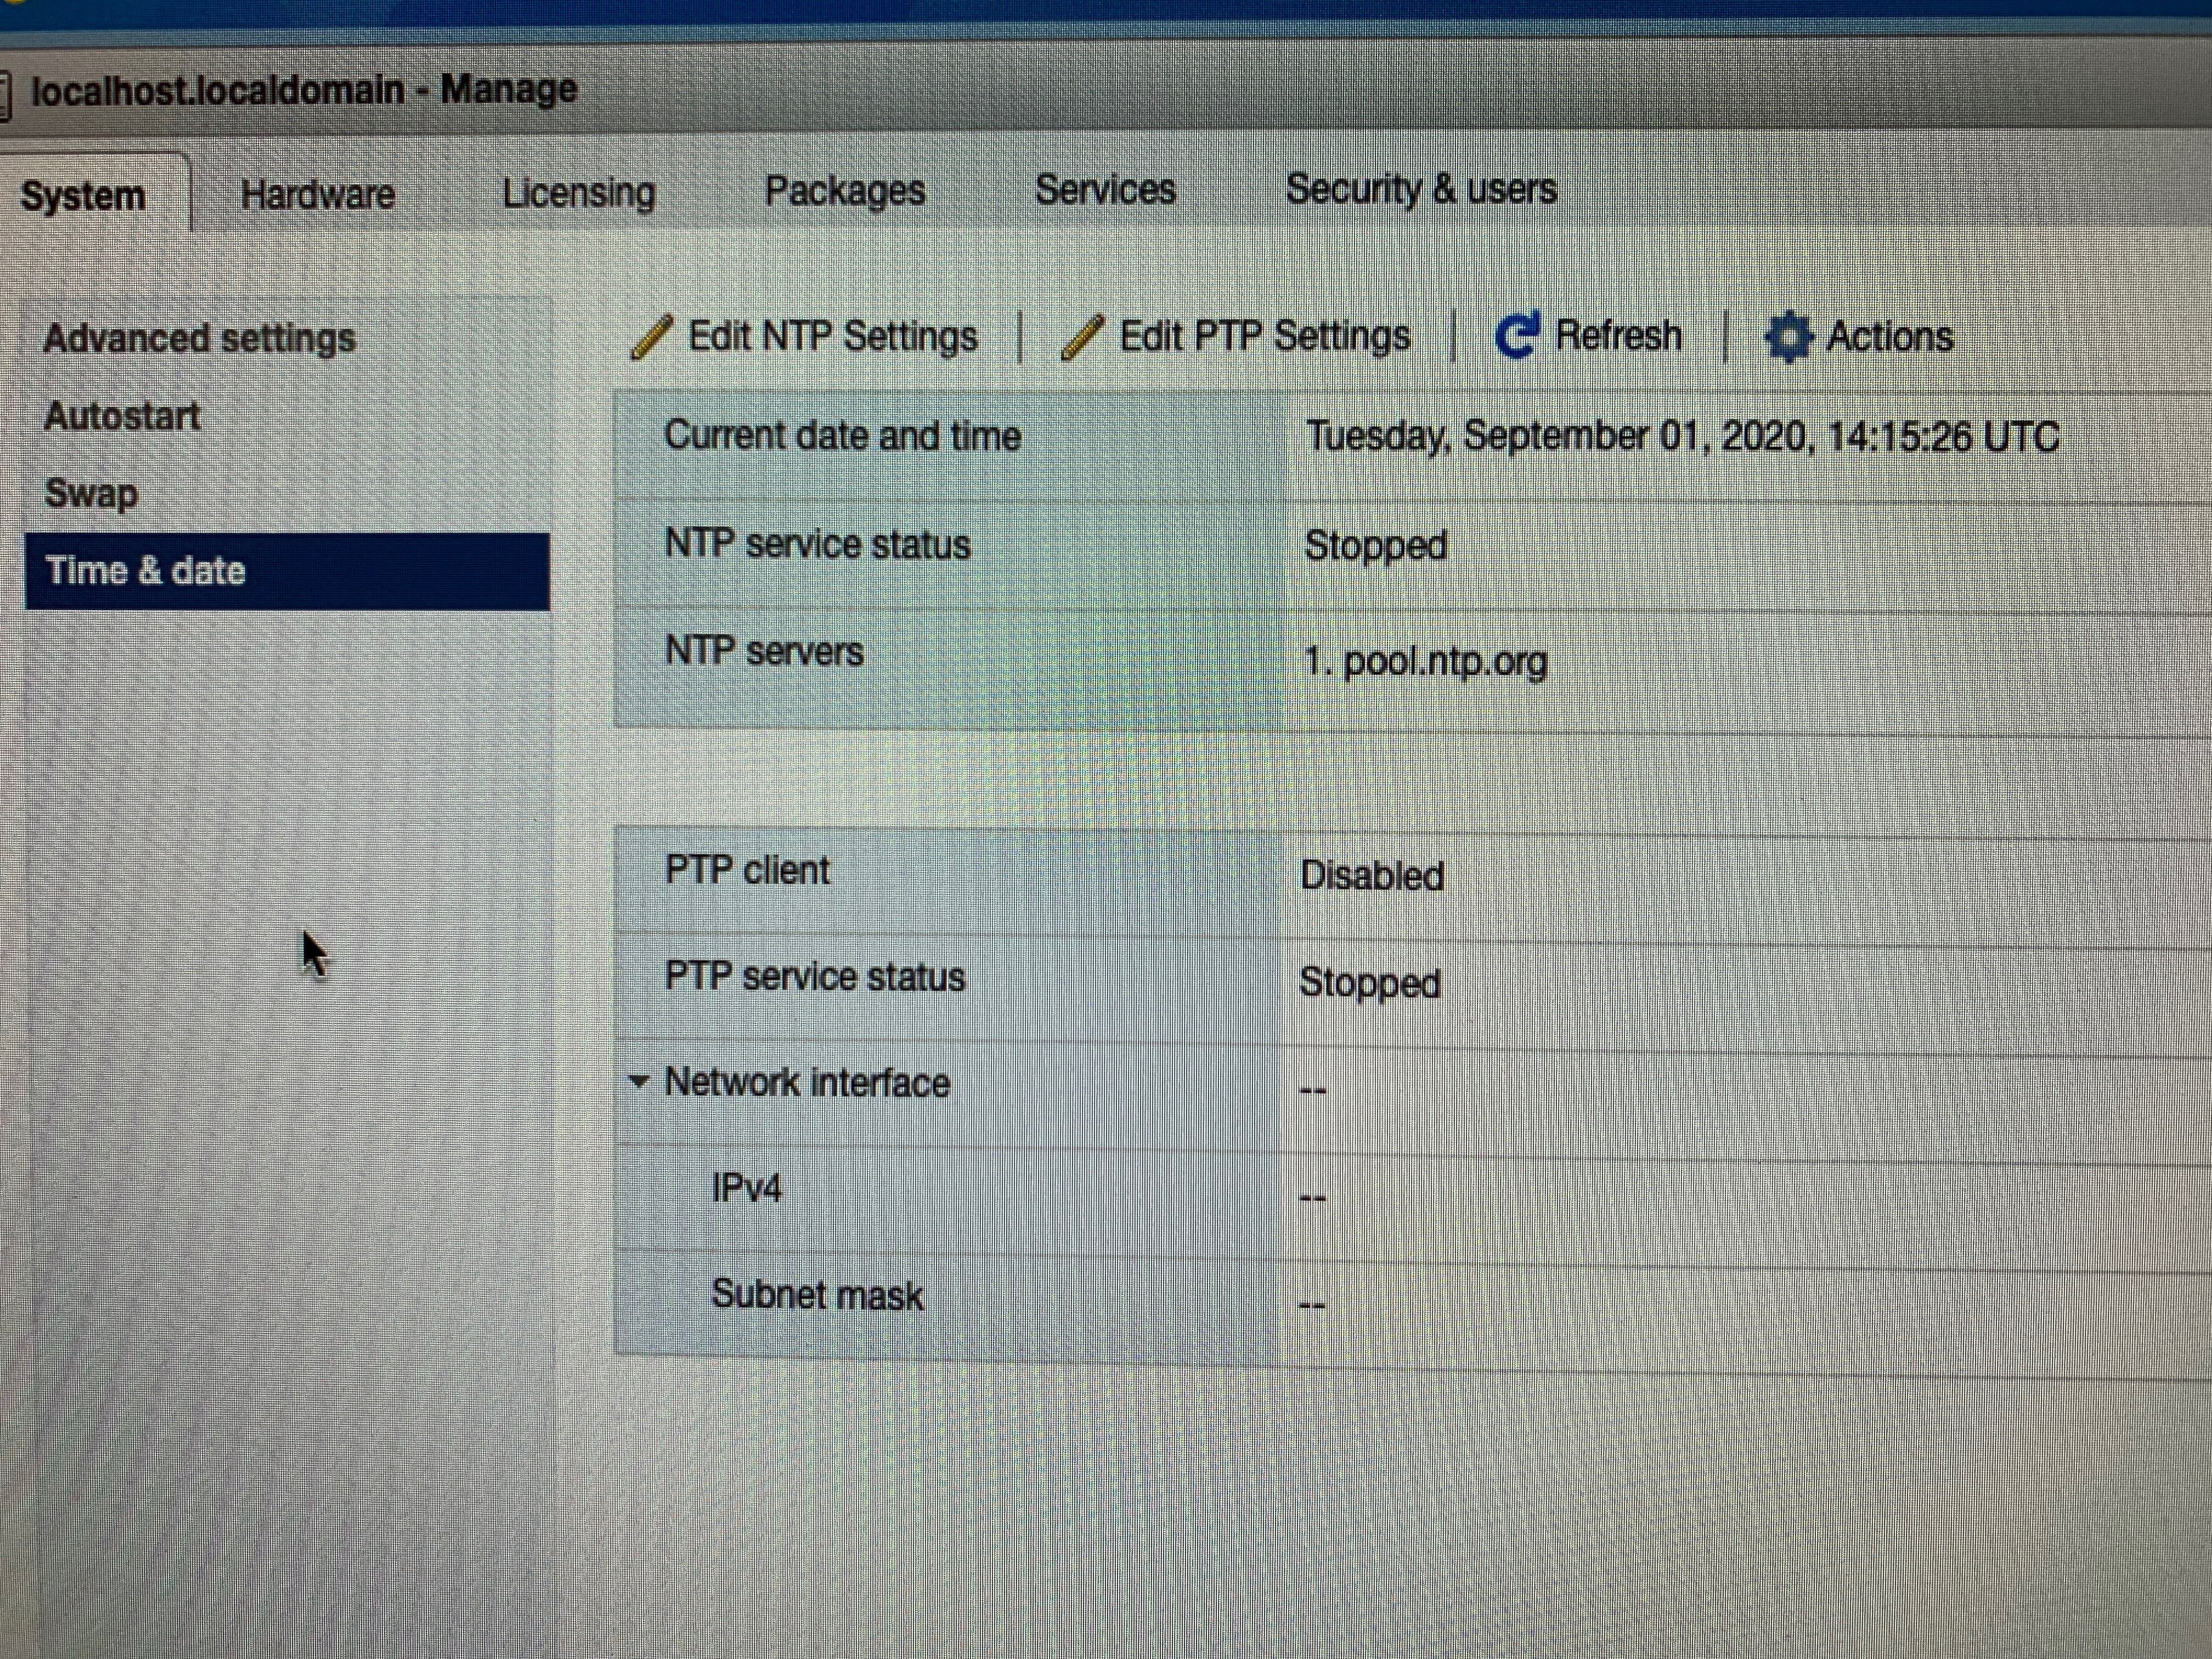
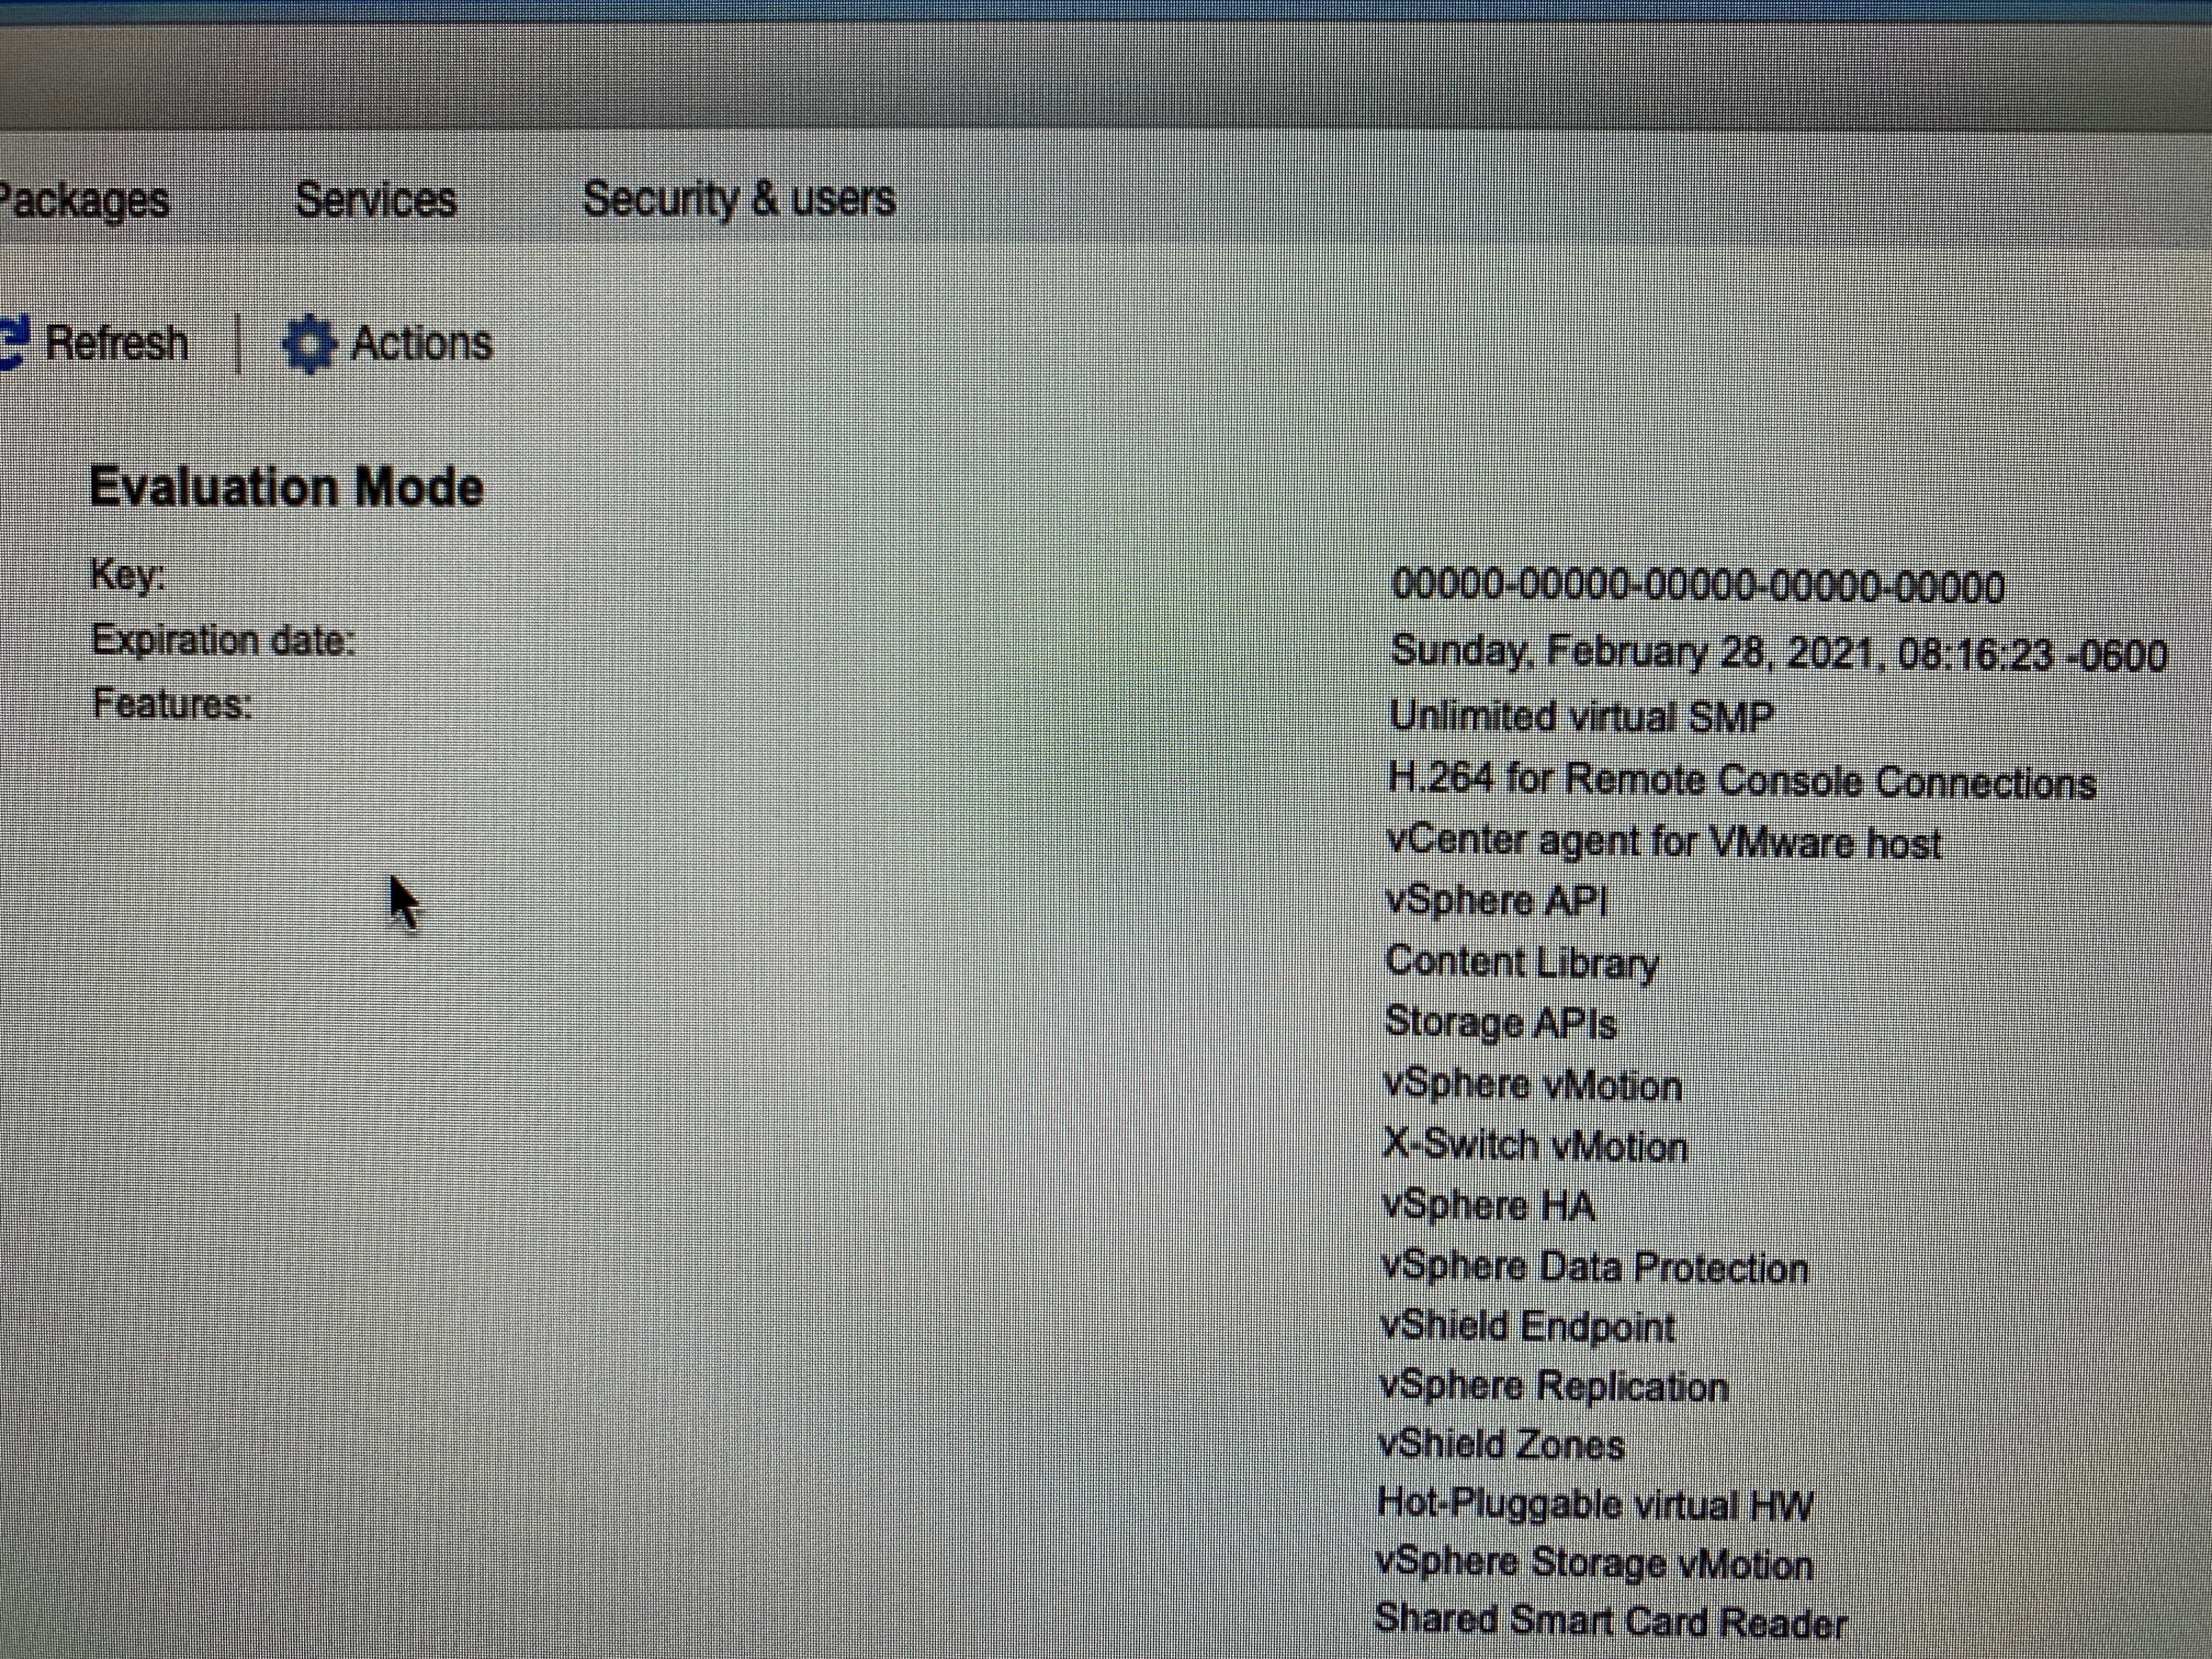
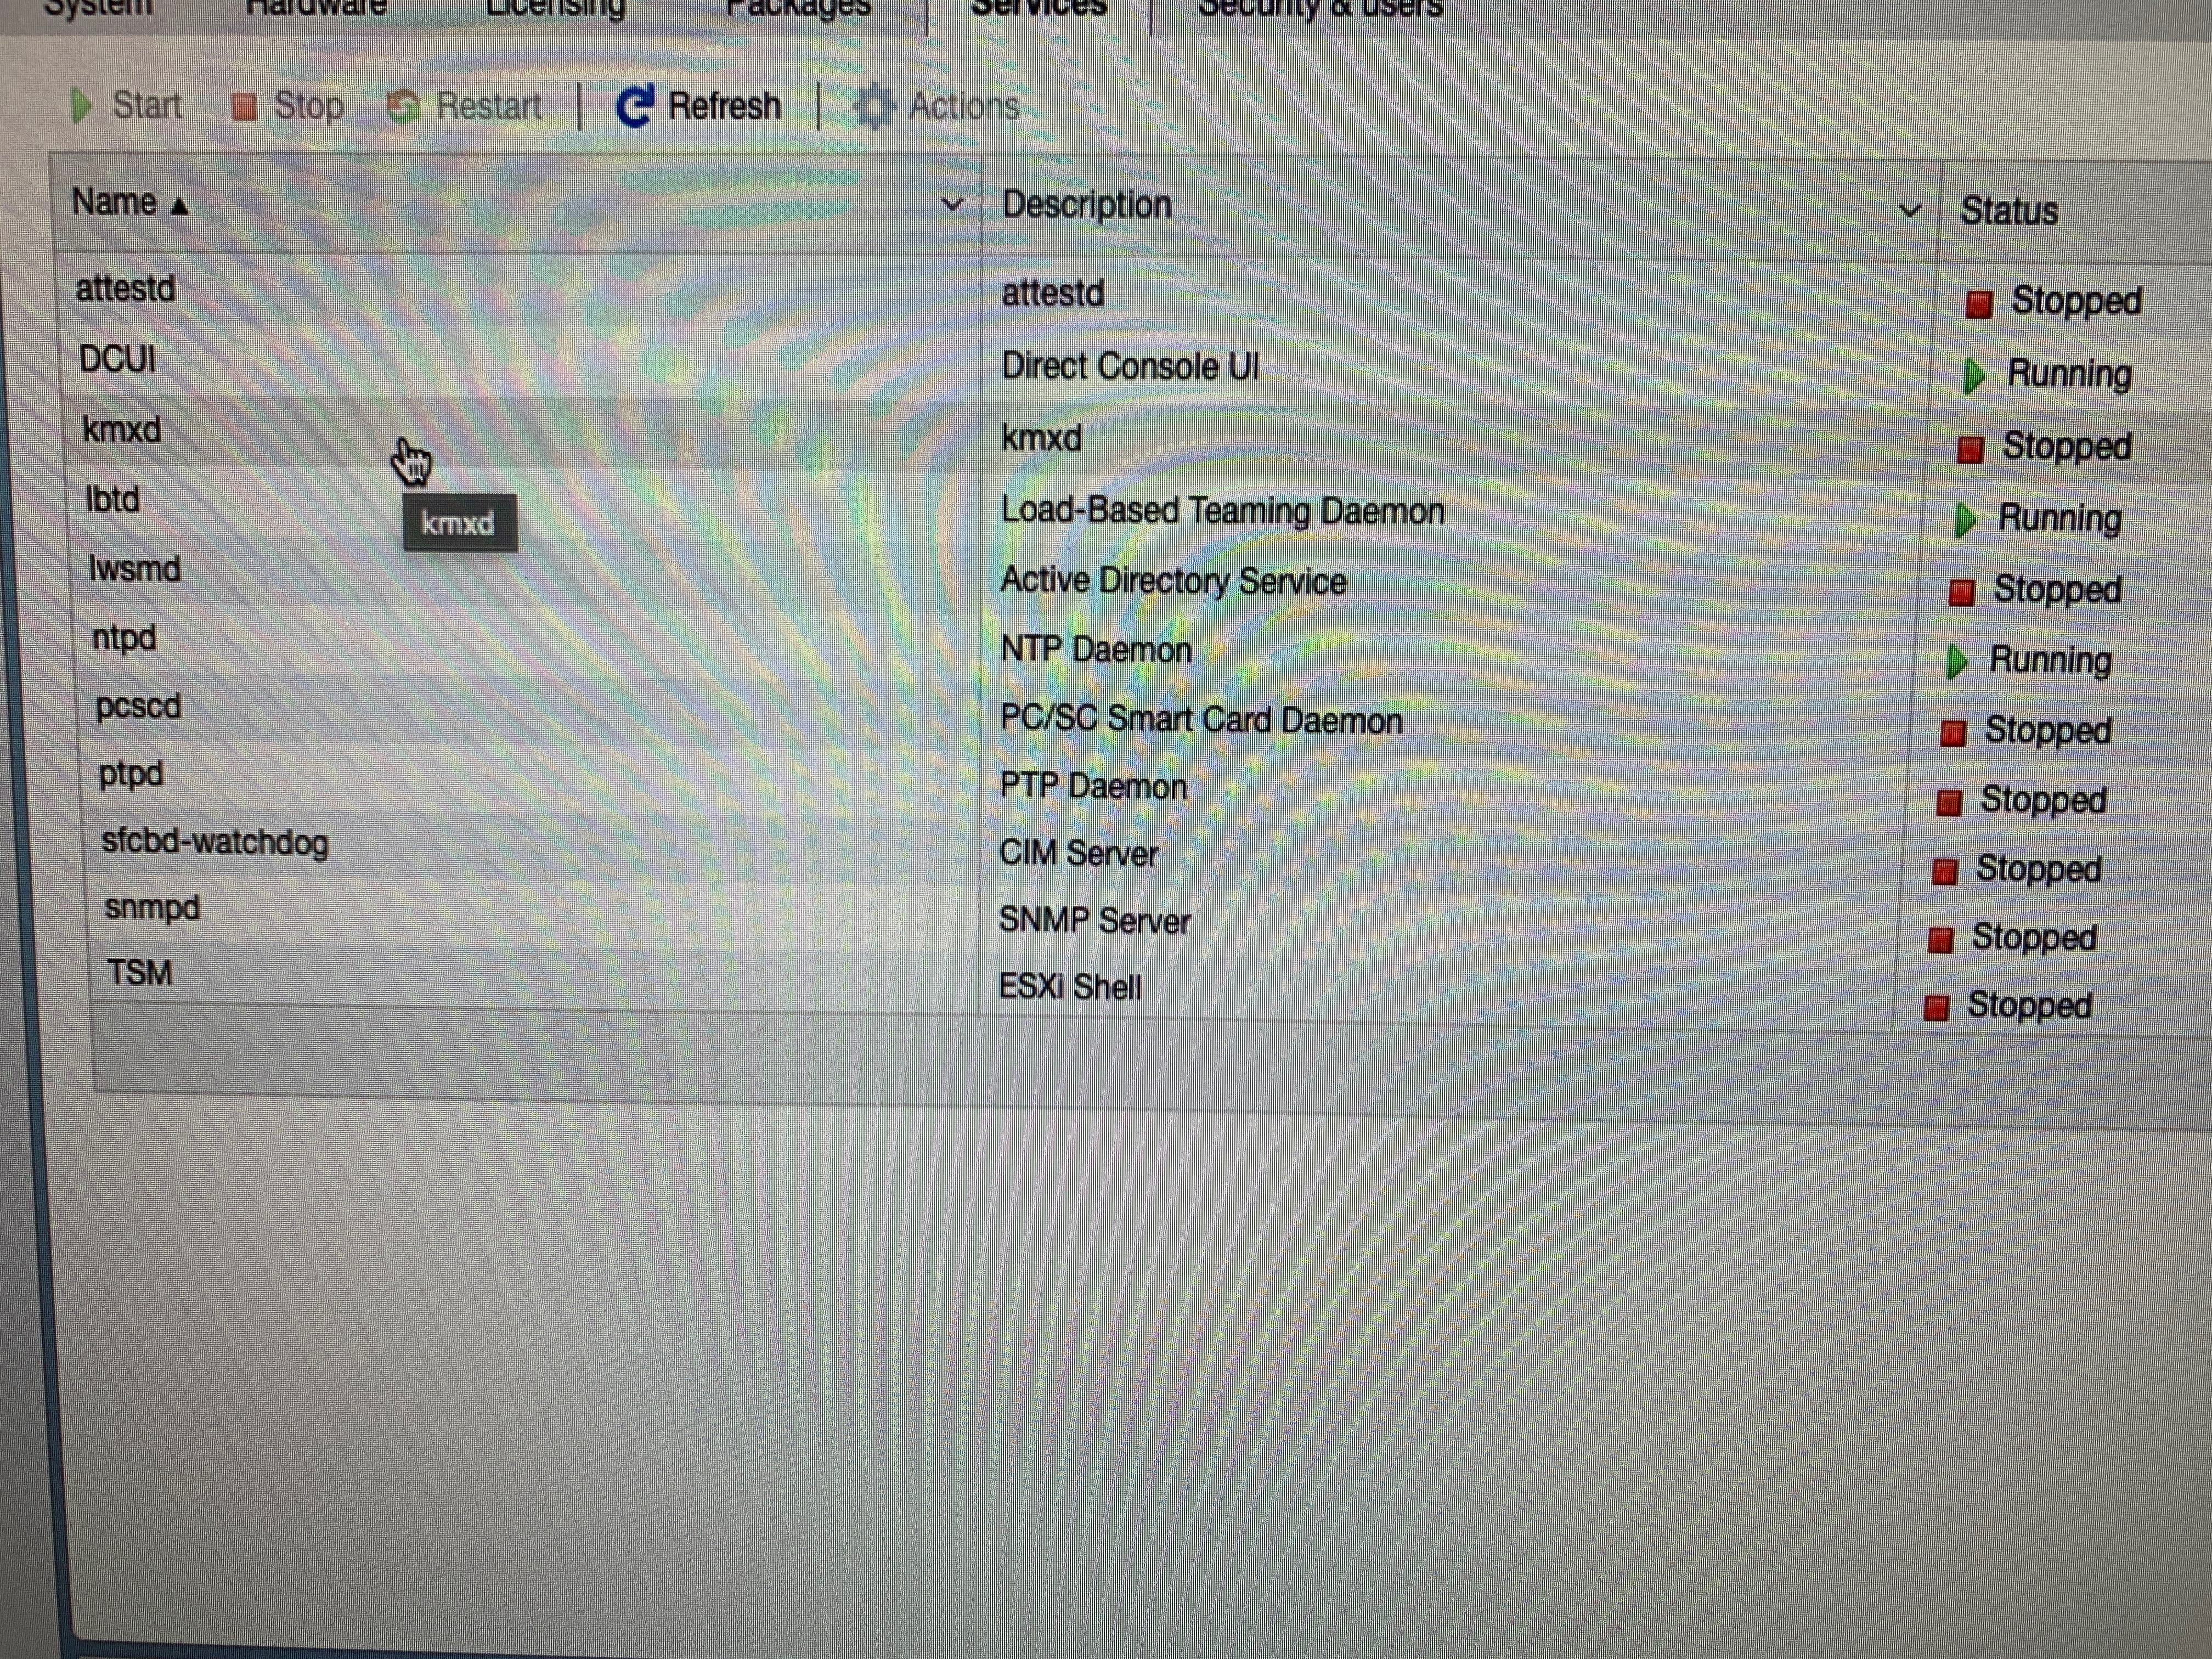
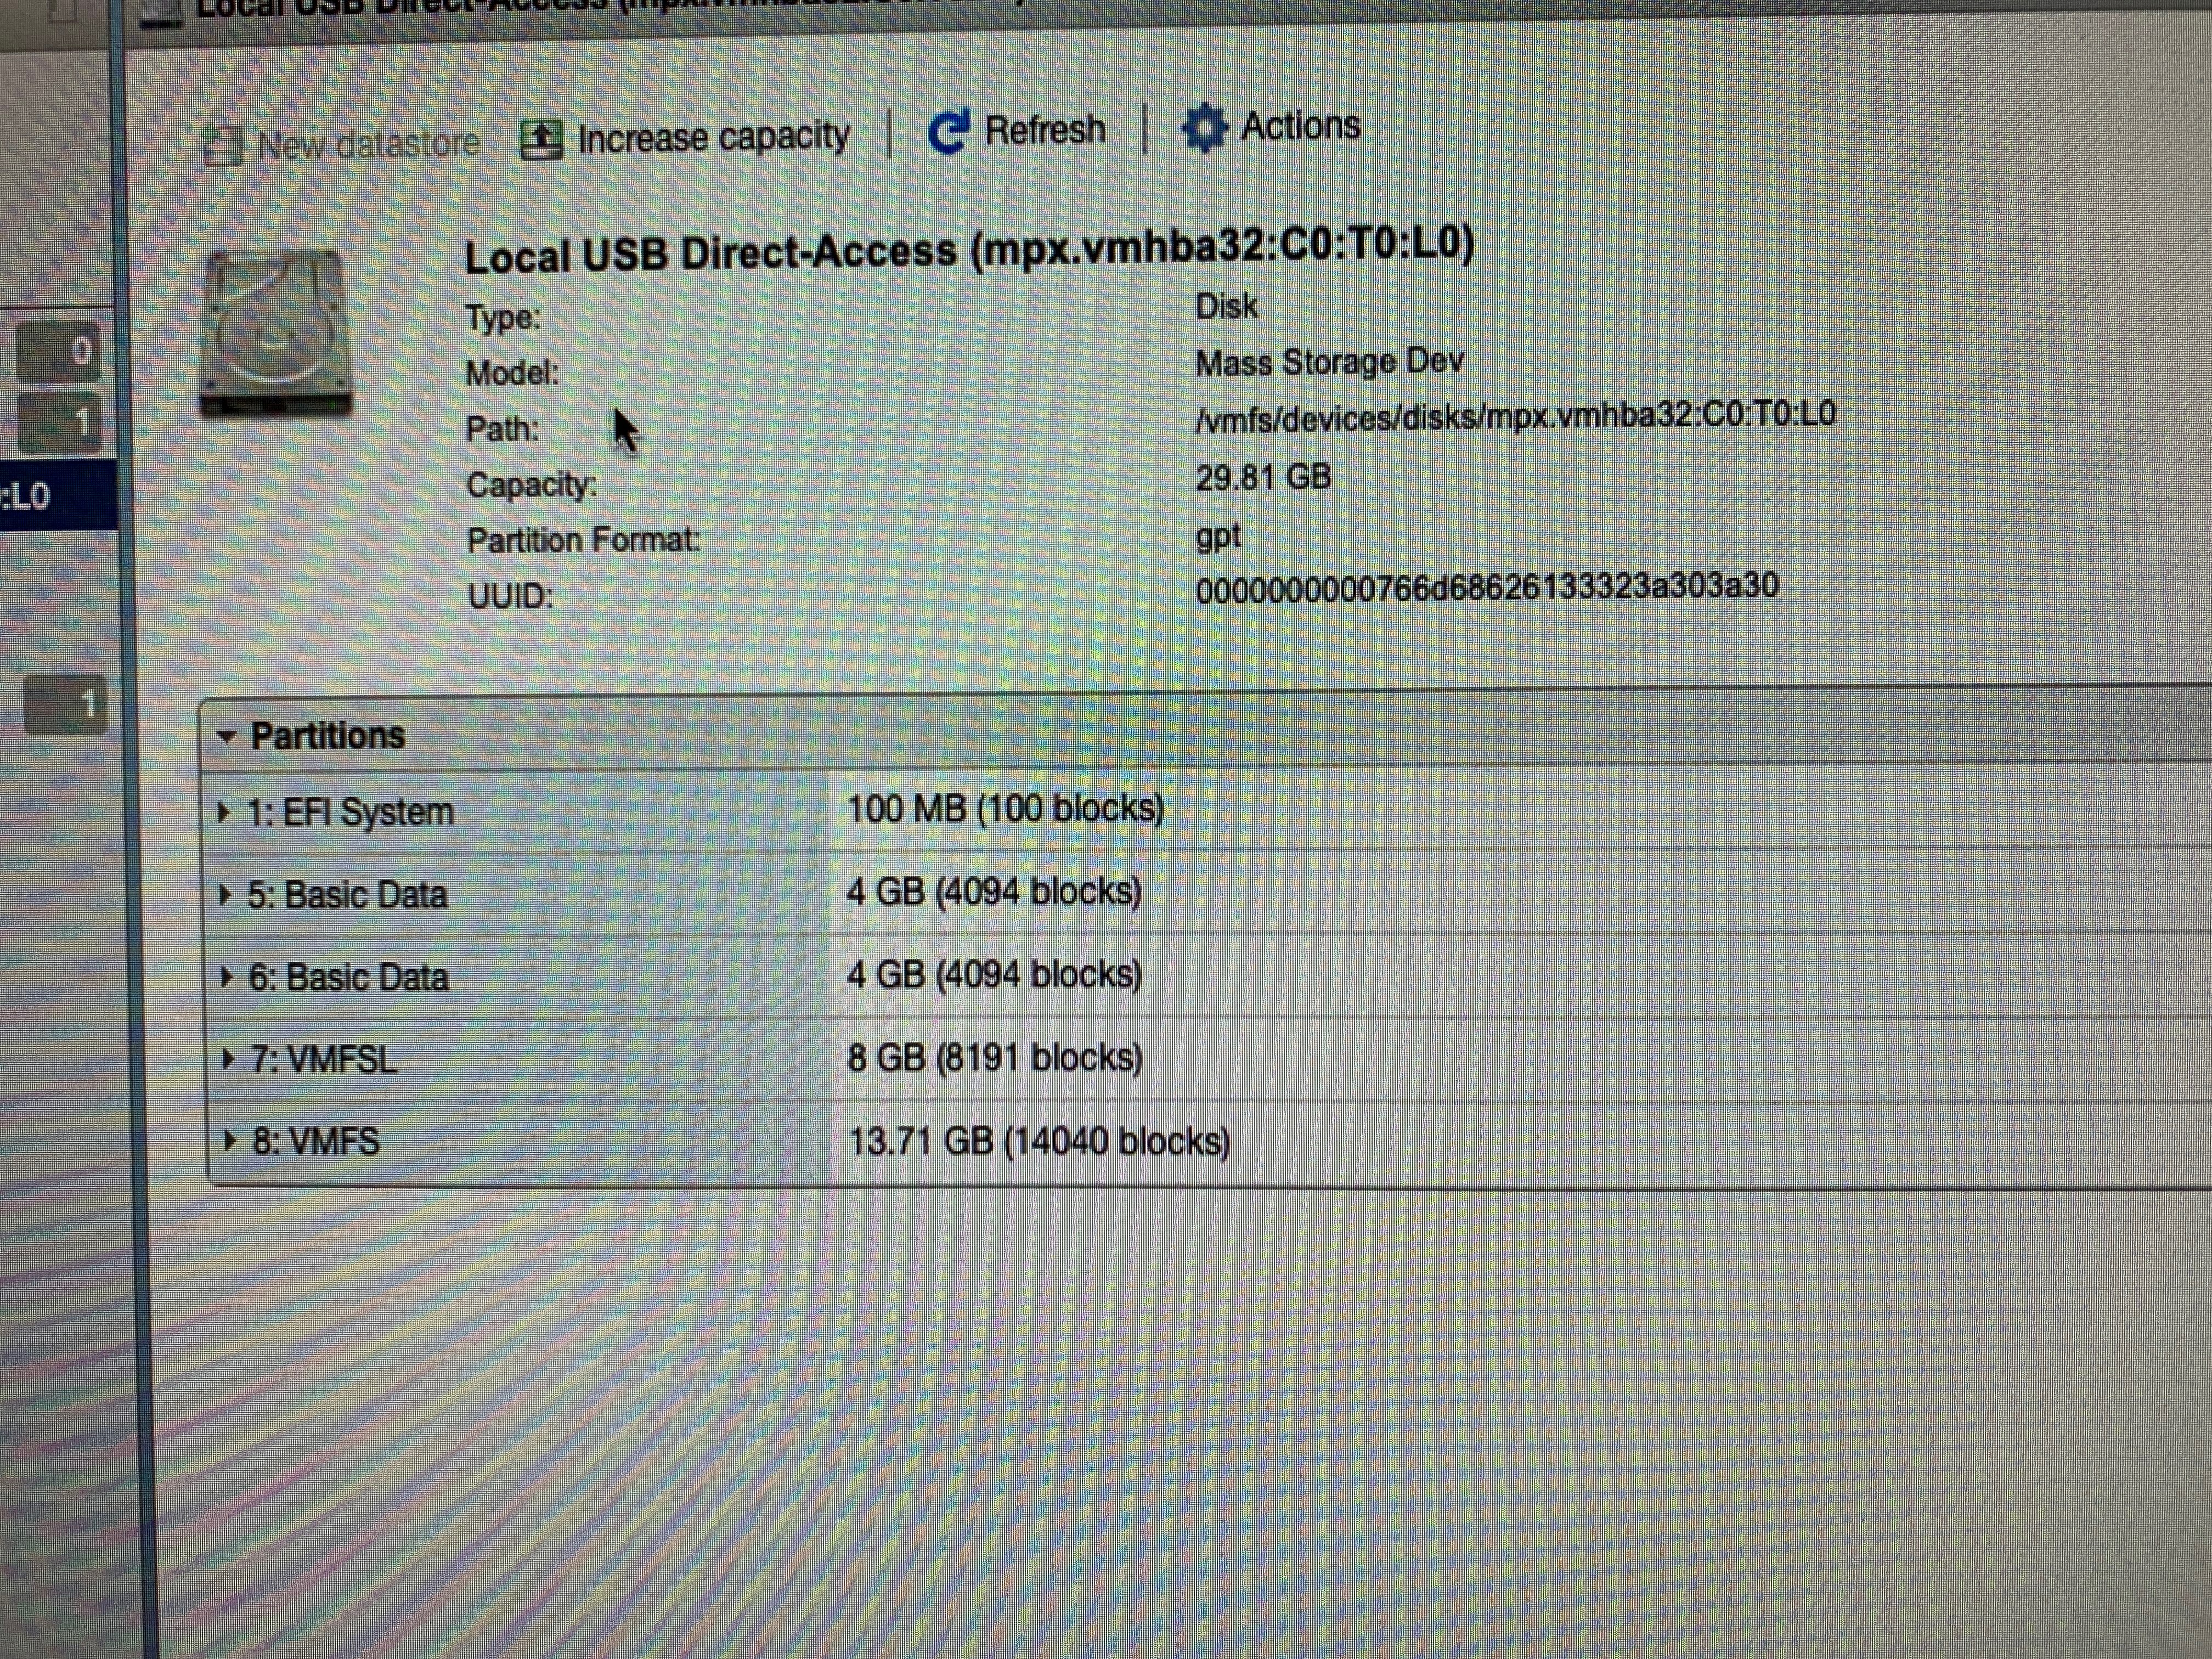
I took a couple more screenshots to show the default configuration but decided to try a couple things outside the default. First adding another USB NIC and then viewing the partition data to confirm my advanced config worked during the install. I also added an NFS shared datastore so I could play around with registering and unregistering virtual machines that I have in my home lab.
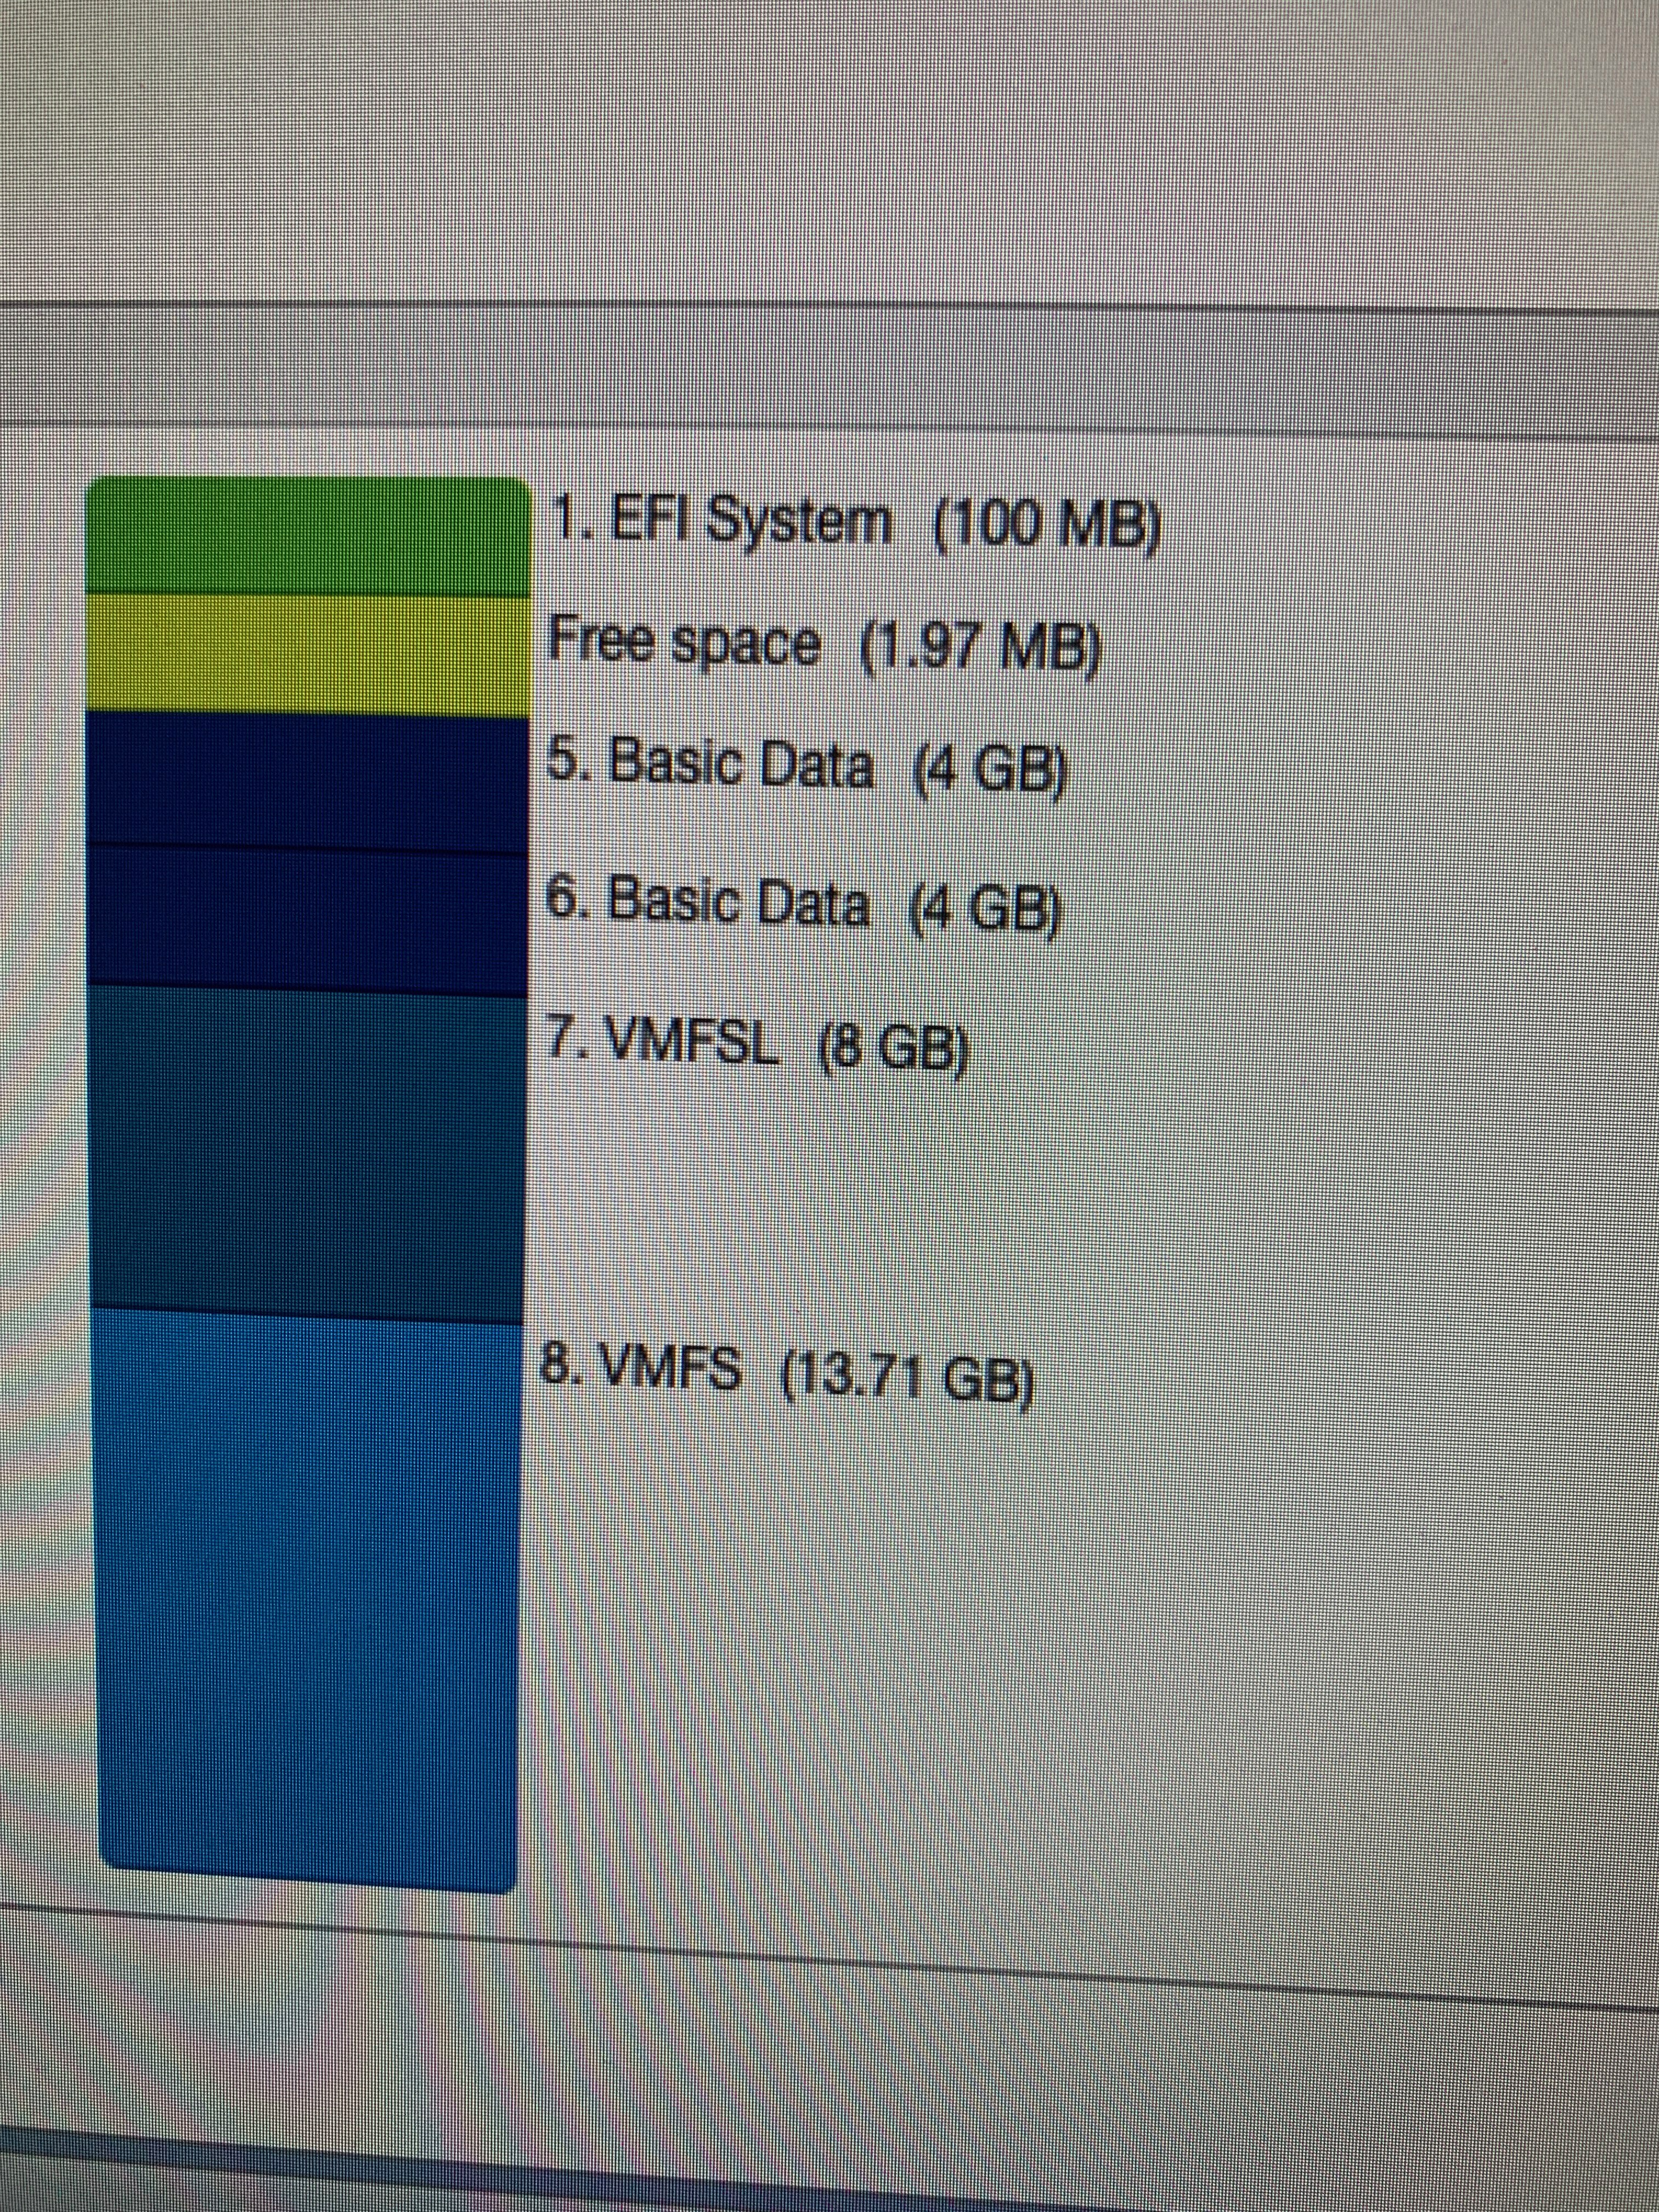
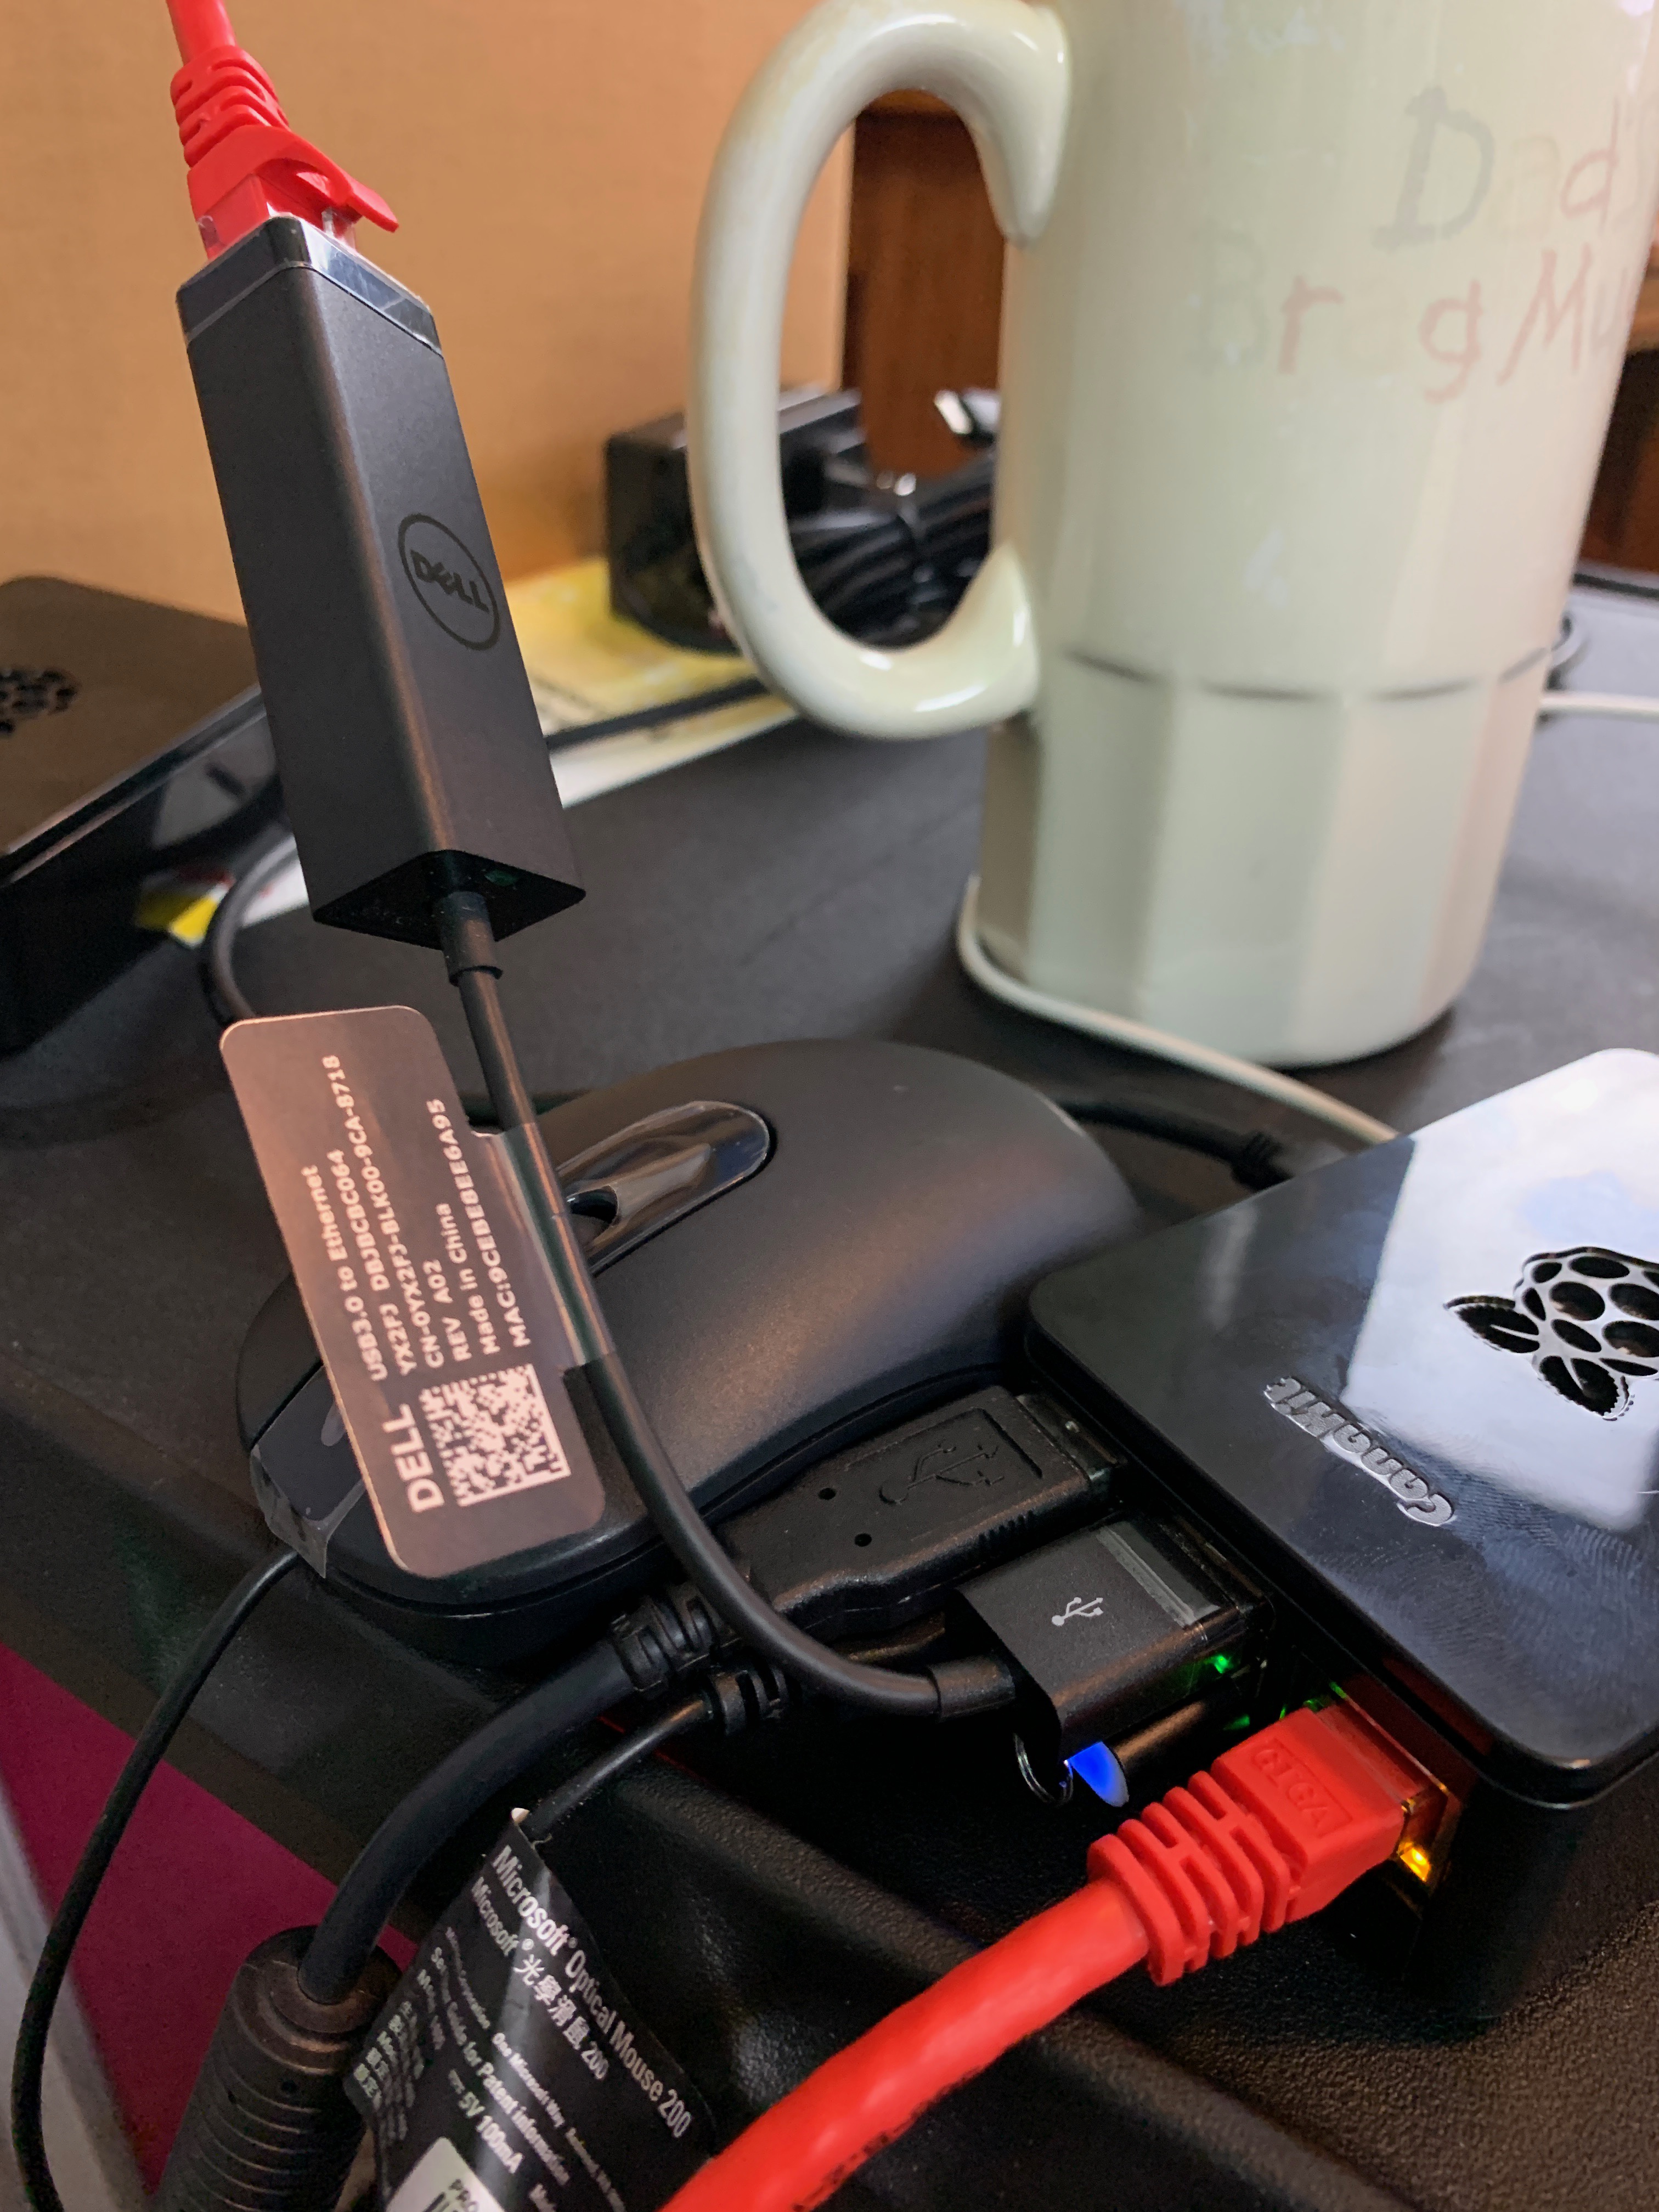
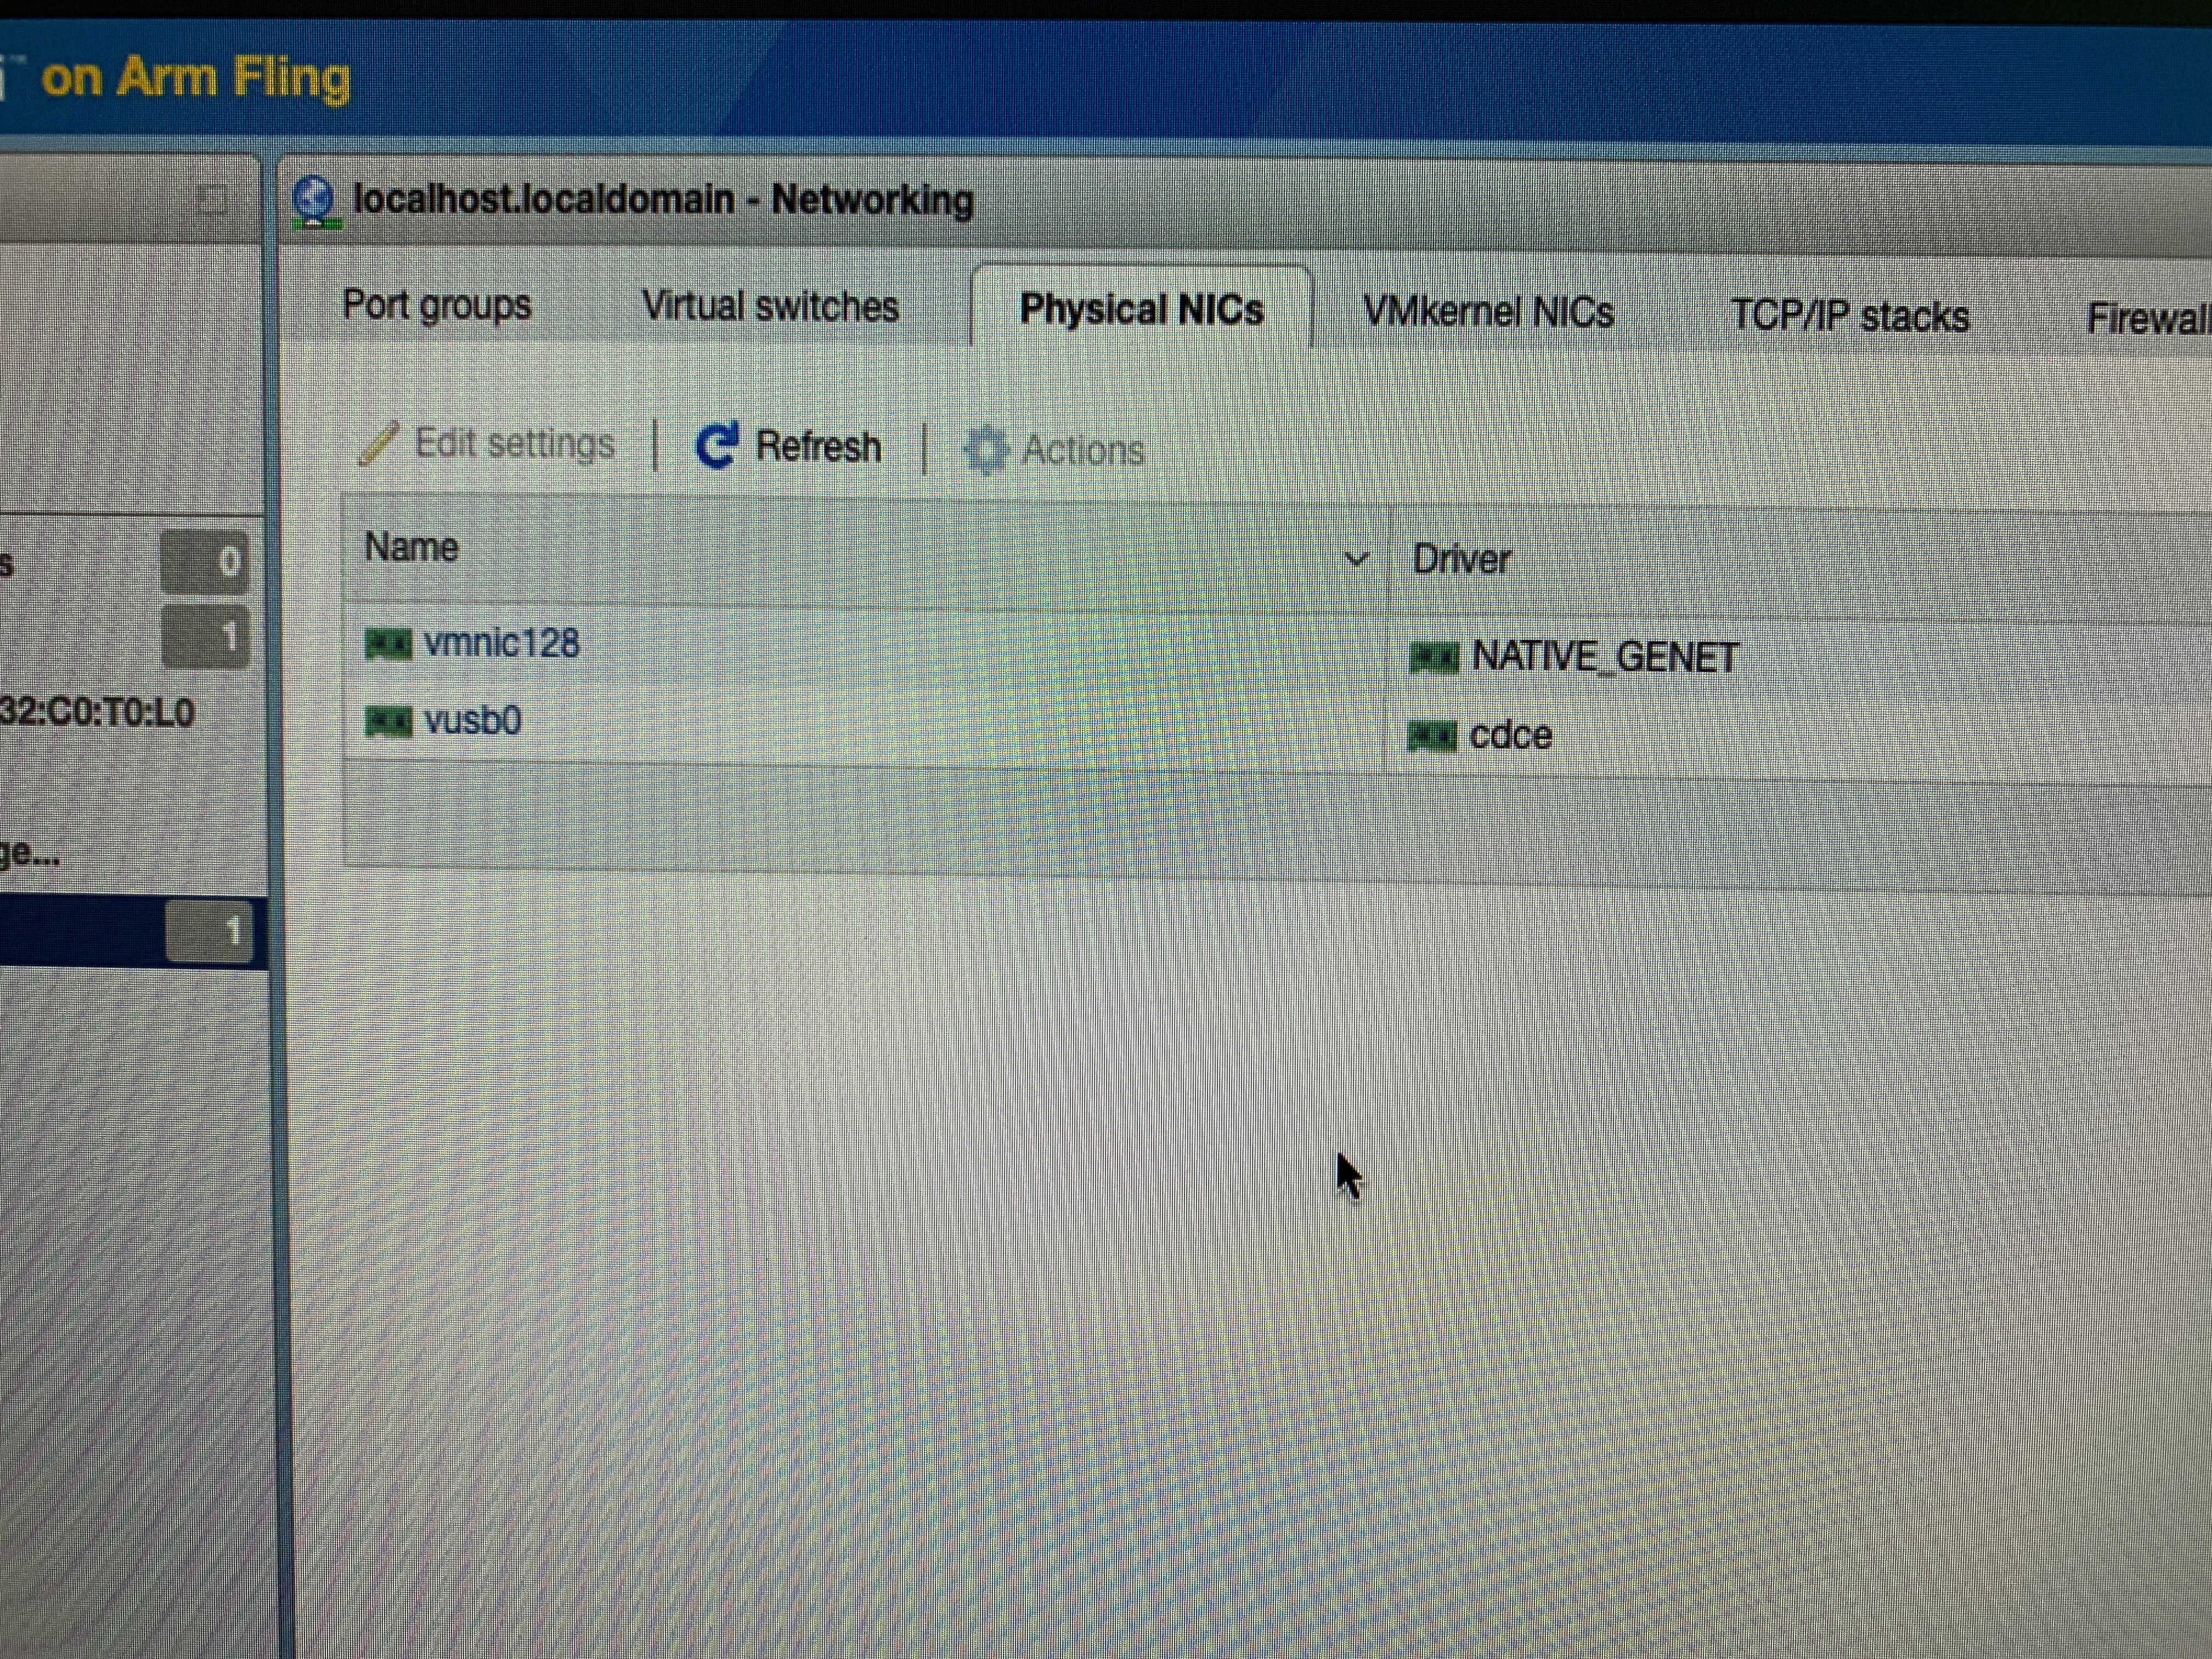
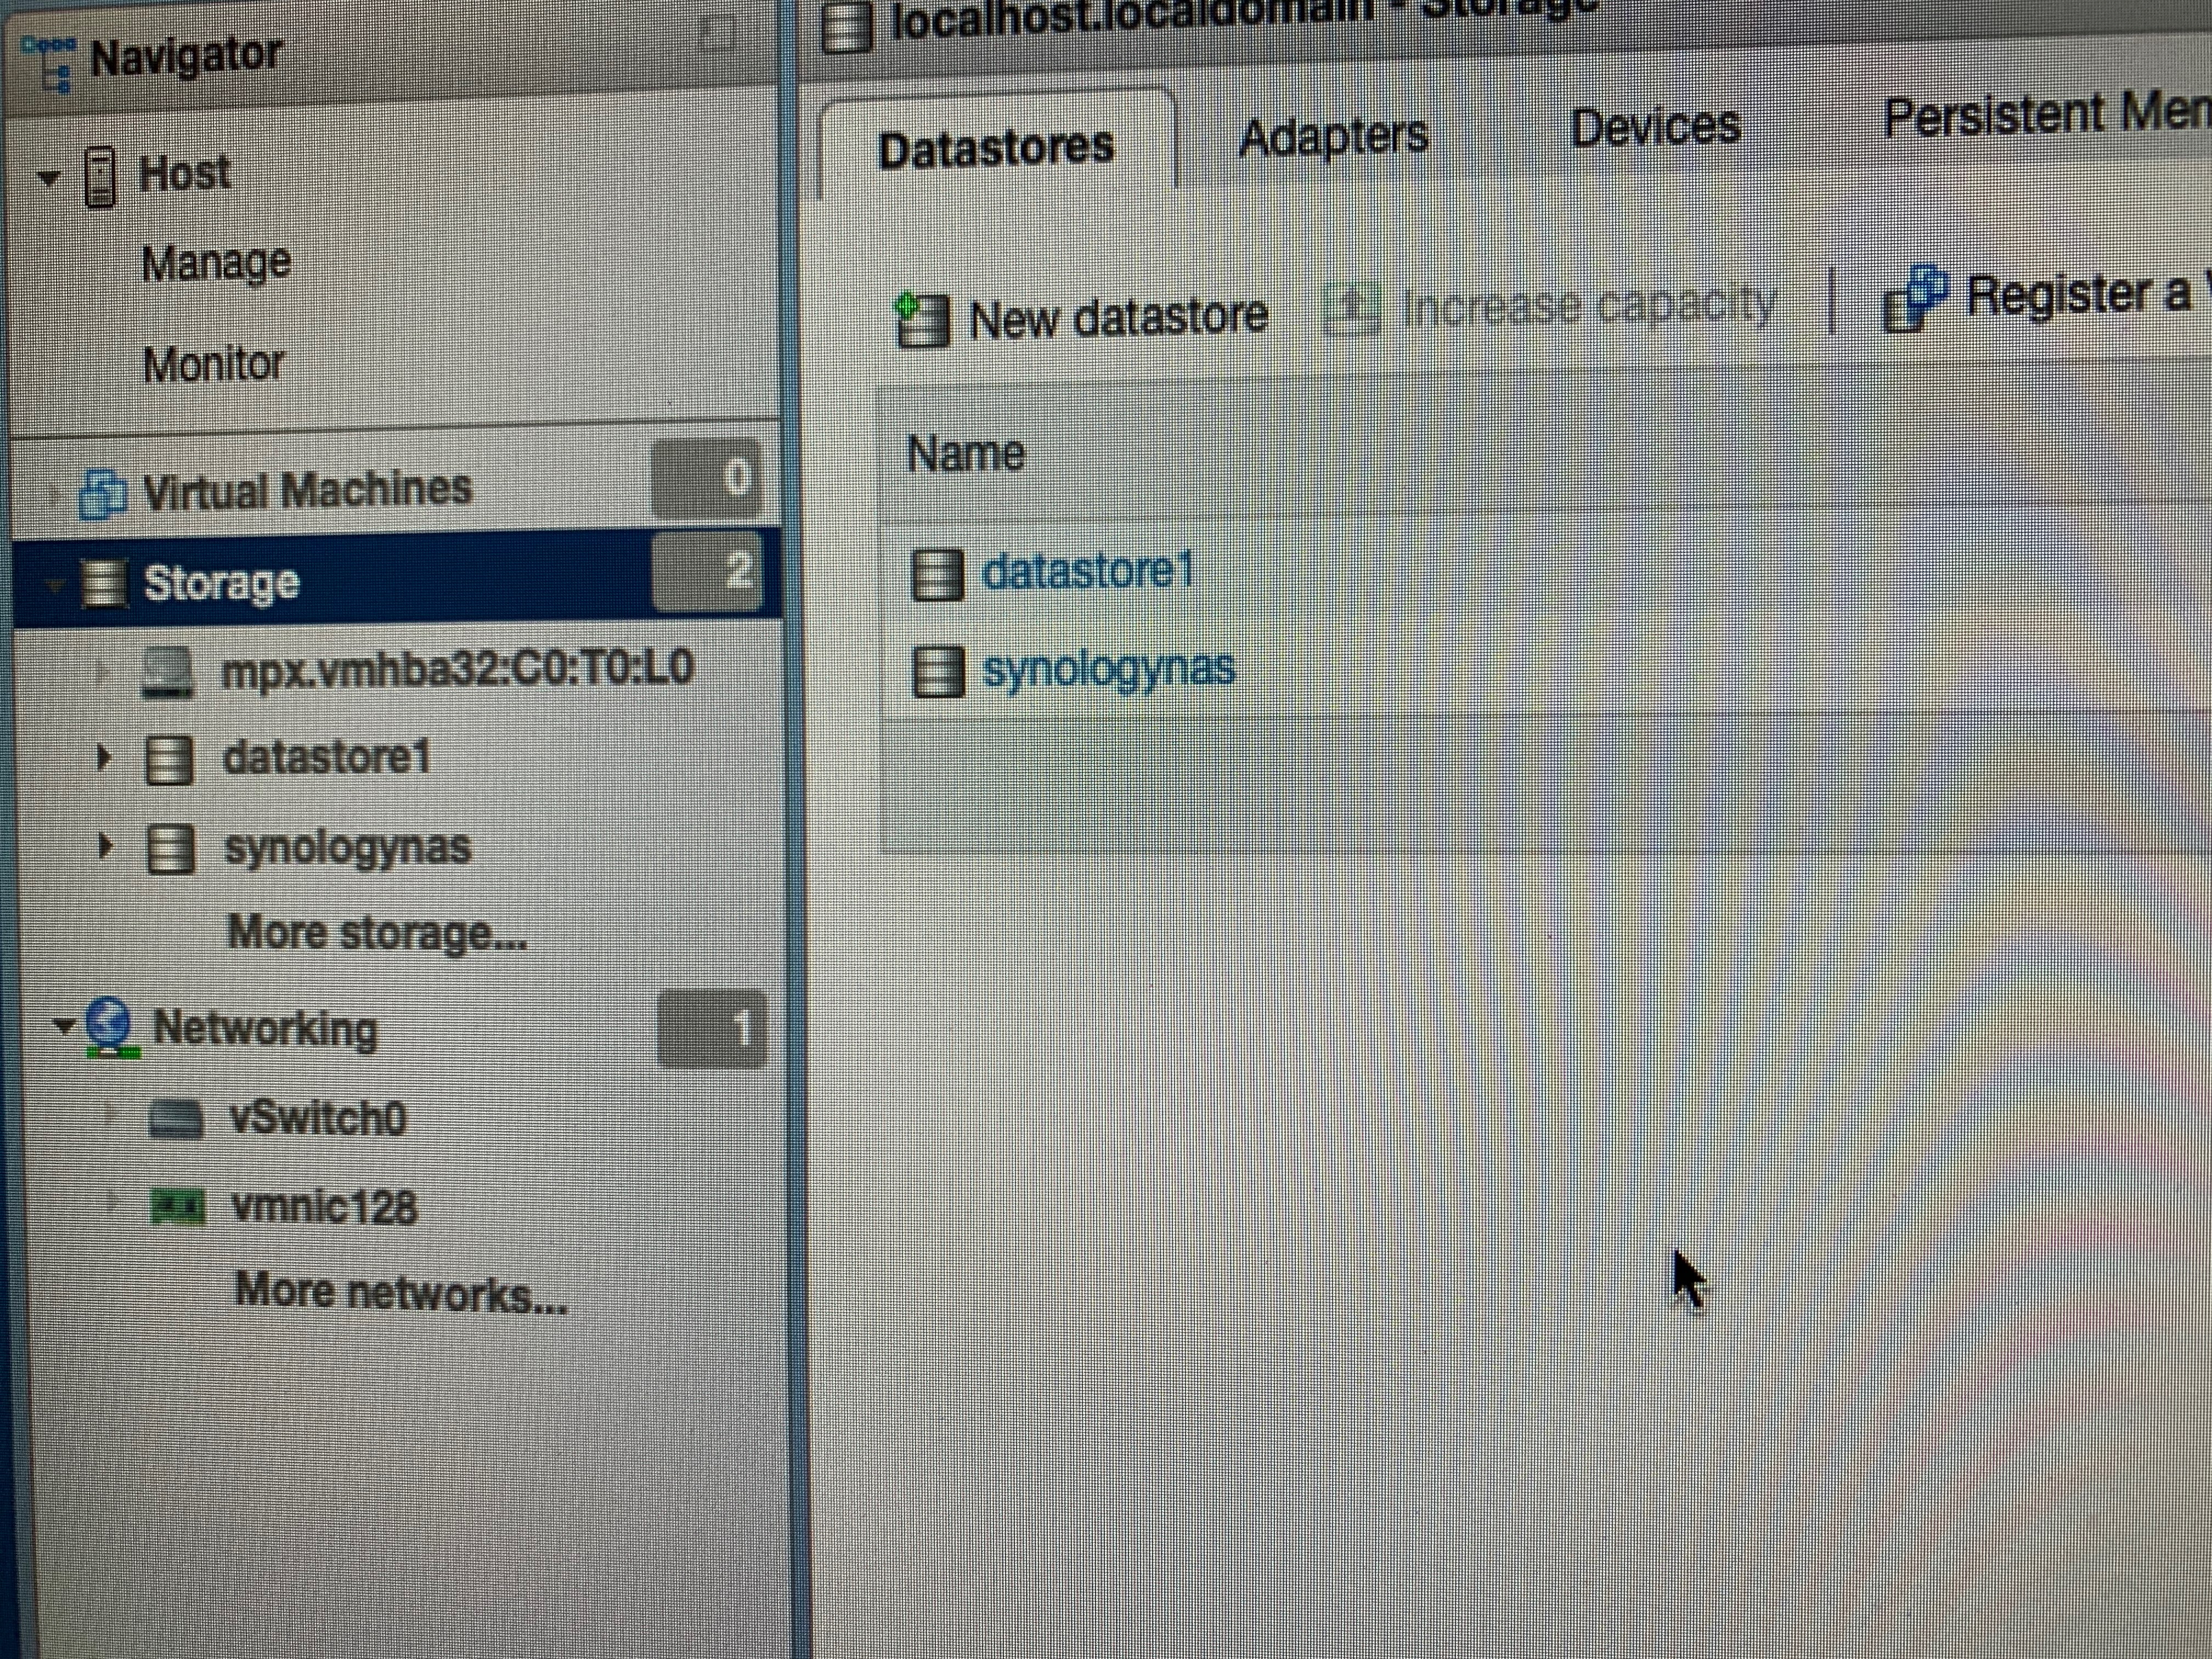
All in all, pretty simple to setup once you get the UEFI firmware done using the Fling instructions.
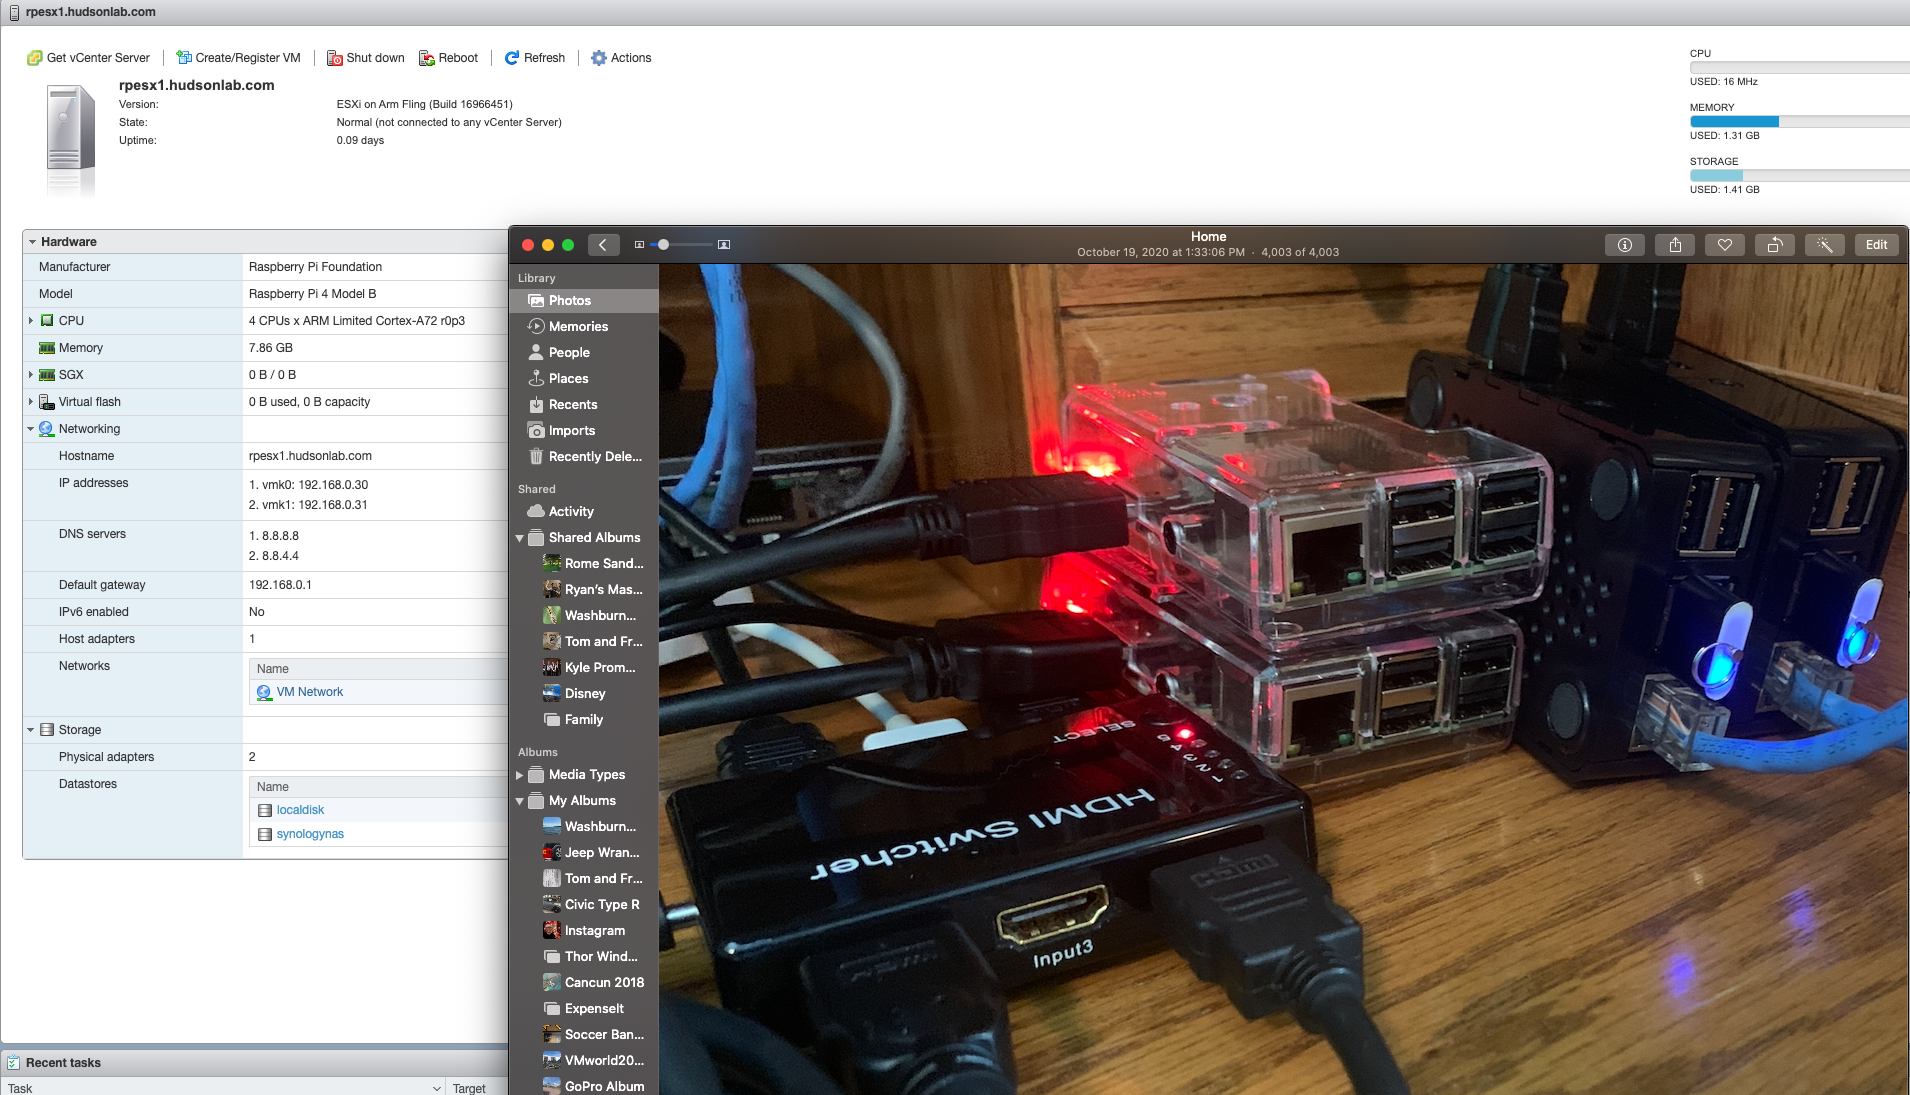
I also decided to add an HDMI switch to view all the RP devices using one monitor. RP4 device running ESXi. Next up, work through the use cases mentioned above.


4 Responses
[…] up on my main blog post around using Raspberry Pi4 devices with the vSphere Fling, my first use case involves create a […]
[…] continuation of my main blog post and working through my 3 use cases, this one happens to be something a lot of people have been […]
[…] continuation of my main blog post and working through my 3 use cases, this one happens to be something a lot of people have been […]
[…] up on my main blog post around using Raspberry Pi4b devices with the vSphere Fling, my first use case involves create a […]