I’ve had a lot of questions on how my upgrade went to vSphere 7 in my home-lab. I thought I’d share how I was able to get vSphere 7 up and running on a lab using hardware that isn’t on the VMware Hardware Compatibility List.
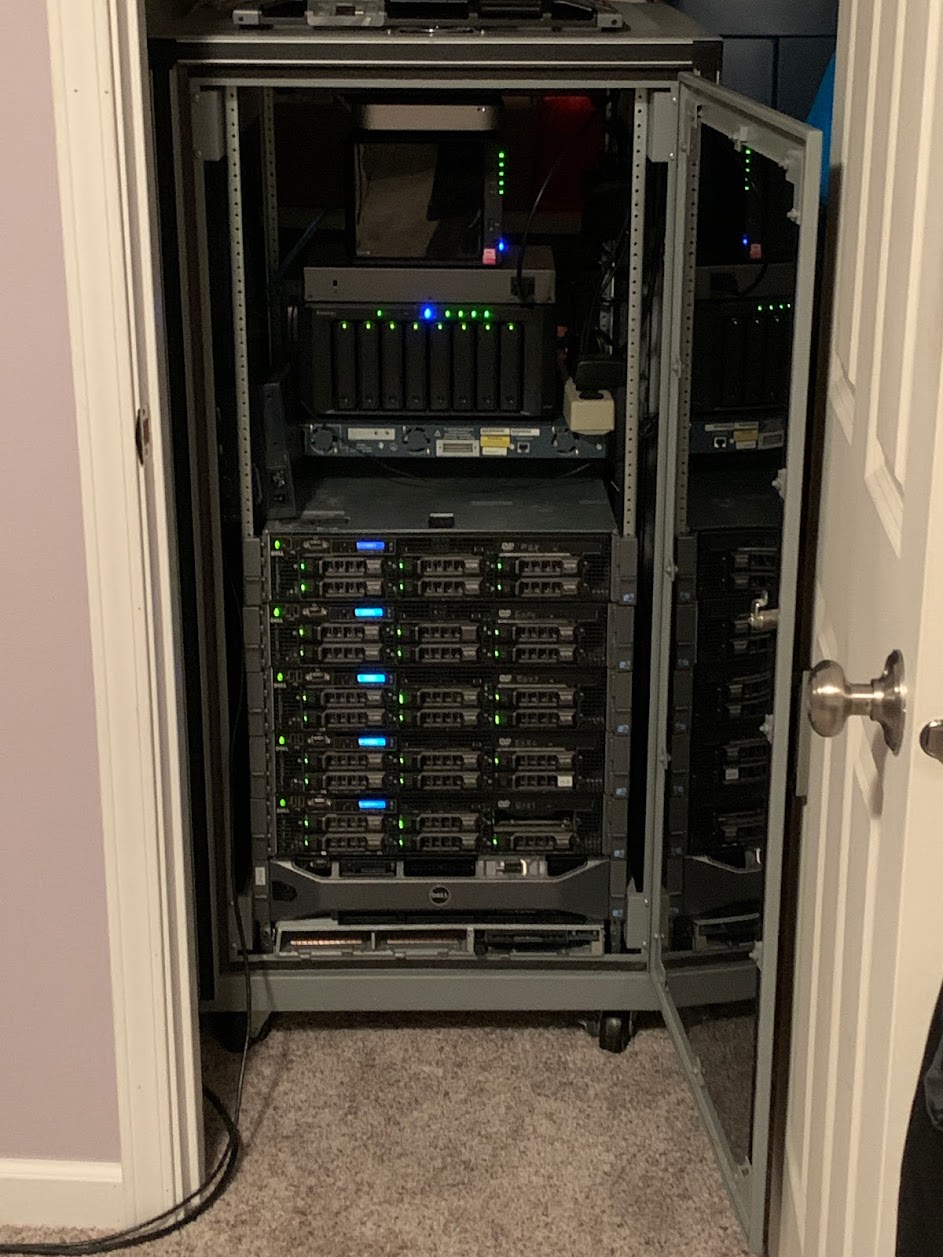
So what you see here are 5 Dell R71 Servers, 4 of which I use for my vSphere home-lab and the other is a Plex Media Server for my 4K video. The processor type in these servers are all Intel Xeon 56xx and are not on the HCL for vSphere and only compatible on the HCL for vSphere 6.0U3. Here’s a little visual and summary on the home lab setup.
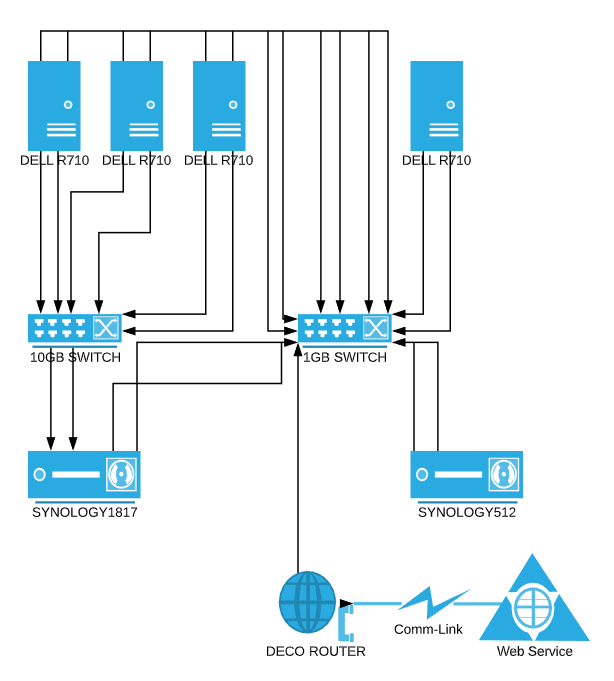
So I have two Synology servers, one used primarily for a file server and second Plex server, and the 1817 is my SSD and SAS for 10GB over iSCSI connected device for my 3 ESX hosts. the 512 replicates to a second volume on the 1817 so my data is redundant. Vol 1 on the 1817 is all flash drives and presented as an iSCSI mount on the 10GB network for the 3 hosts to connect as a shared datastore device. the 10GB switch is not externally connected and only used for storage connectivity. The Synology 512 and R710 service console networks, vMotion, etc… are connected to the 1GB switch that is connected for external access through my router and out to the internet.
Now, on to the upgrade to vSphere 7. If you tried to just install vSphere 7 natively on the DellR710 servers, the install would prompt you that the CPUs were incompatible. Here’s how I got around this issue. Using USB drives, I installed vSphere 7 using my macbook and VMware Fusion.
- Create a virtual machine with no hard drives, configured with enough CPU and RAM for vSphere 7 to install successfully.
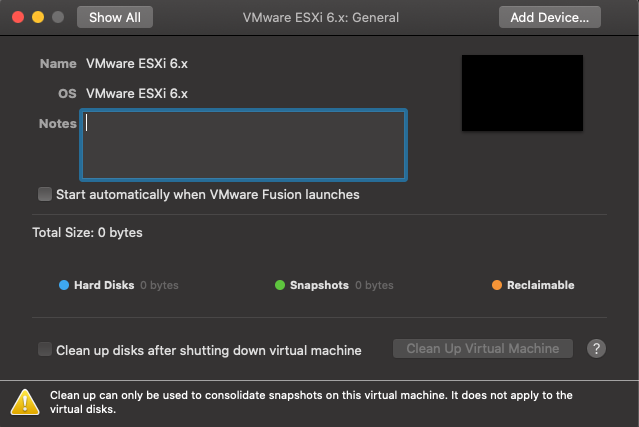
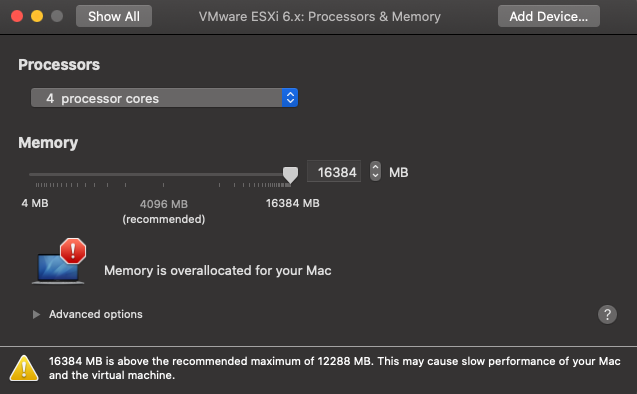
2. Mount the vSphere 7 ESXi ISO file to the virtual CDRom drive to prepare for installation.

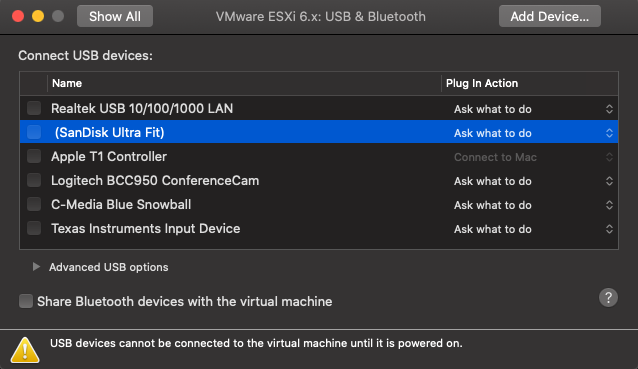
3. Plug in the USB drive to install ESX and verify it shows up as a device I can connect to after power on.
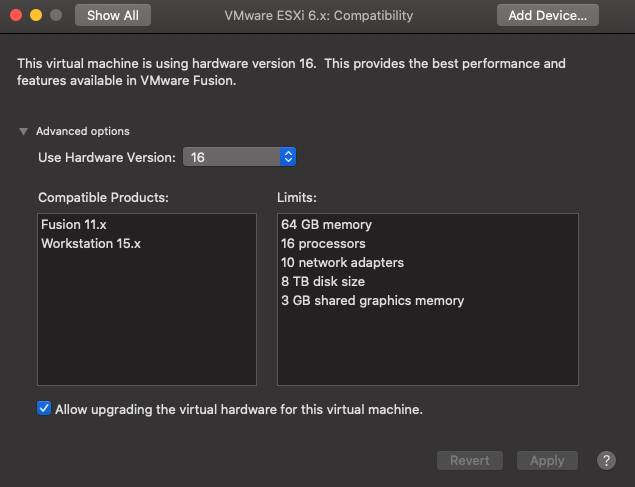
4. Make sure I’m using a current version of VM Hardware that will work for the install.
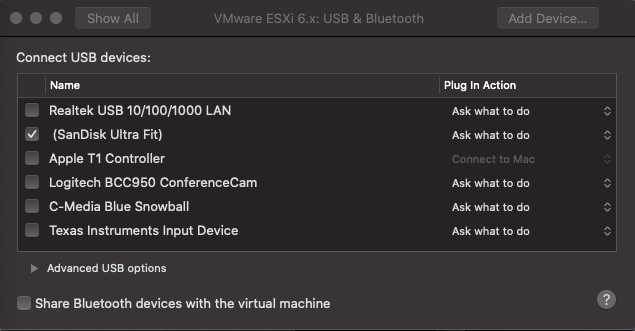
5. Power on the VM and connect the USB device to the Virtual machine.
6. The ESX 7 installer will run through the wizard and prompt you to chose a device to install the hypervisor on.
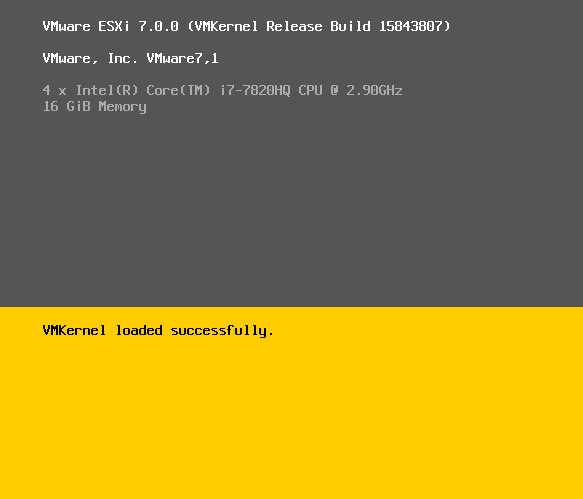
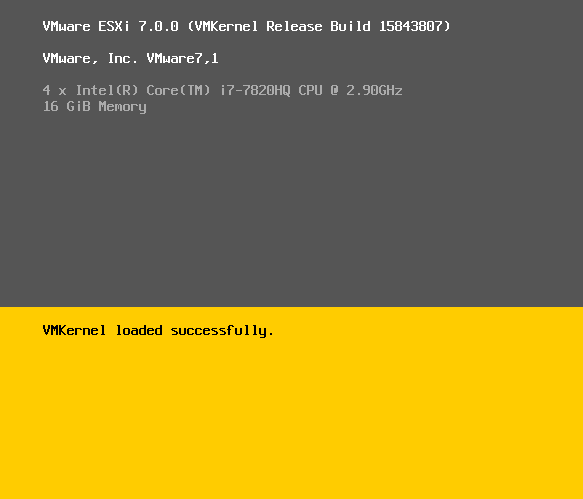
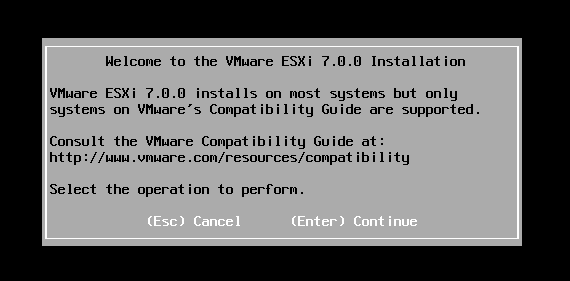
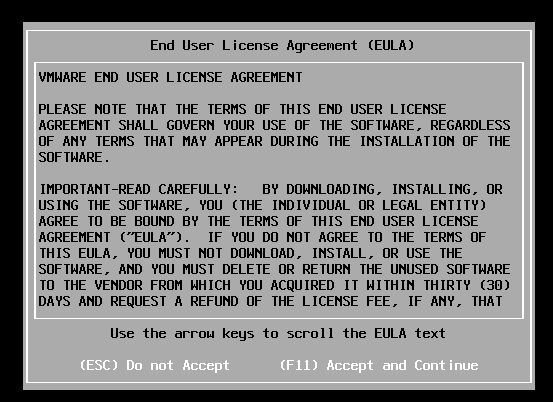

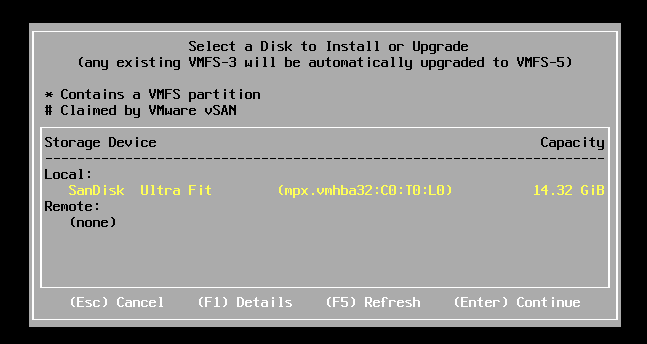
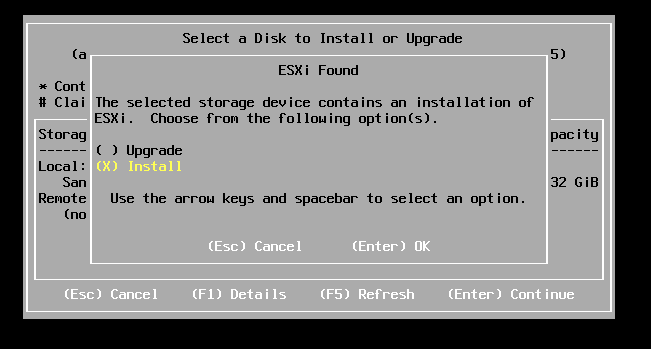
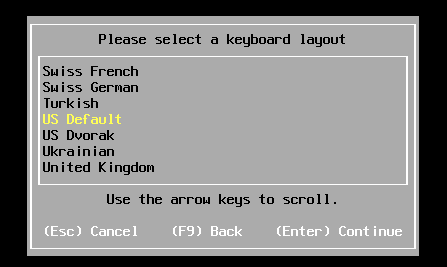
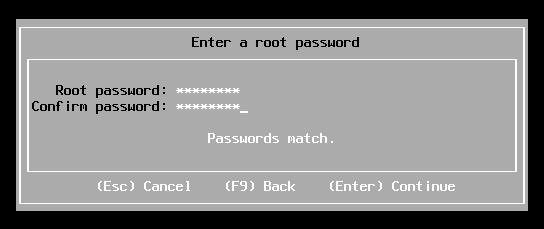
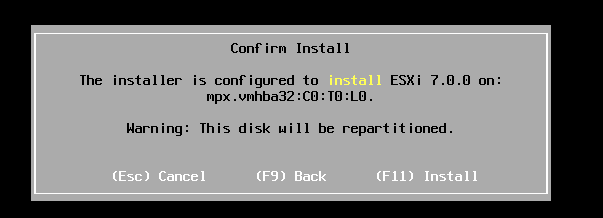

7. When the installer finished, I powered down the VM and pulled out the USB drive from my laptop.
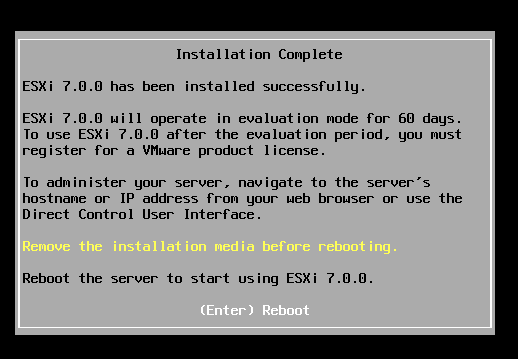
8. Using the USB device, I plugged this into the USB port on the back of my server and after verifying the device in my BIOS settings, powered on the server and walked through the setup of the IP, Mask, Gateway, DNS….etc..that you would normally do to install a new vSphere host.
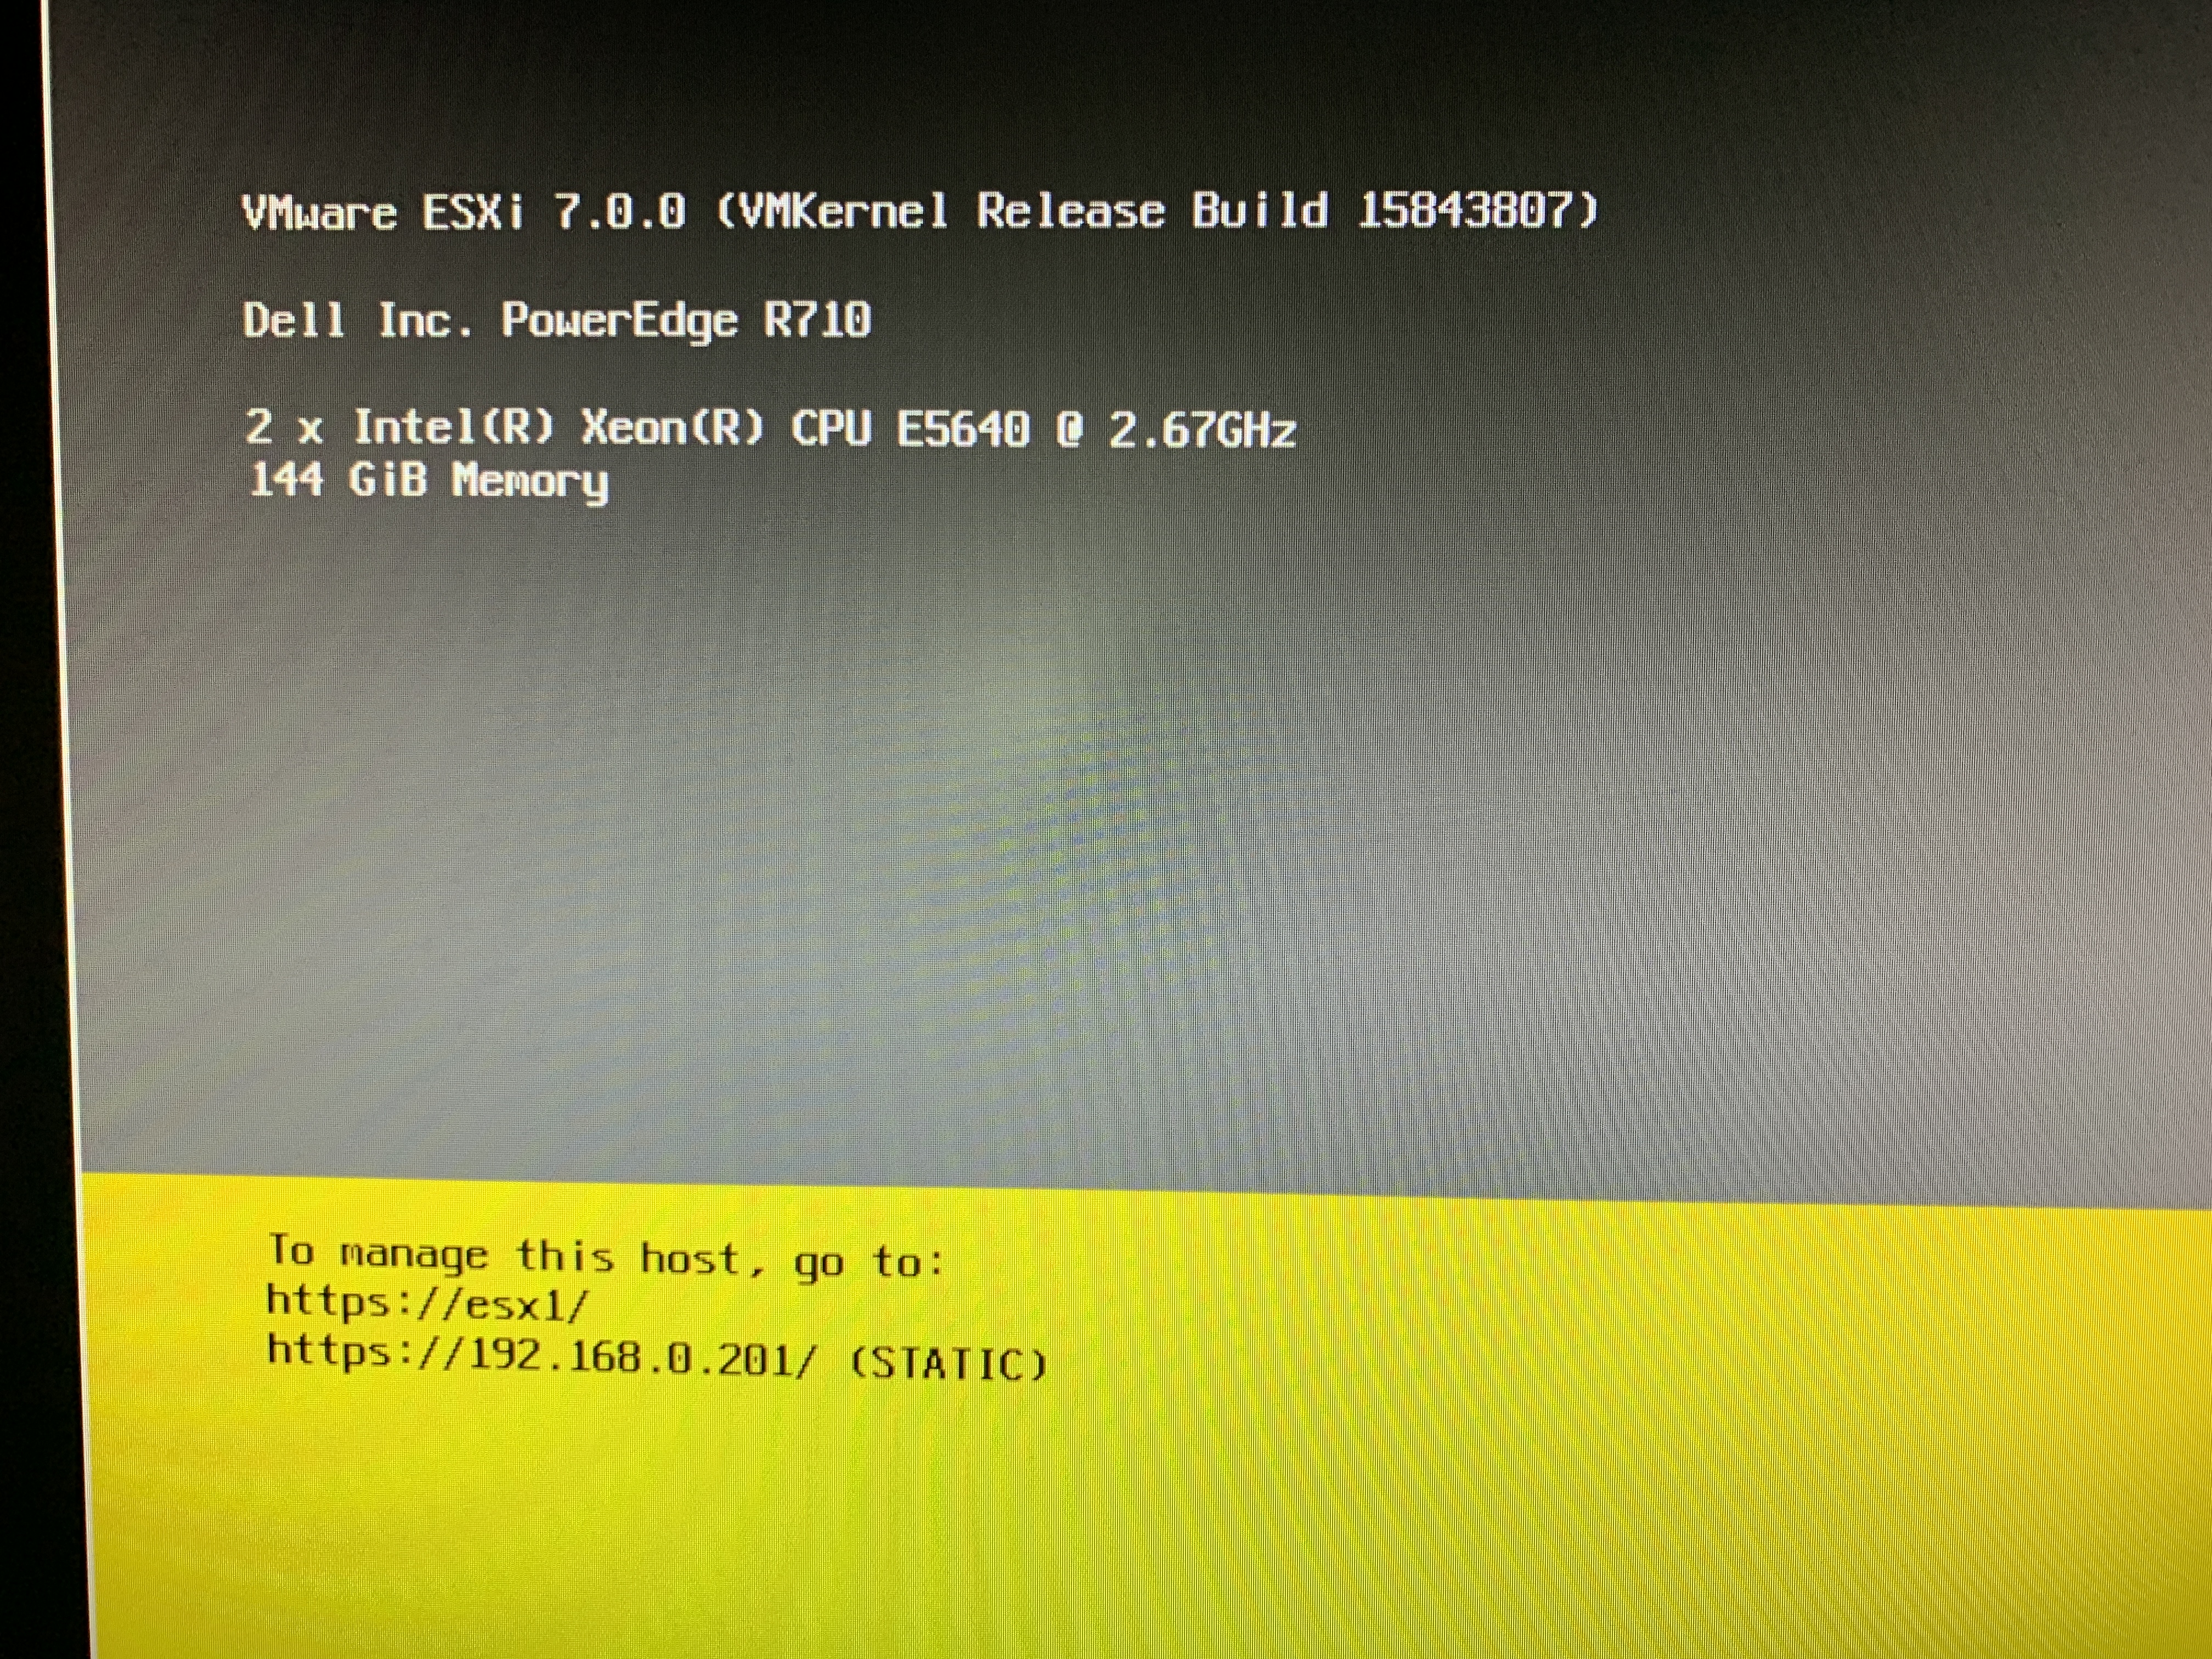
Connect to my host webconsole and deploy a new vCenter 7 Server appliance, rinse and repeat and I now have a home lab upgraded to vSphere 7 albeit running on unsupported hardware.

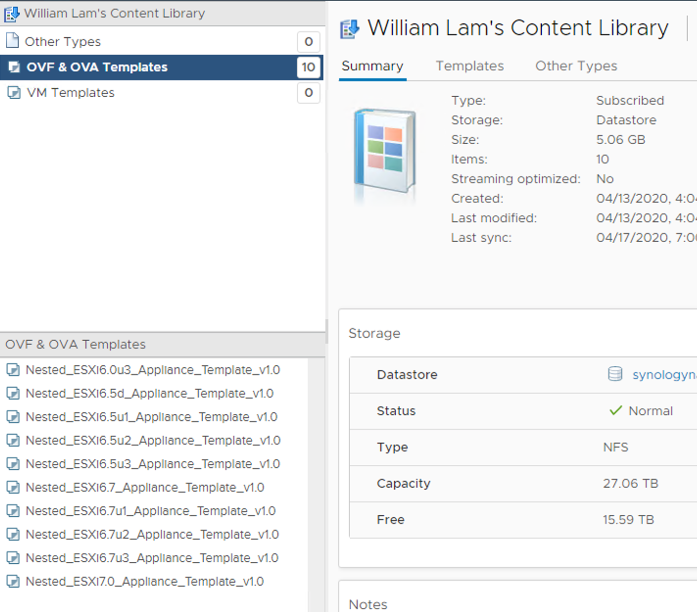
To make things even more fun, I used the content library and subscribed to William Lam’s Virtual Ghetto blog nested vSphere content library to start working on rebuilding the nested vSphere playground.
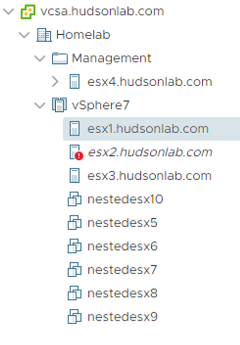

I didn’t think it would be possible to extend the life of my home lab but thanks to David Davis for the Boot from USB idea, I can use the home-lab a little longer. Give it a try and see if this works for you as well.


How did you, if you were you able to, work around the PERC H700 in the R710s being unsupported?
The hardware shows up in the hardware list, but doesn’t appear under Storage Adapters.
Thanks!
When I ran 6.7 the H700 cards had a driver that worked with vSphere 6.7 but after upgrading to vSphere 7, I’m just booting from USB and my shared storage is a combination of the synology NAS and a FreeNAS server so I don’t need the local disks anymore.
Thanks for the info, looks like I’ll have to do the same thing to avoid upgrading the RAID card. What 10GbE NICs are you using in the R710s?
https://www.ebay.com/itm/142818804785
Were you able to get the PERC H700 working under v7? If so, how?
I was able to do the upgrade (I run internal USB-dual mSATA adapter for my ESXI OS, but the PERC H700 RAID doesn’t appear) I can see the H700 listed under hardware, but it doesn’t show up under storage adapters.
Check Mike V’s comments, this may work in your situation
Additionally, if you hit Shift+O at ESXI install bootup, you can type in the following ‘allowLegacyCPU=true” to make sure that the CPU doesn’t block the install.
I attempted this and completed all the steps (I ran VMWare Workstation as I’m not on Mac) and got VMWare 7 successfully installed on a USB stick. The only difference was that the original version of 6.5 was not previously installed on this USB stick so it was counted as a completely new installation. Once installation completed and system was ready for reboot, I connected the USB to my N54L Microserver and booted up, only to be presented with the Unsupported CPU message. Am I missing something?
Couple things to check, make sure you have intel virtualization technology settings enabled in the BIOS. If the hypervisor doesn’t see that enabled, it may cause that error. If it still persists, you can try William Lam’s workaround by using the advanced flag for unsupported CPU during the install directly on your server without pre-loading on USB first. https://www.virtuallyghetto.com/2020/04/quick-tip-allow-unsupported-cpus-when-upgrading-to-esxi-7-0.html
Cheers for the reply, however it’s come to light that there are CPUs which will understand the coding instructions even though they’re not officially supported, and then there are those that won’t understand it at all. I was attempting this on an HP N54L Microserver which is running an AMD Turion II 2.2GHz Dual Core CPU so I guess that’s well out of the picture. The N54L will run 6.5 but can’t run 6.7.
Storage issue: While not certified, a Dell H710 RAID controller is recognized by ESXI 7.0, and the H700 cables work to connect the controller to the backplane. Works for a clean install just fine.
CPU Issue: You’ll want to update the two boot.cfg files, after the Weasel line, with “AllowLegacyCPU=true”. Upgrade to a 5600 series CPU. Check the CPU’s TDW. If it’s 130w, you’ll need a Gen II R710. There are supported CPUs on Gen I, like the 5675. To determine this, check your service tag, and find your mobo part number on dell’s site.
Generation I Part numbers: YDJK3, N047H, 7THW3, VWN1R and 0W9X3.
Generation II Part numbers: XDX06, 0NH4P and YMXG9.
Great Feedback Mike V
Question for you – have you been able to apply updates through Lifecycle Manager/Update Manager on these R710s without having to redo the USB trickery with a later ISO? My one lab is about 65 miles away so swapping USB is tough. Thanks for the article!
I have not worked through the custom boot options during a lifecycle manager upgrade to prevent from over-writing the boot file to keep from overwriting the allowLegacyCPU=true value